Mercury Woody Wagon project- Part 1
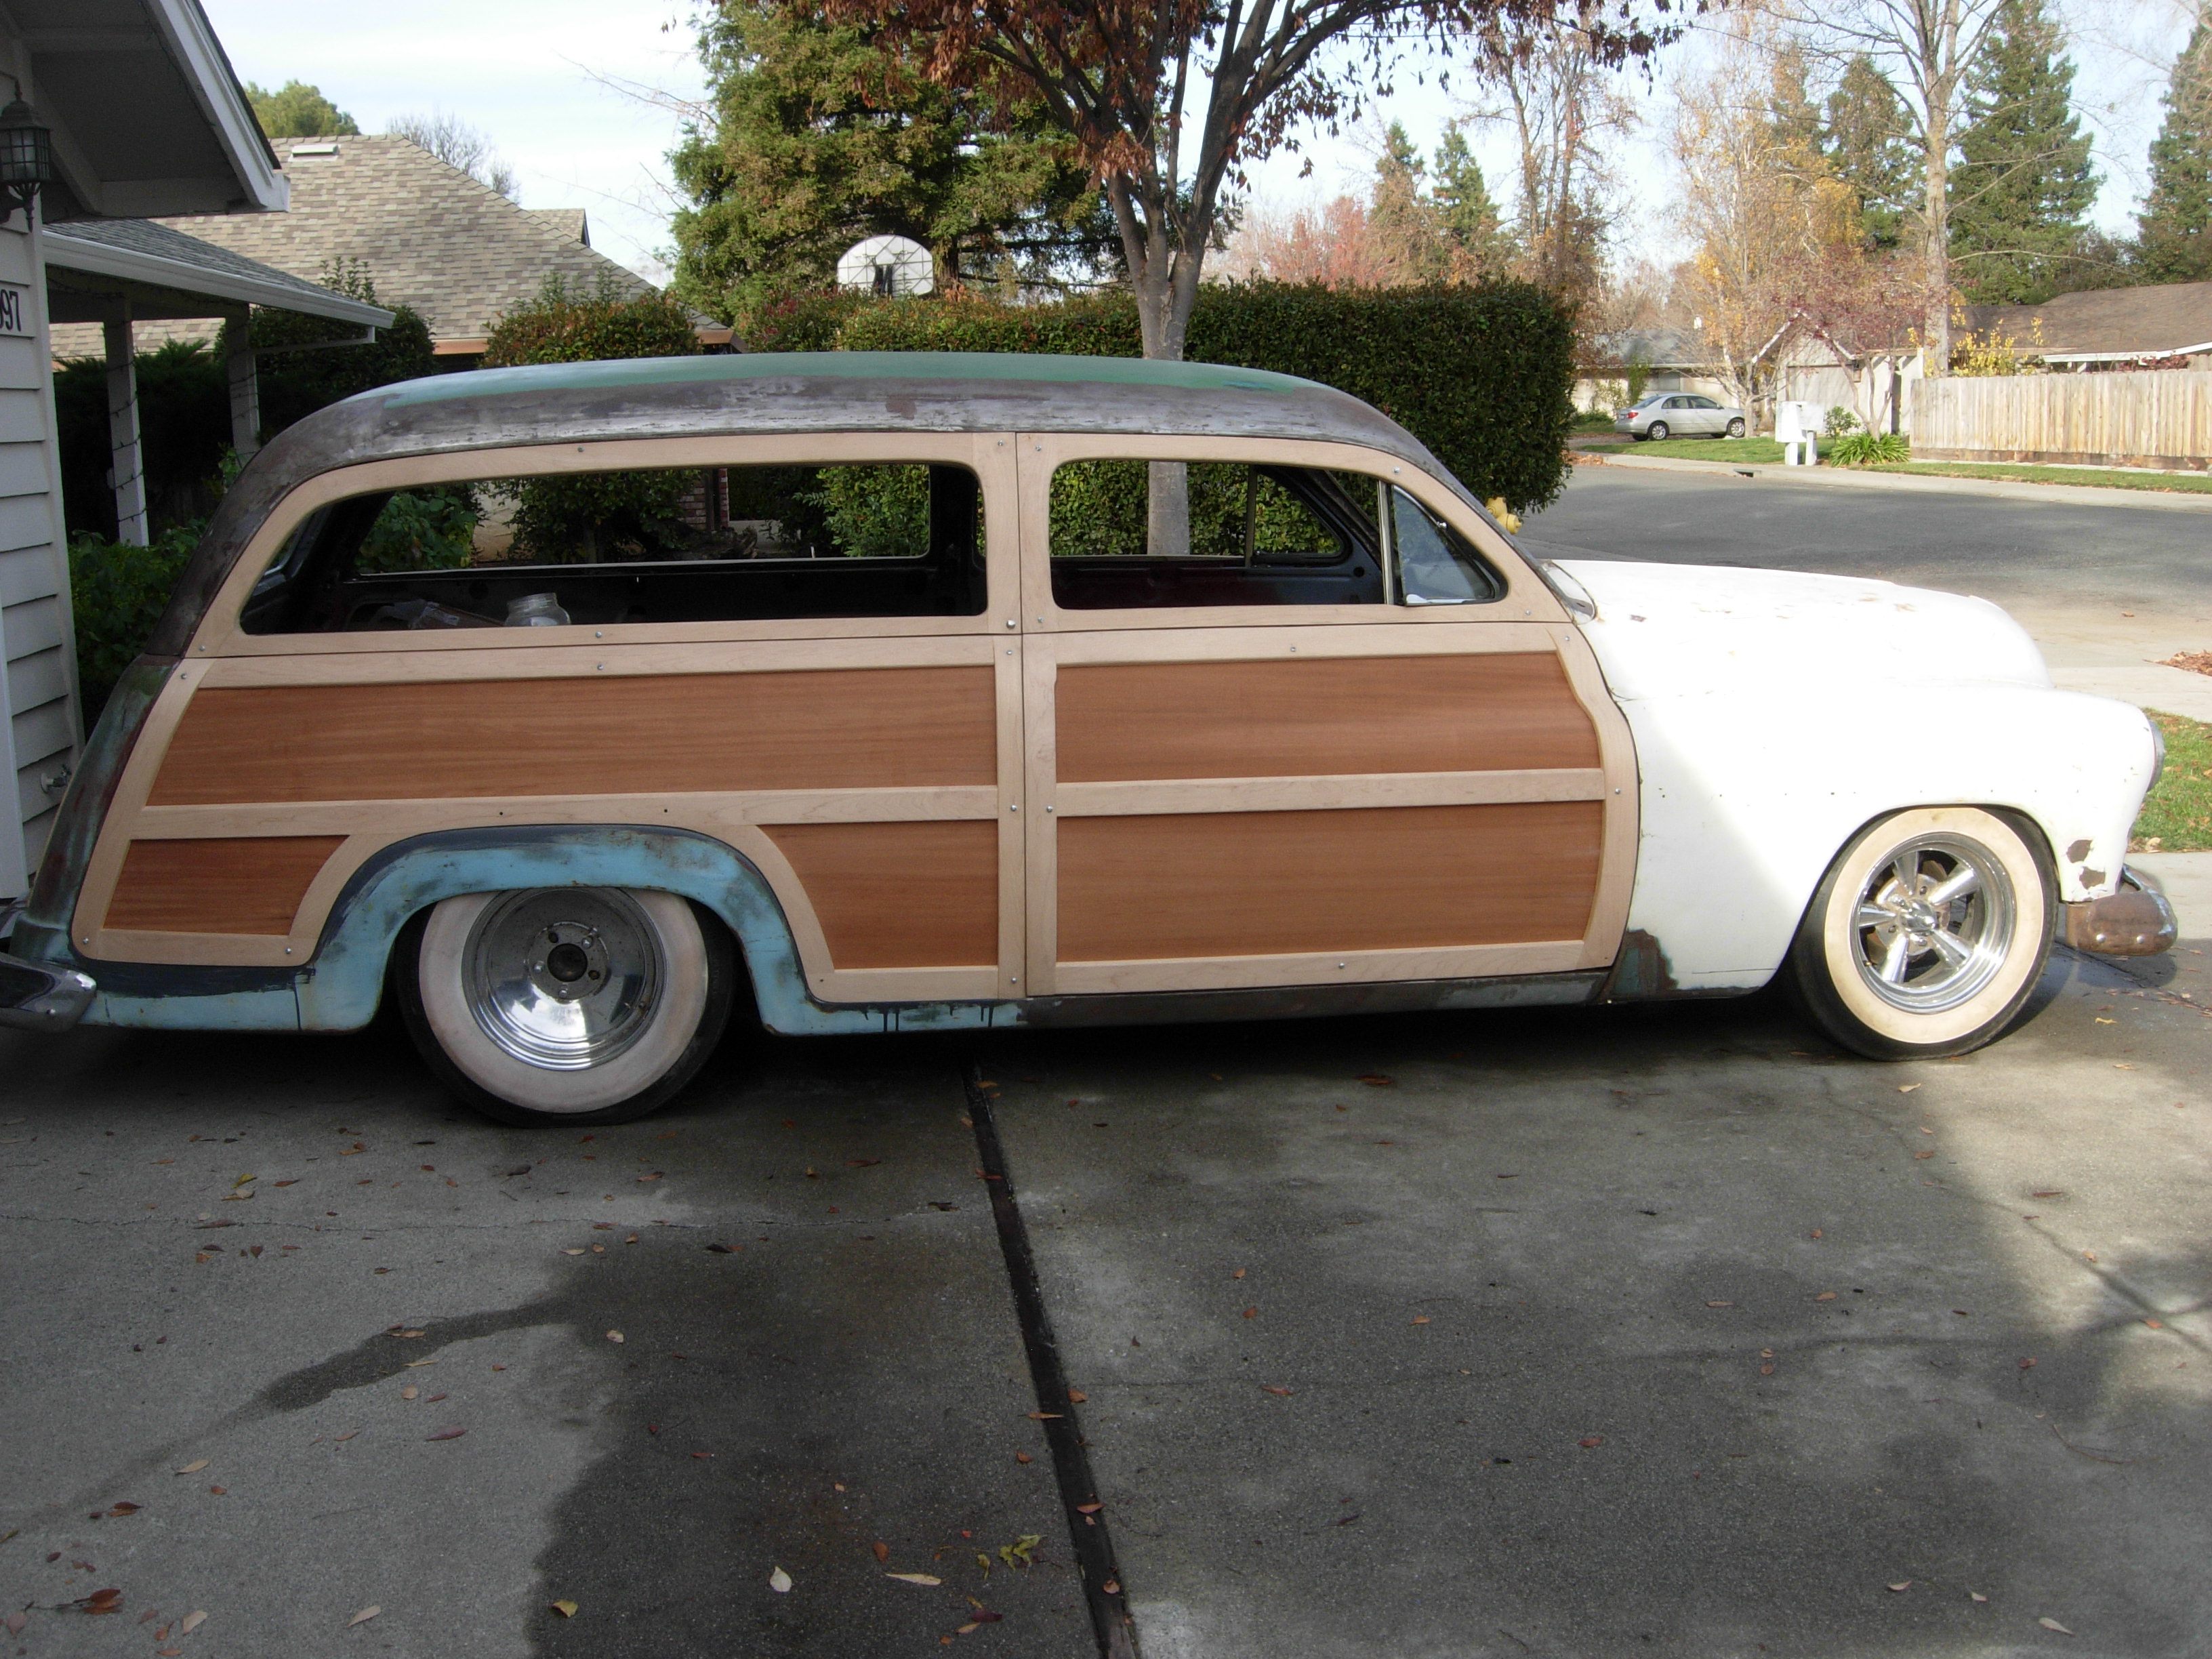
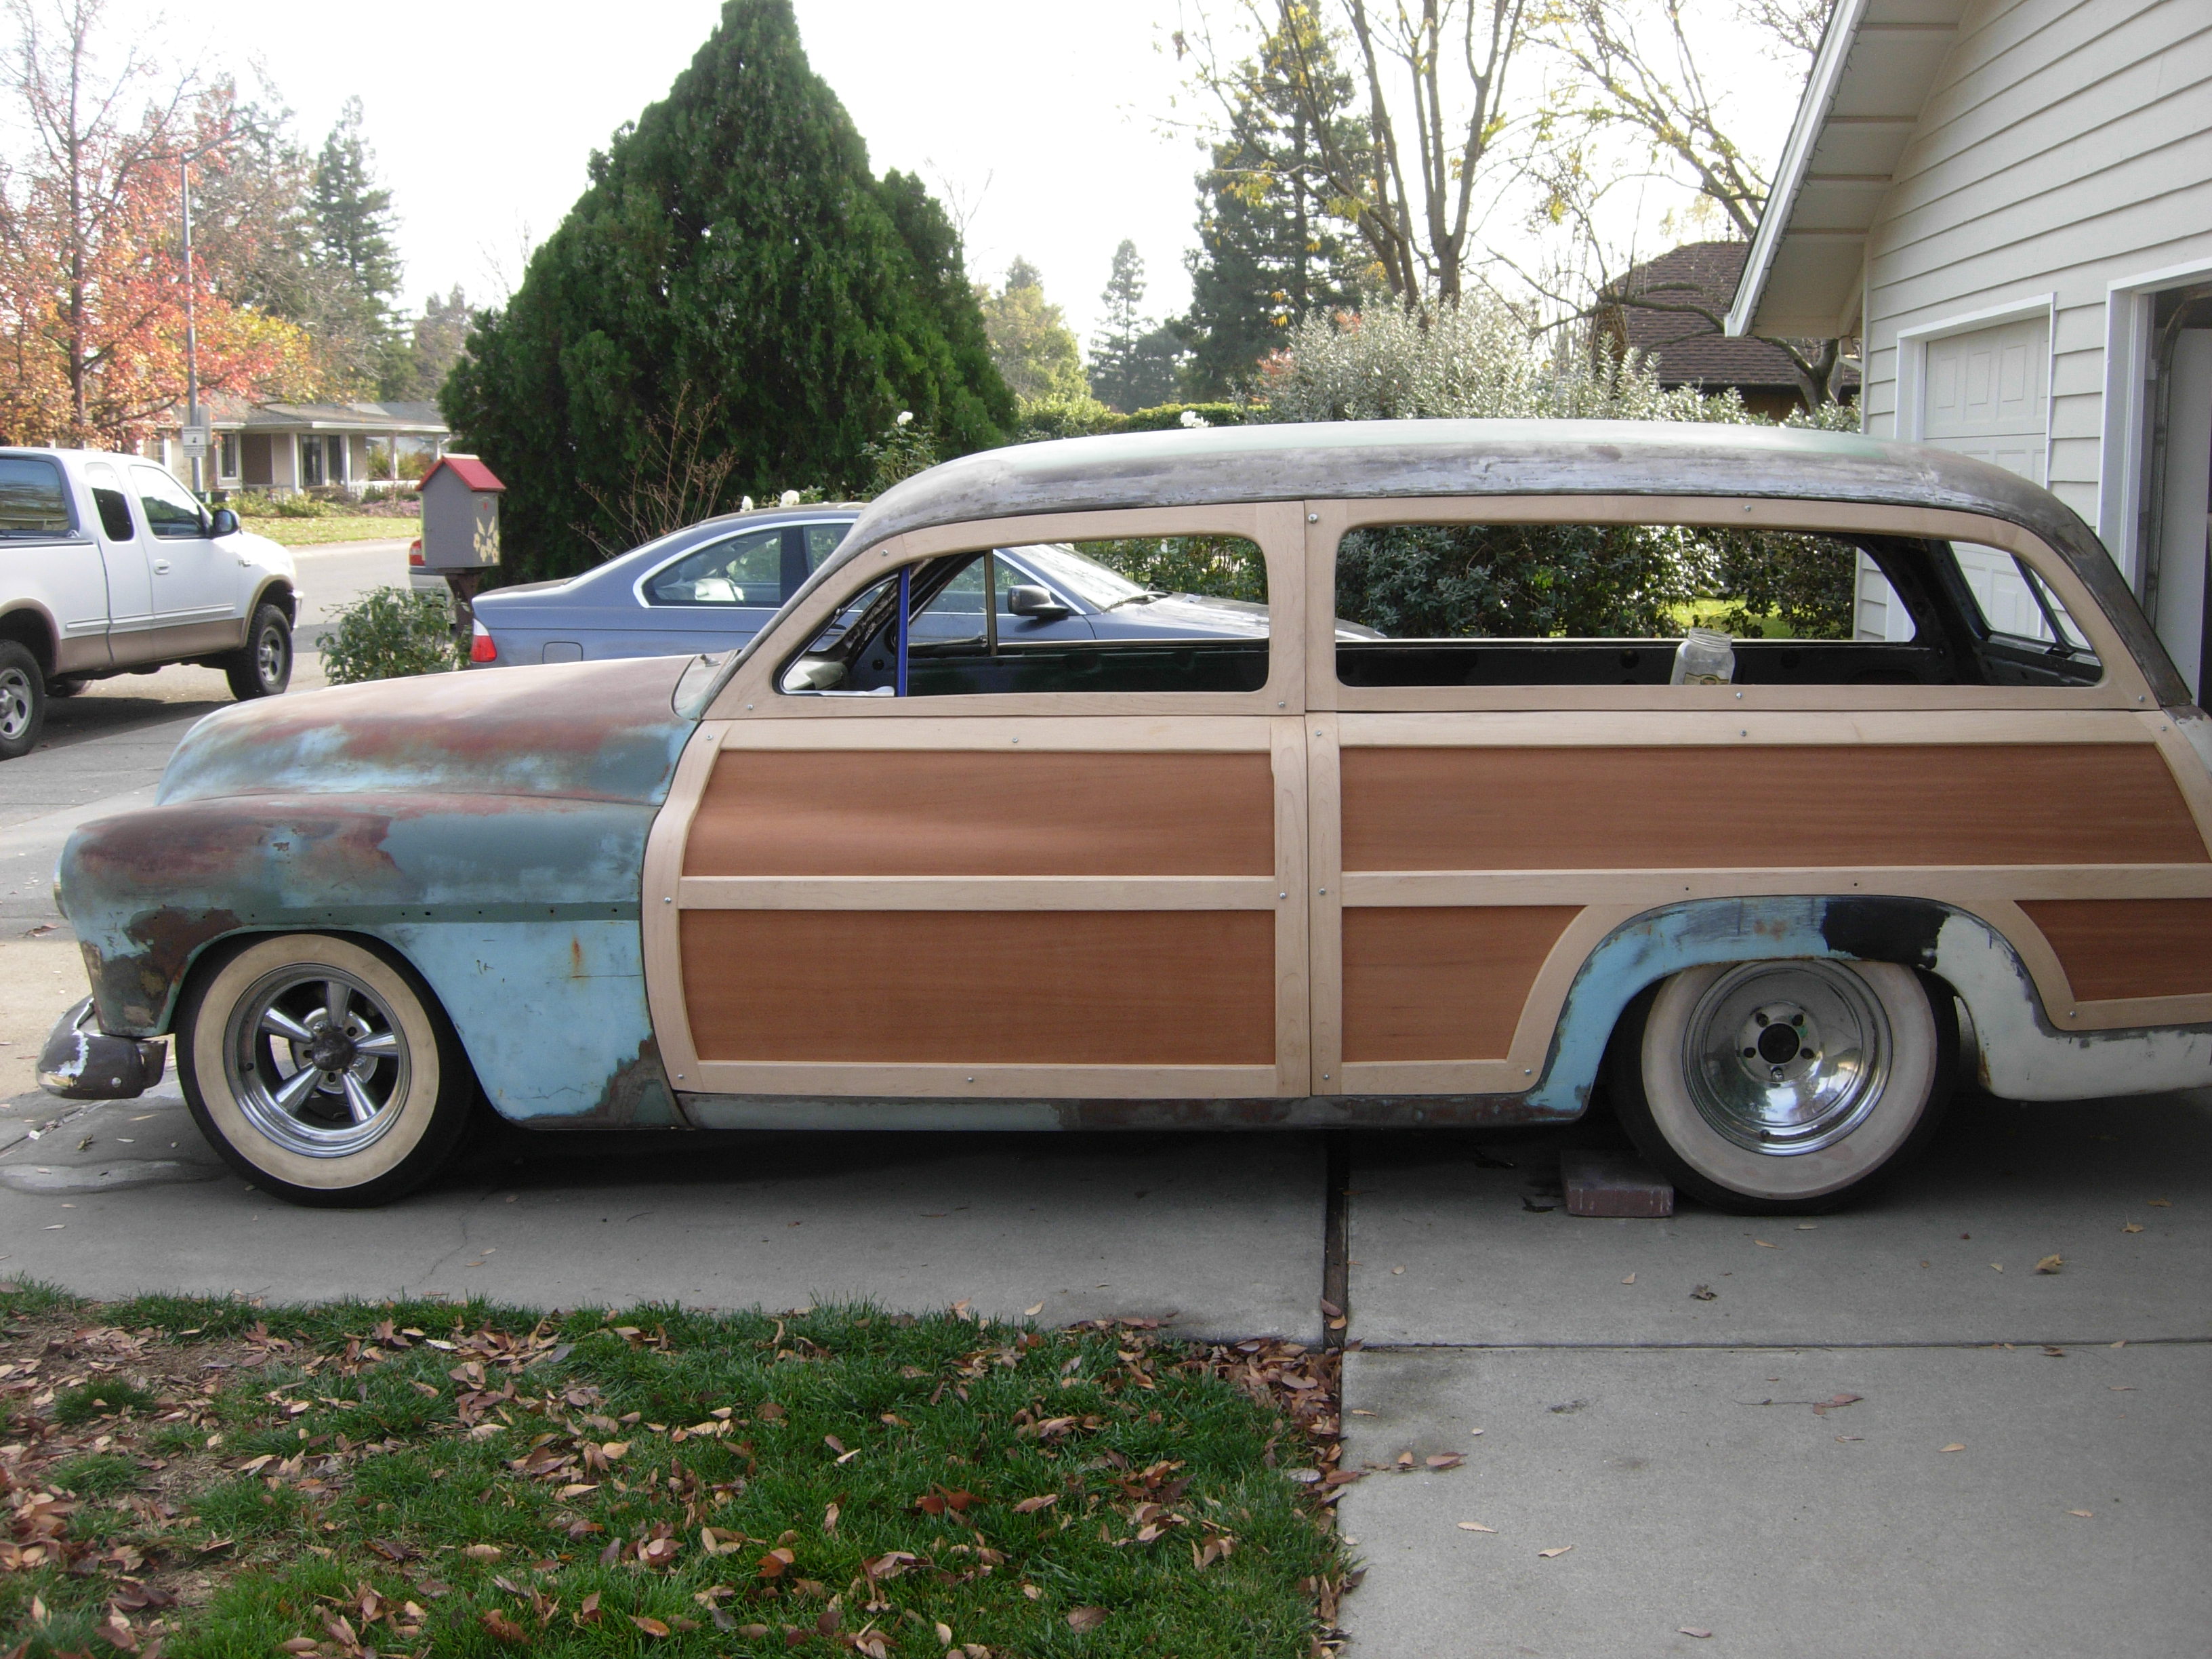
1949 Mercury "Woody" wagon project
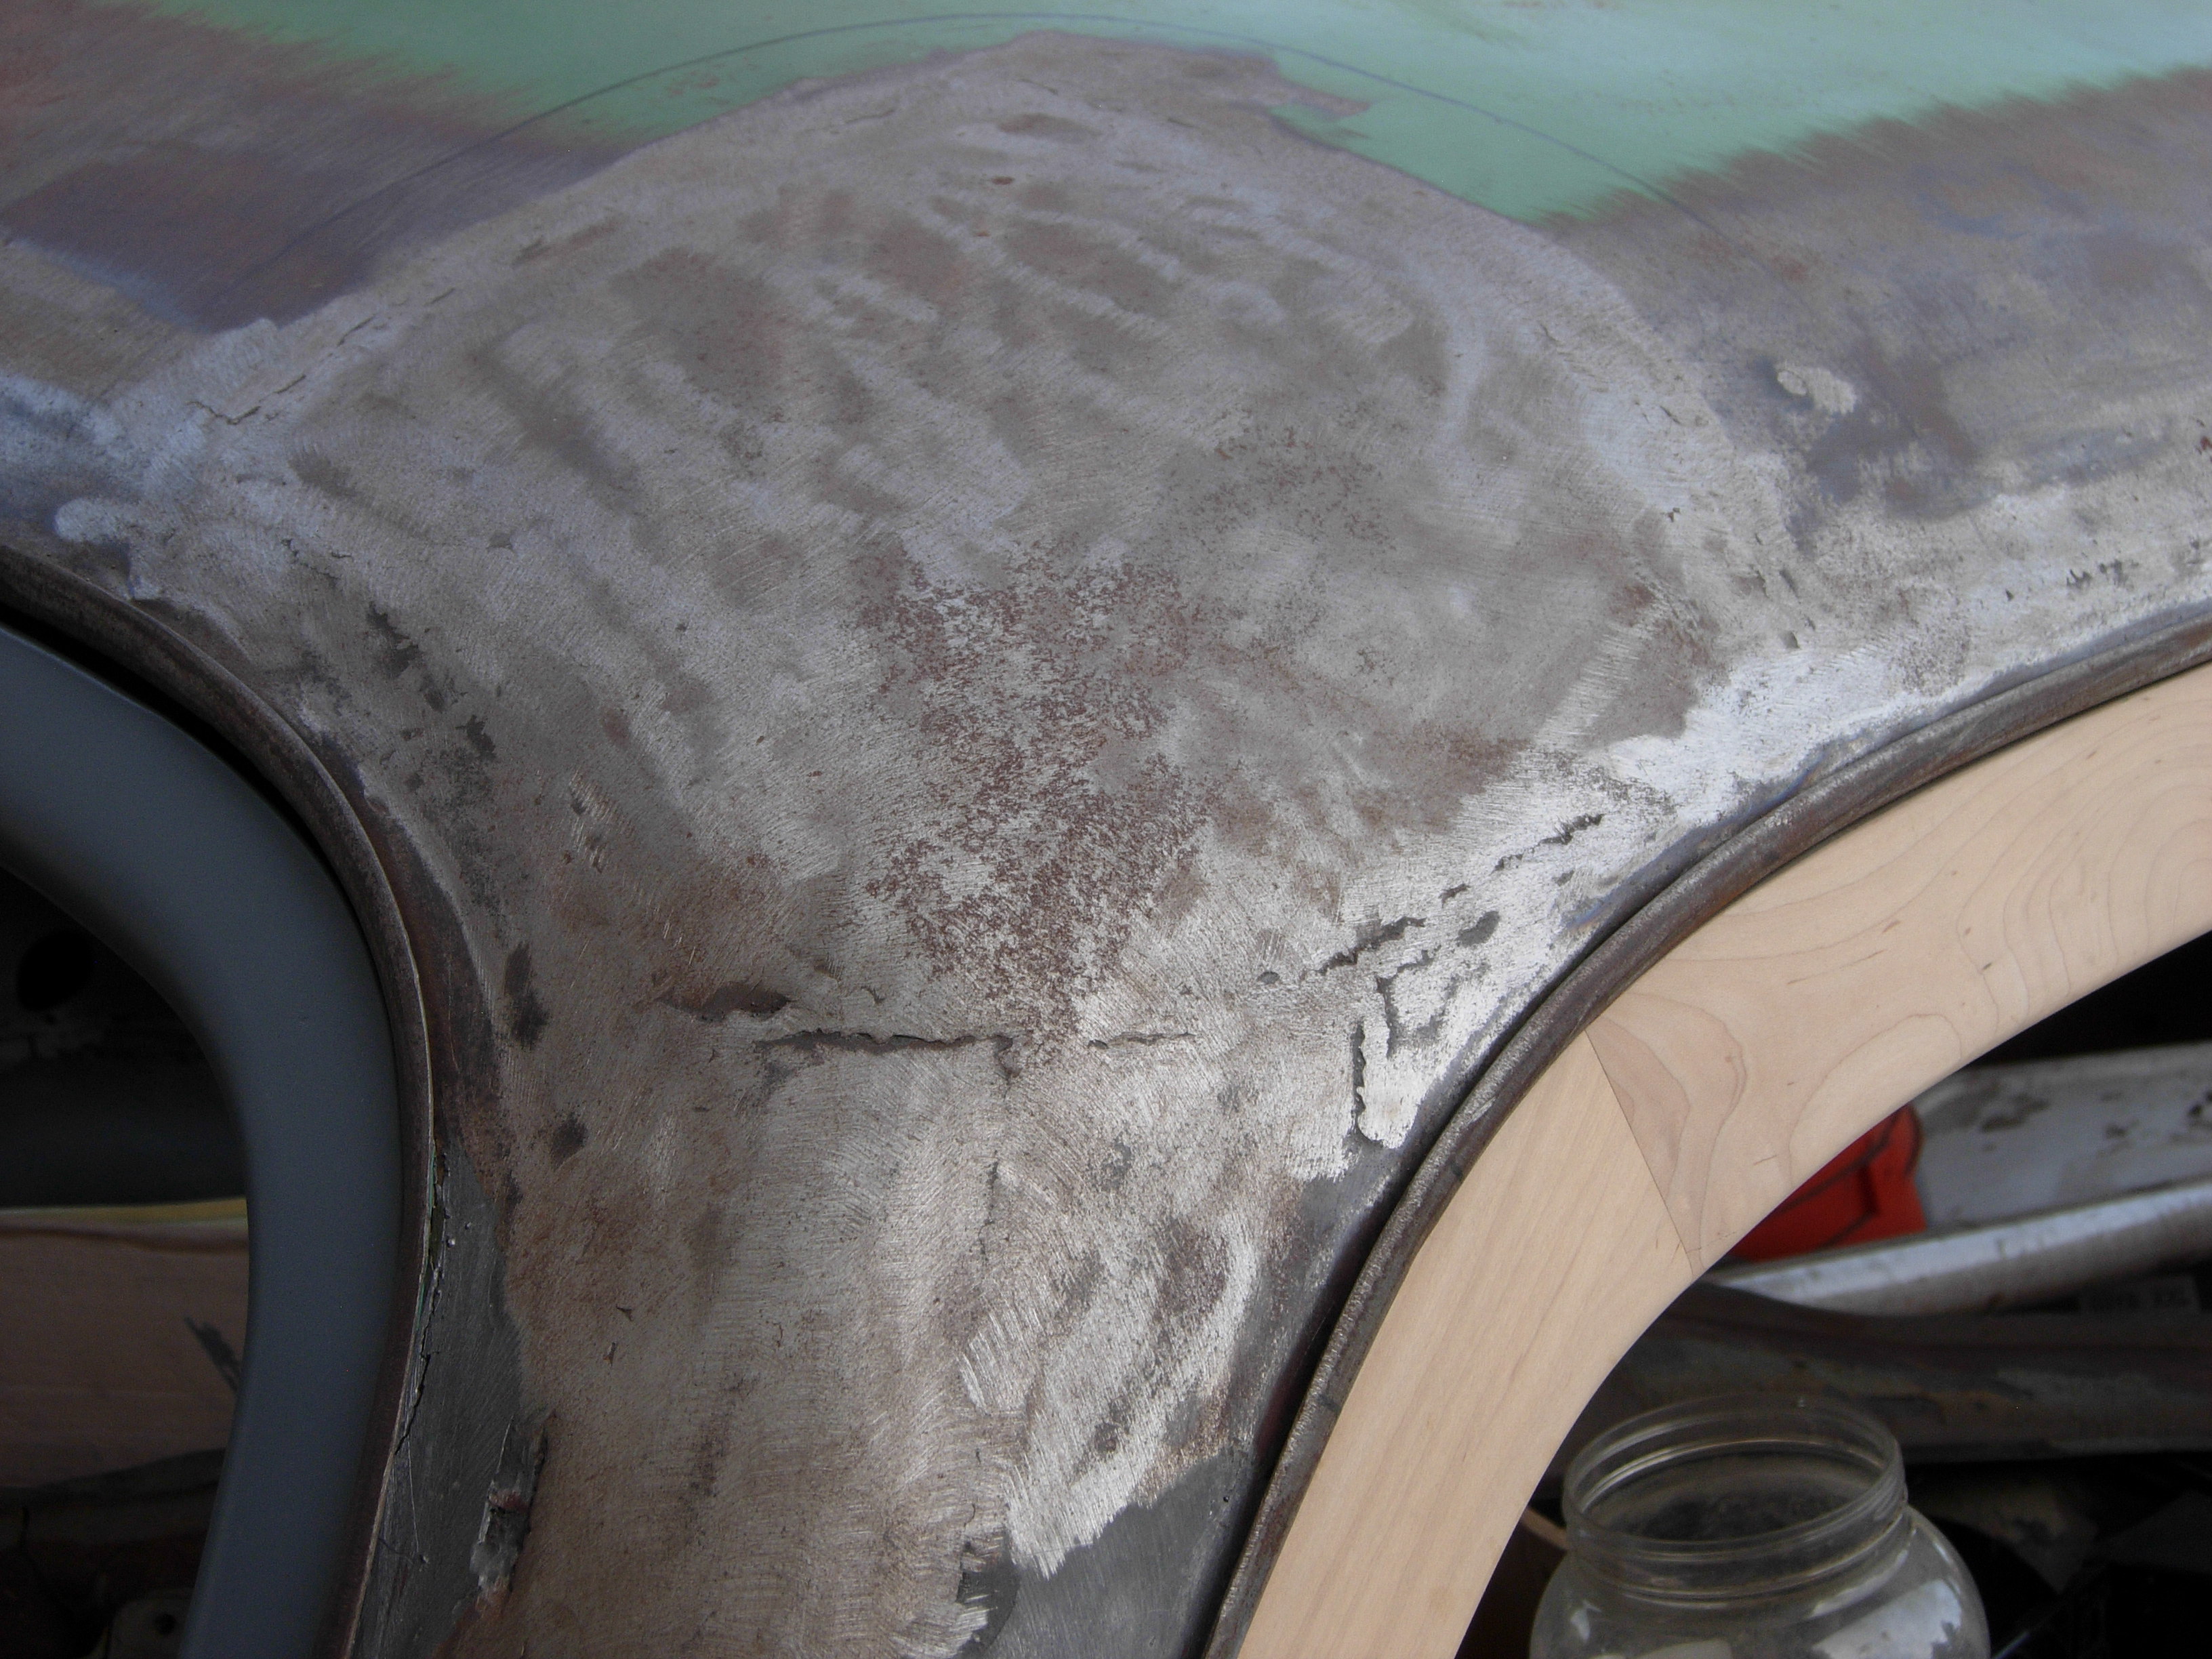
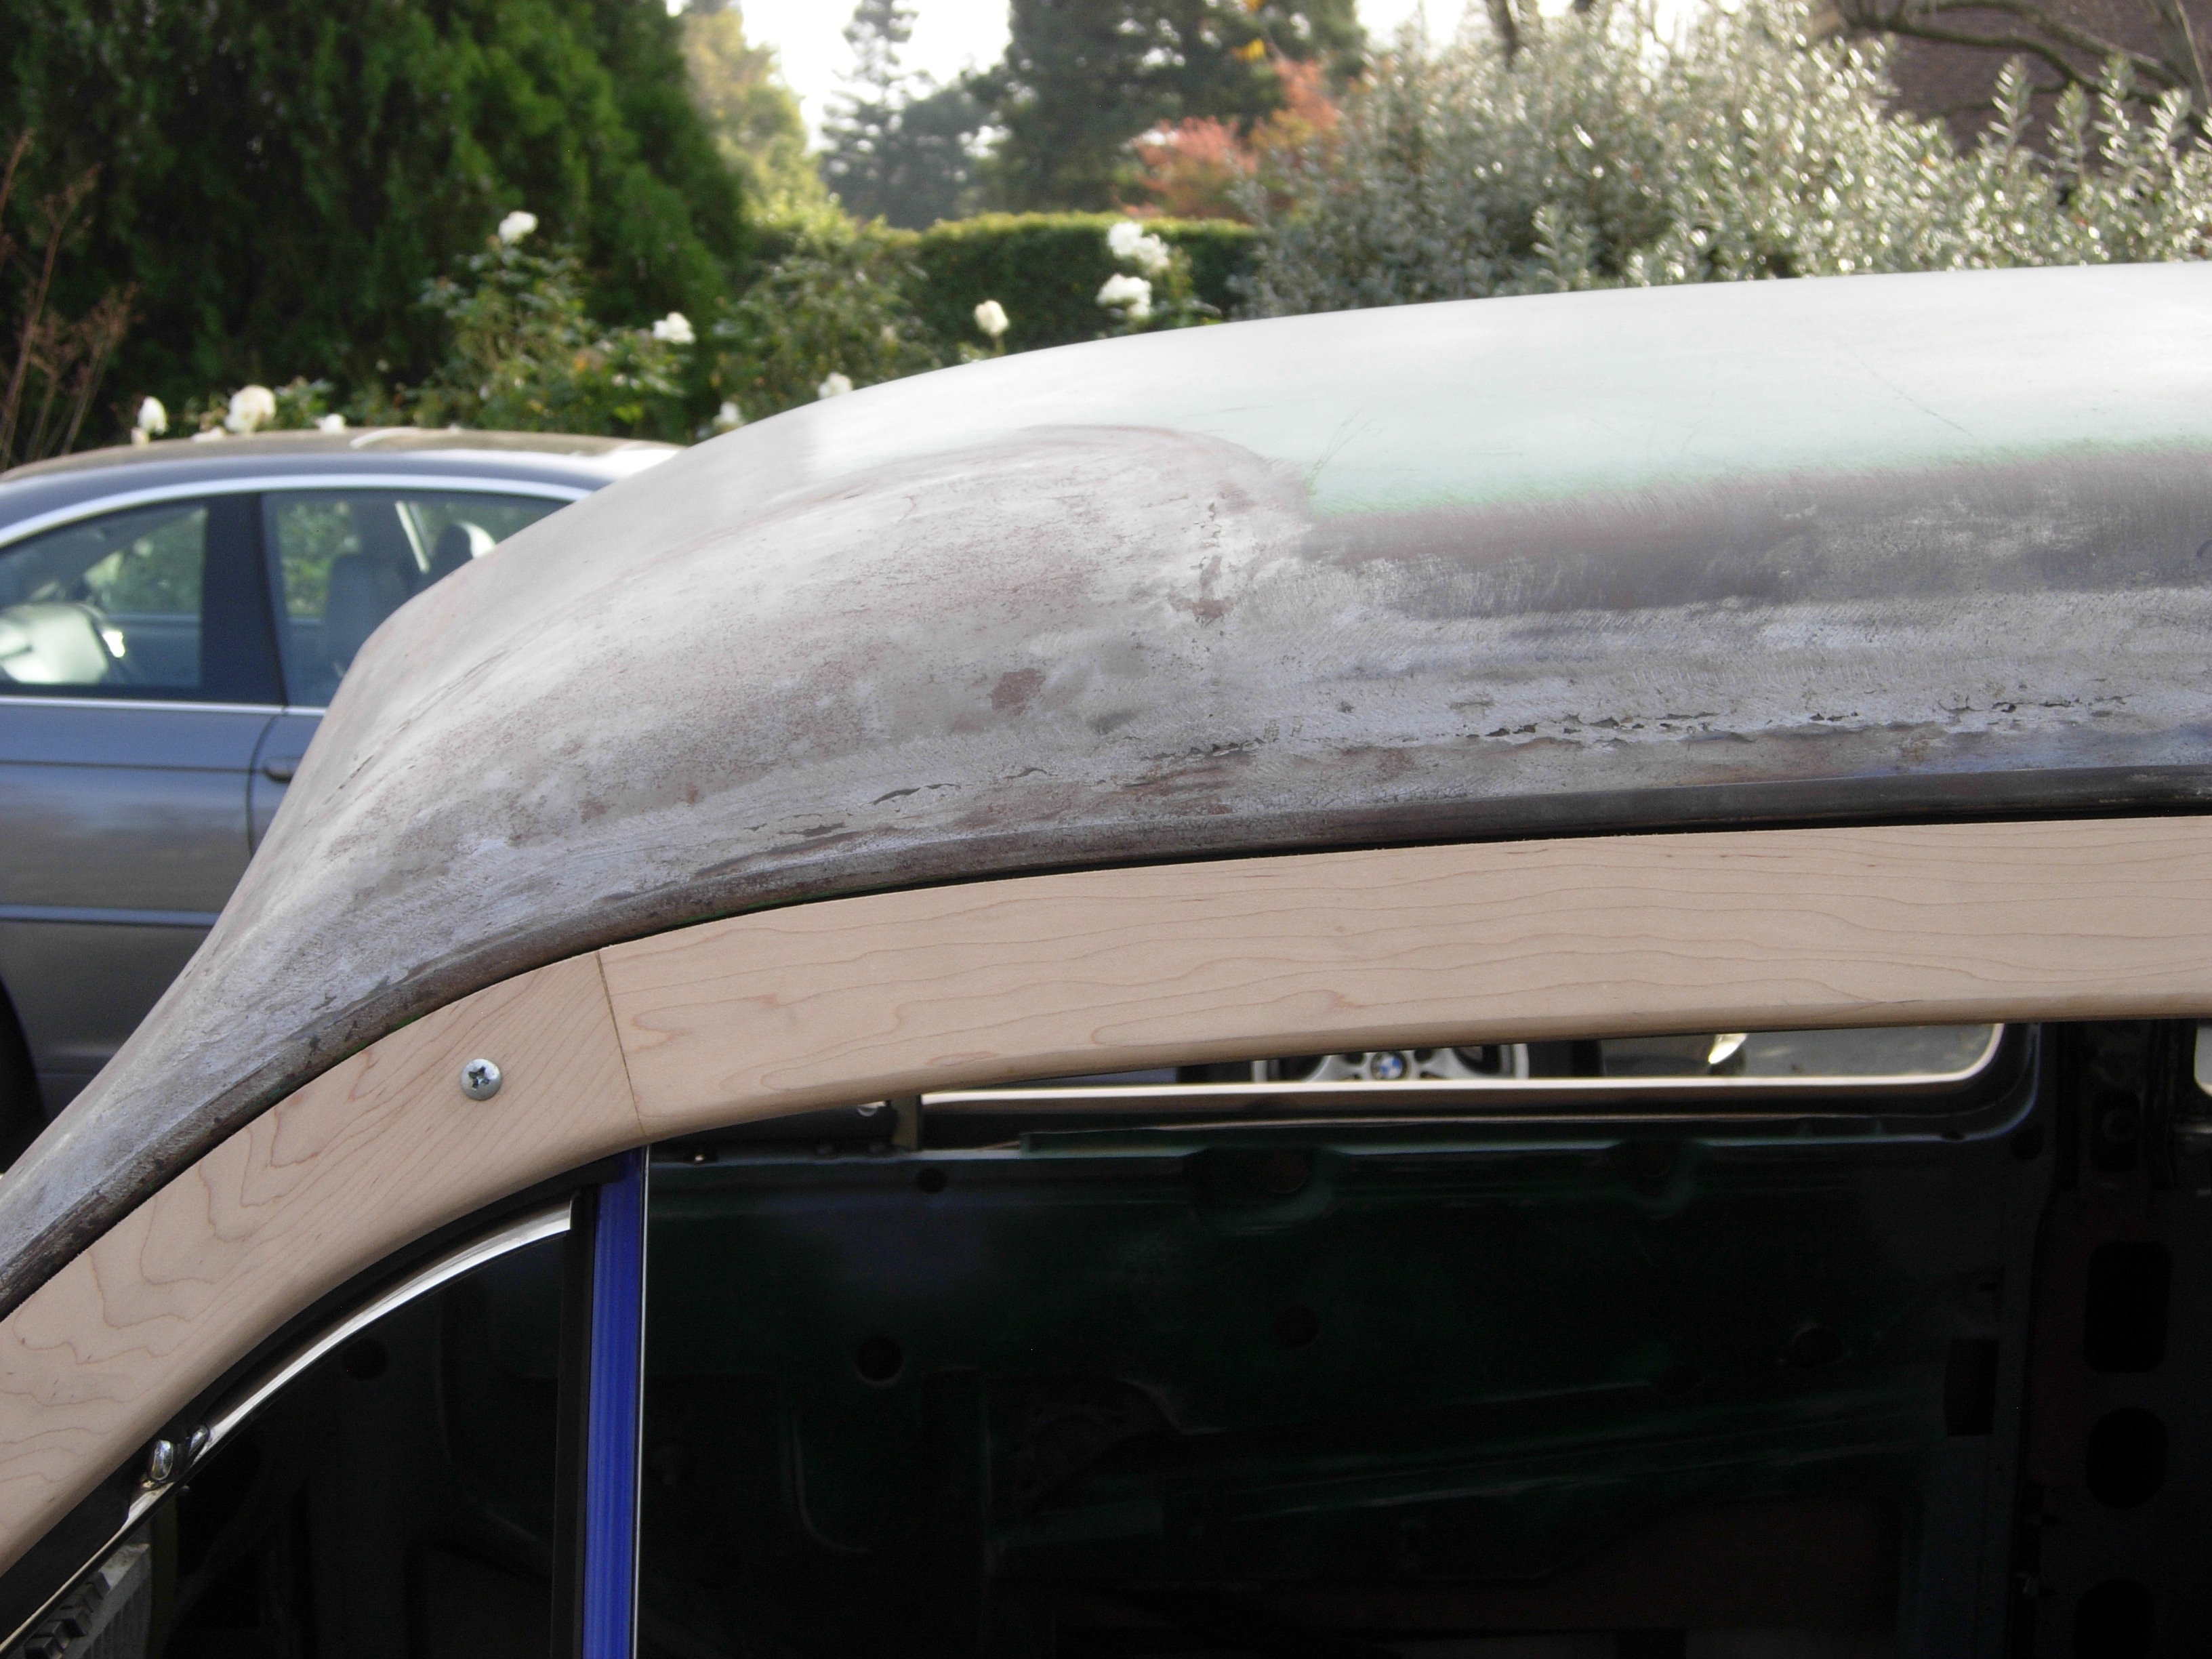
I bought this old woody project last year as a retirement project, and 'cause I just love the old woody wagons. This one needs a LOT of work, but it's also already had some very cool work done to it. Most importantly to me, is that it already has the wood kit purchased (the wood kits for Merc's are crazy expensive 'cause they're so rare), and 'cause the prior owner already did the majority of the work to "Pancake" the roof. Pancaking is when you remove metal from above the top of the window line of the body. 1949 through 1951 Ford and Mercury wagons were some of the most iconic woodies ever (especially 'cause they were some of the few two-door wagons), but they had a disproportionally tall roofline that never looked right to me. This car has had a subtle amount of material removed that gives it a much better look. It also had a 1969 Camaro front clip welded in which opens up a lot of opportunities for improved braking and handling, as well as more modern engine reliability and performance.
On the interior, I want modern amenities (power windows, three-point seat belts, excellent sound system) and in Northern California it MUST have effective A/C. Aftermarket systems (Vintage Air, etc) do a good job cooling air. But they don't move ENOUGH air for an interior this size. So, I plan on running two evaporator units.
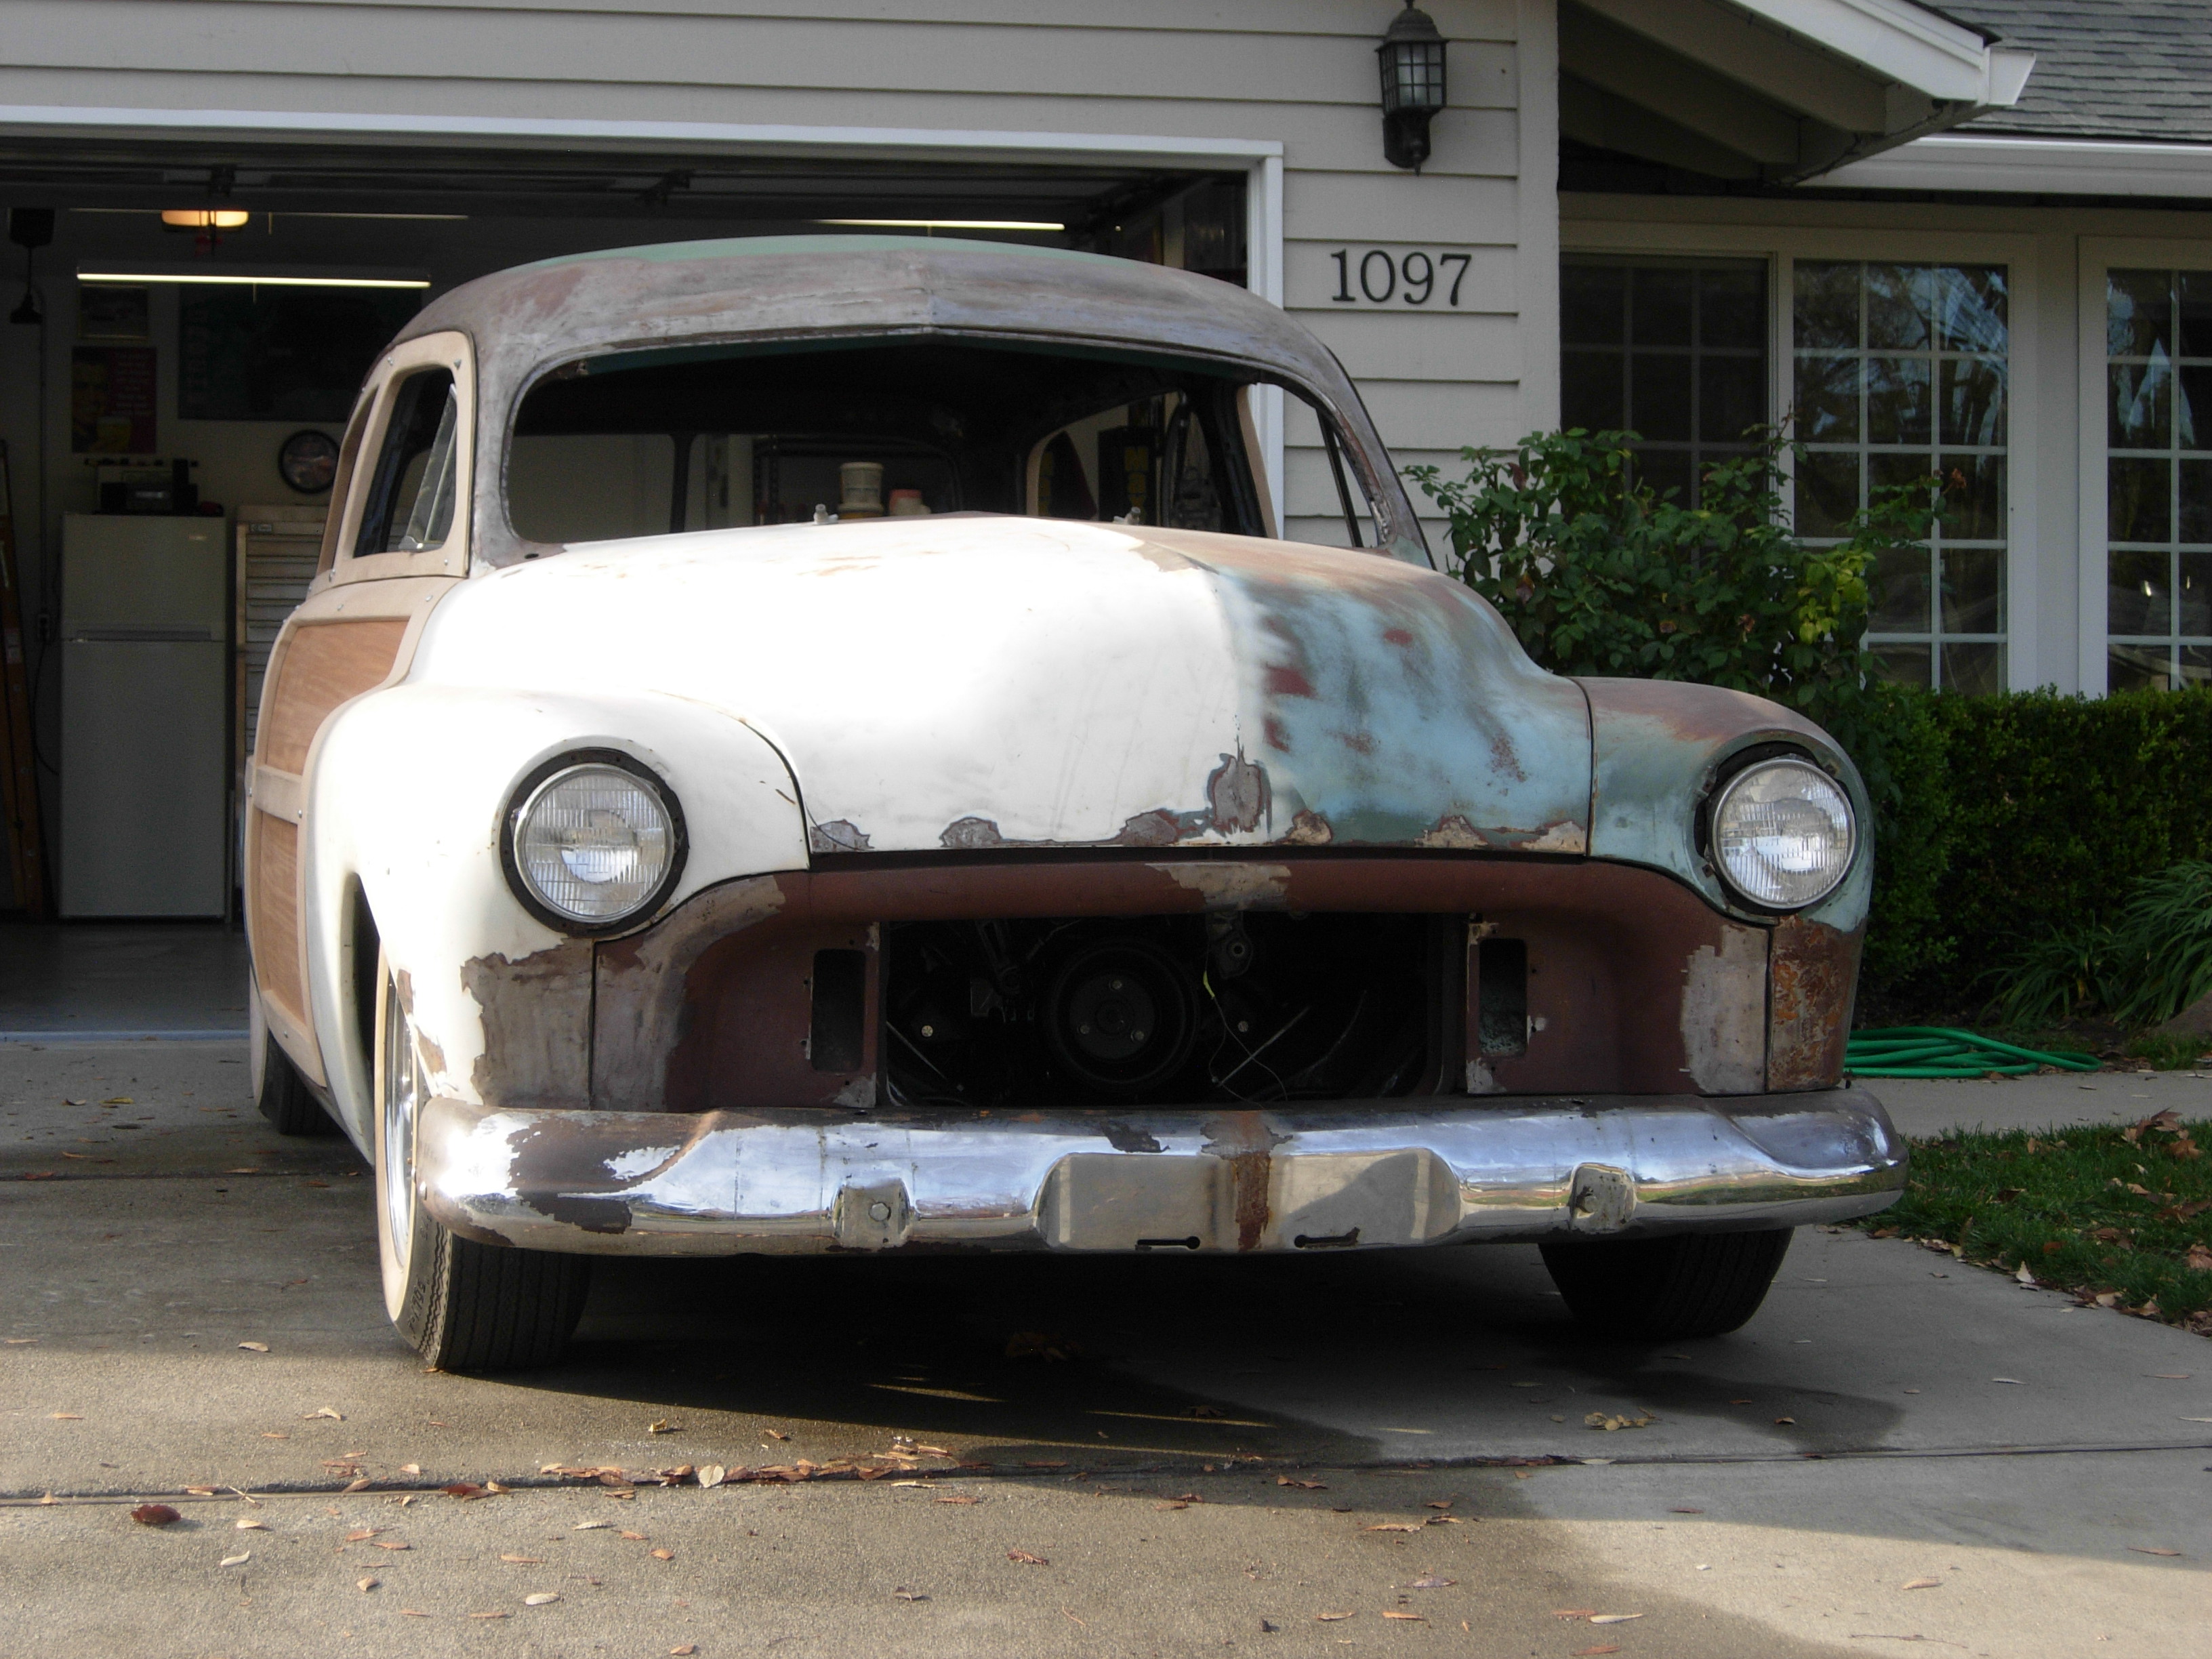
It's "a little rough" in spots. This is gonna be a LOT of work. It's overwhelming if you look at it in totality, I'm just gonna break it down into a lot of smaller steps and get started.
I do OK with simple fabrication stuff, but I know my limits in terms of sheetmetal work. I'll have to pay a pro to get the roof ready for priming.
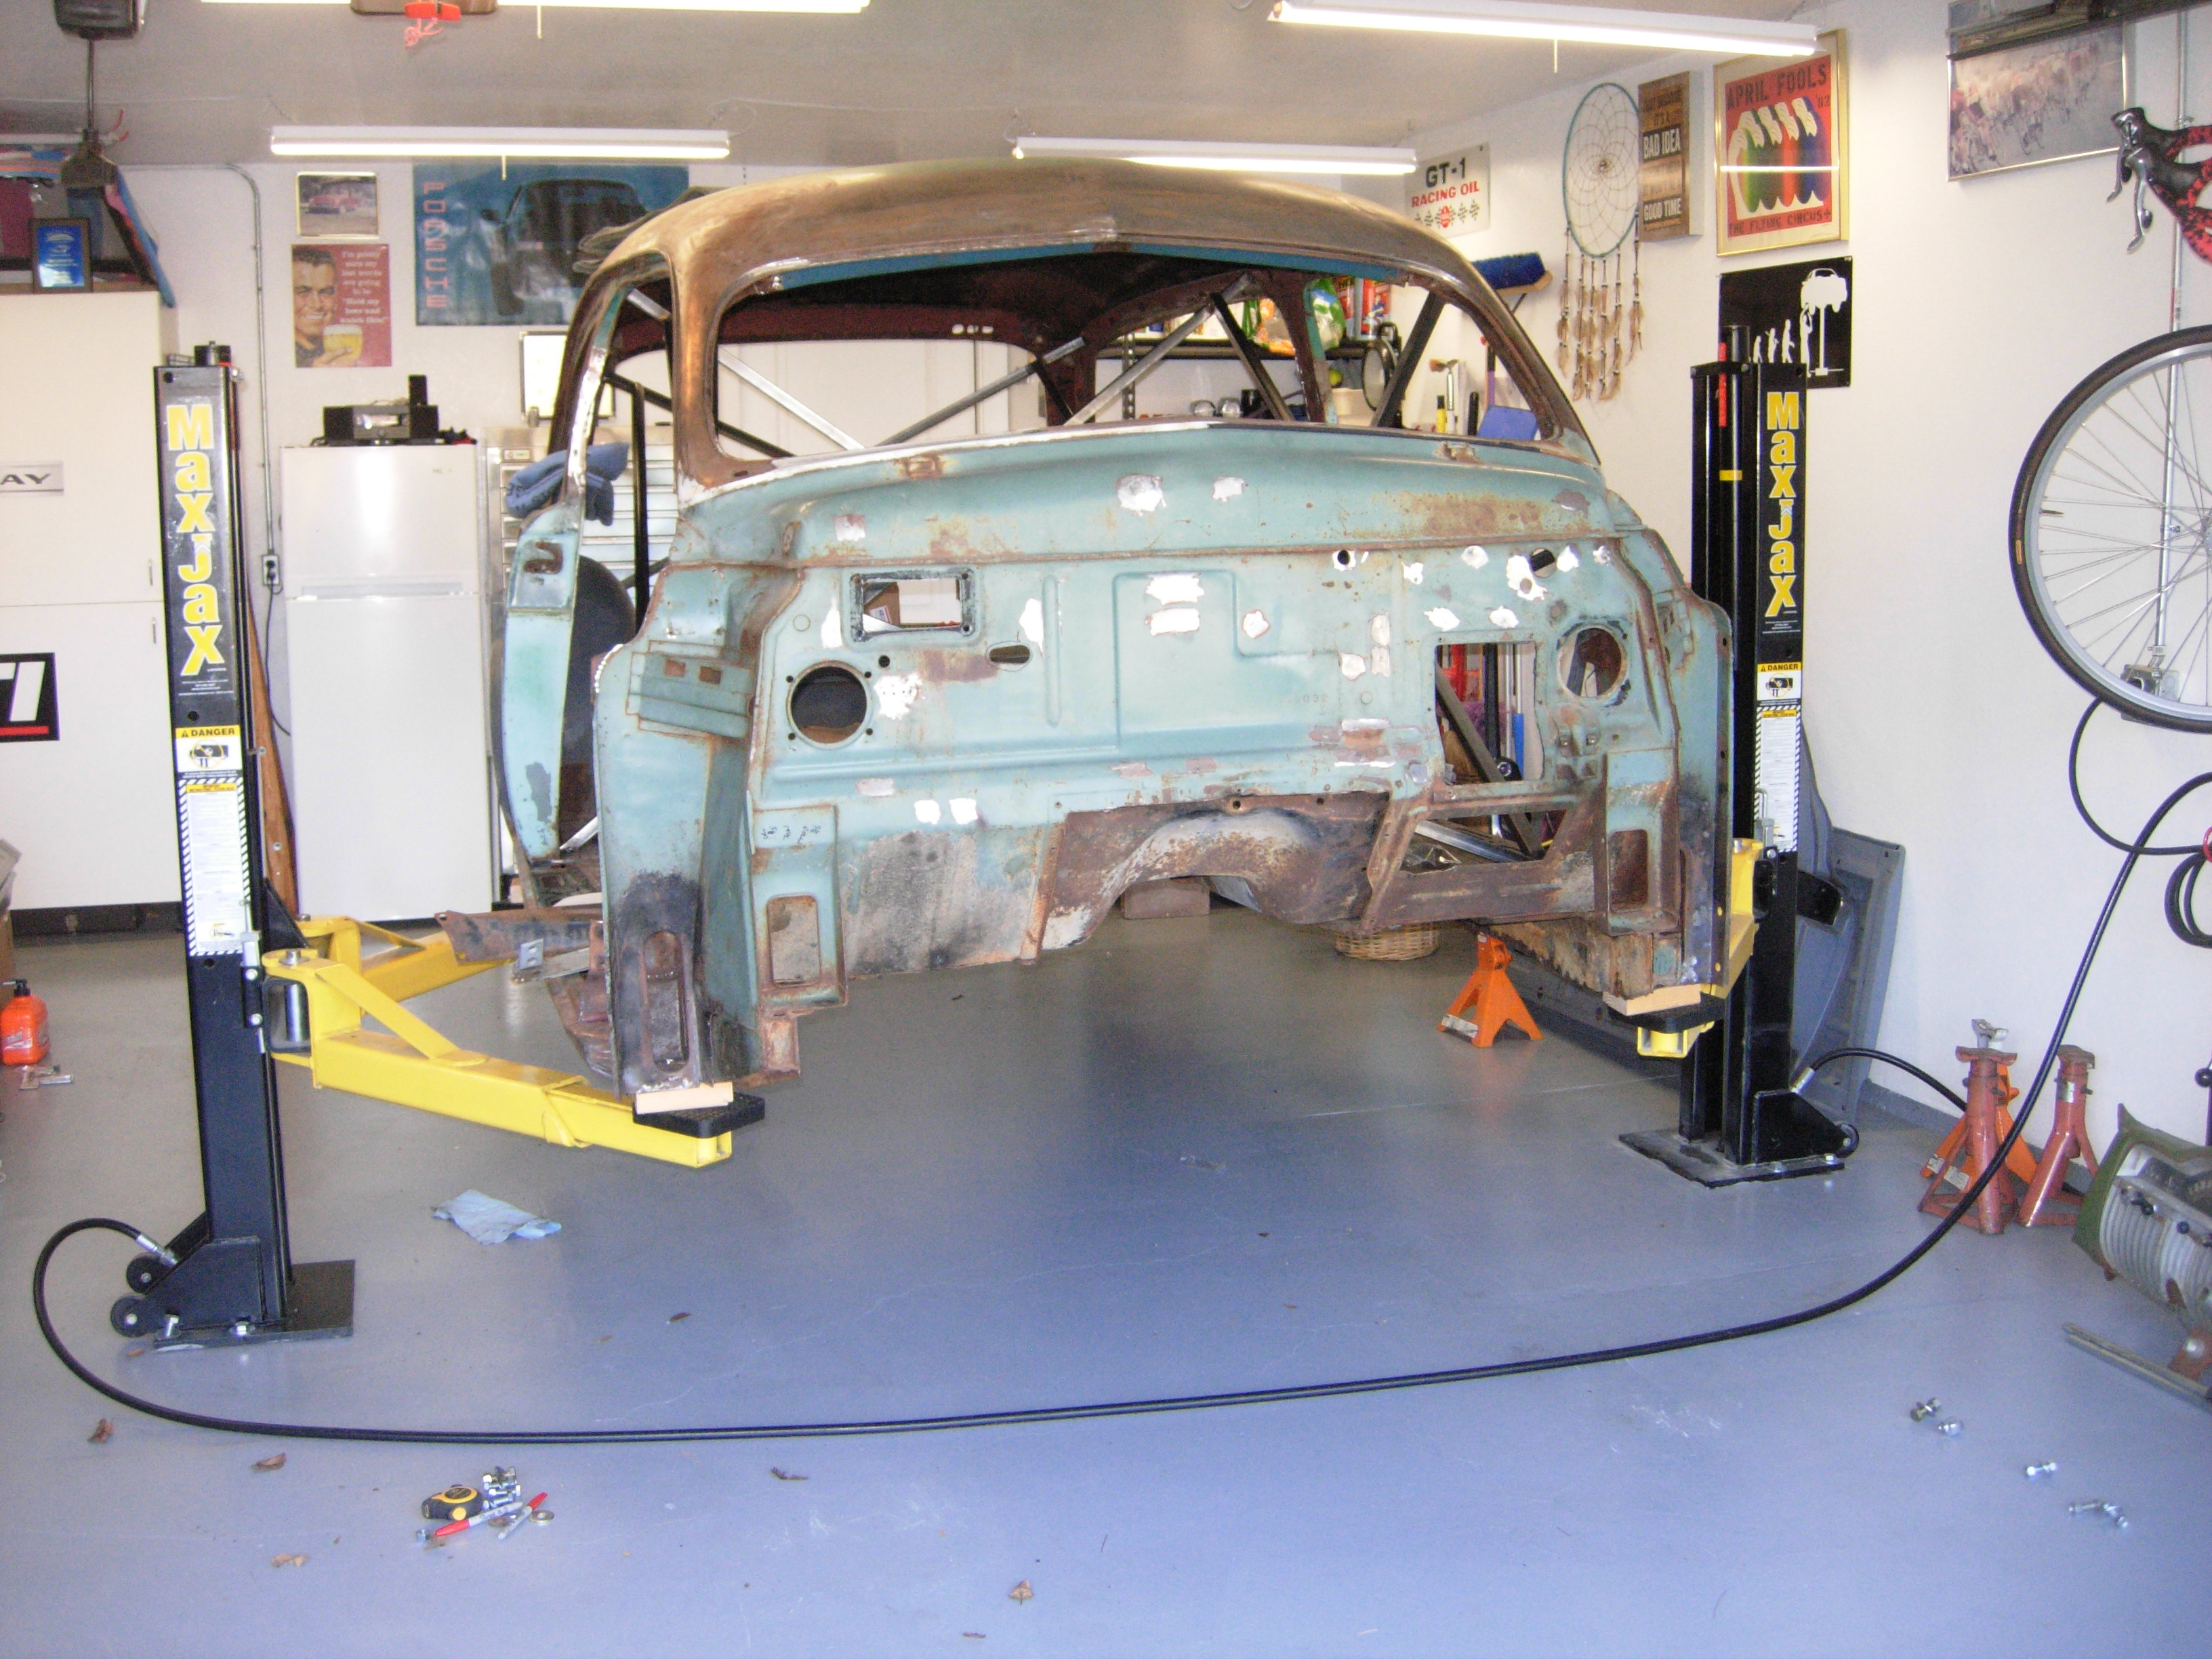
So, that means I'd need to fully disassemble the car and separate the body and chassis.
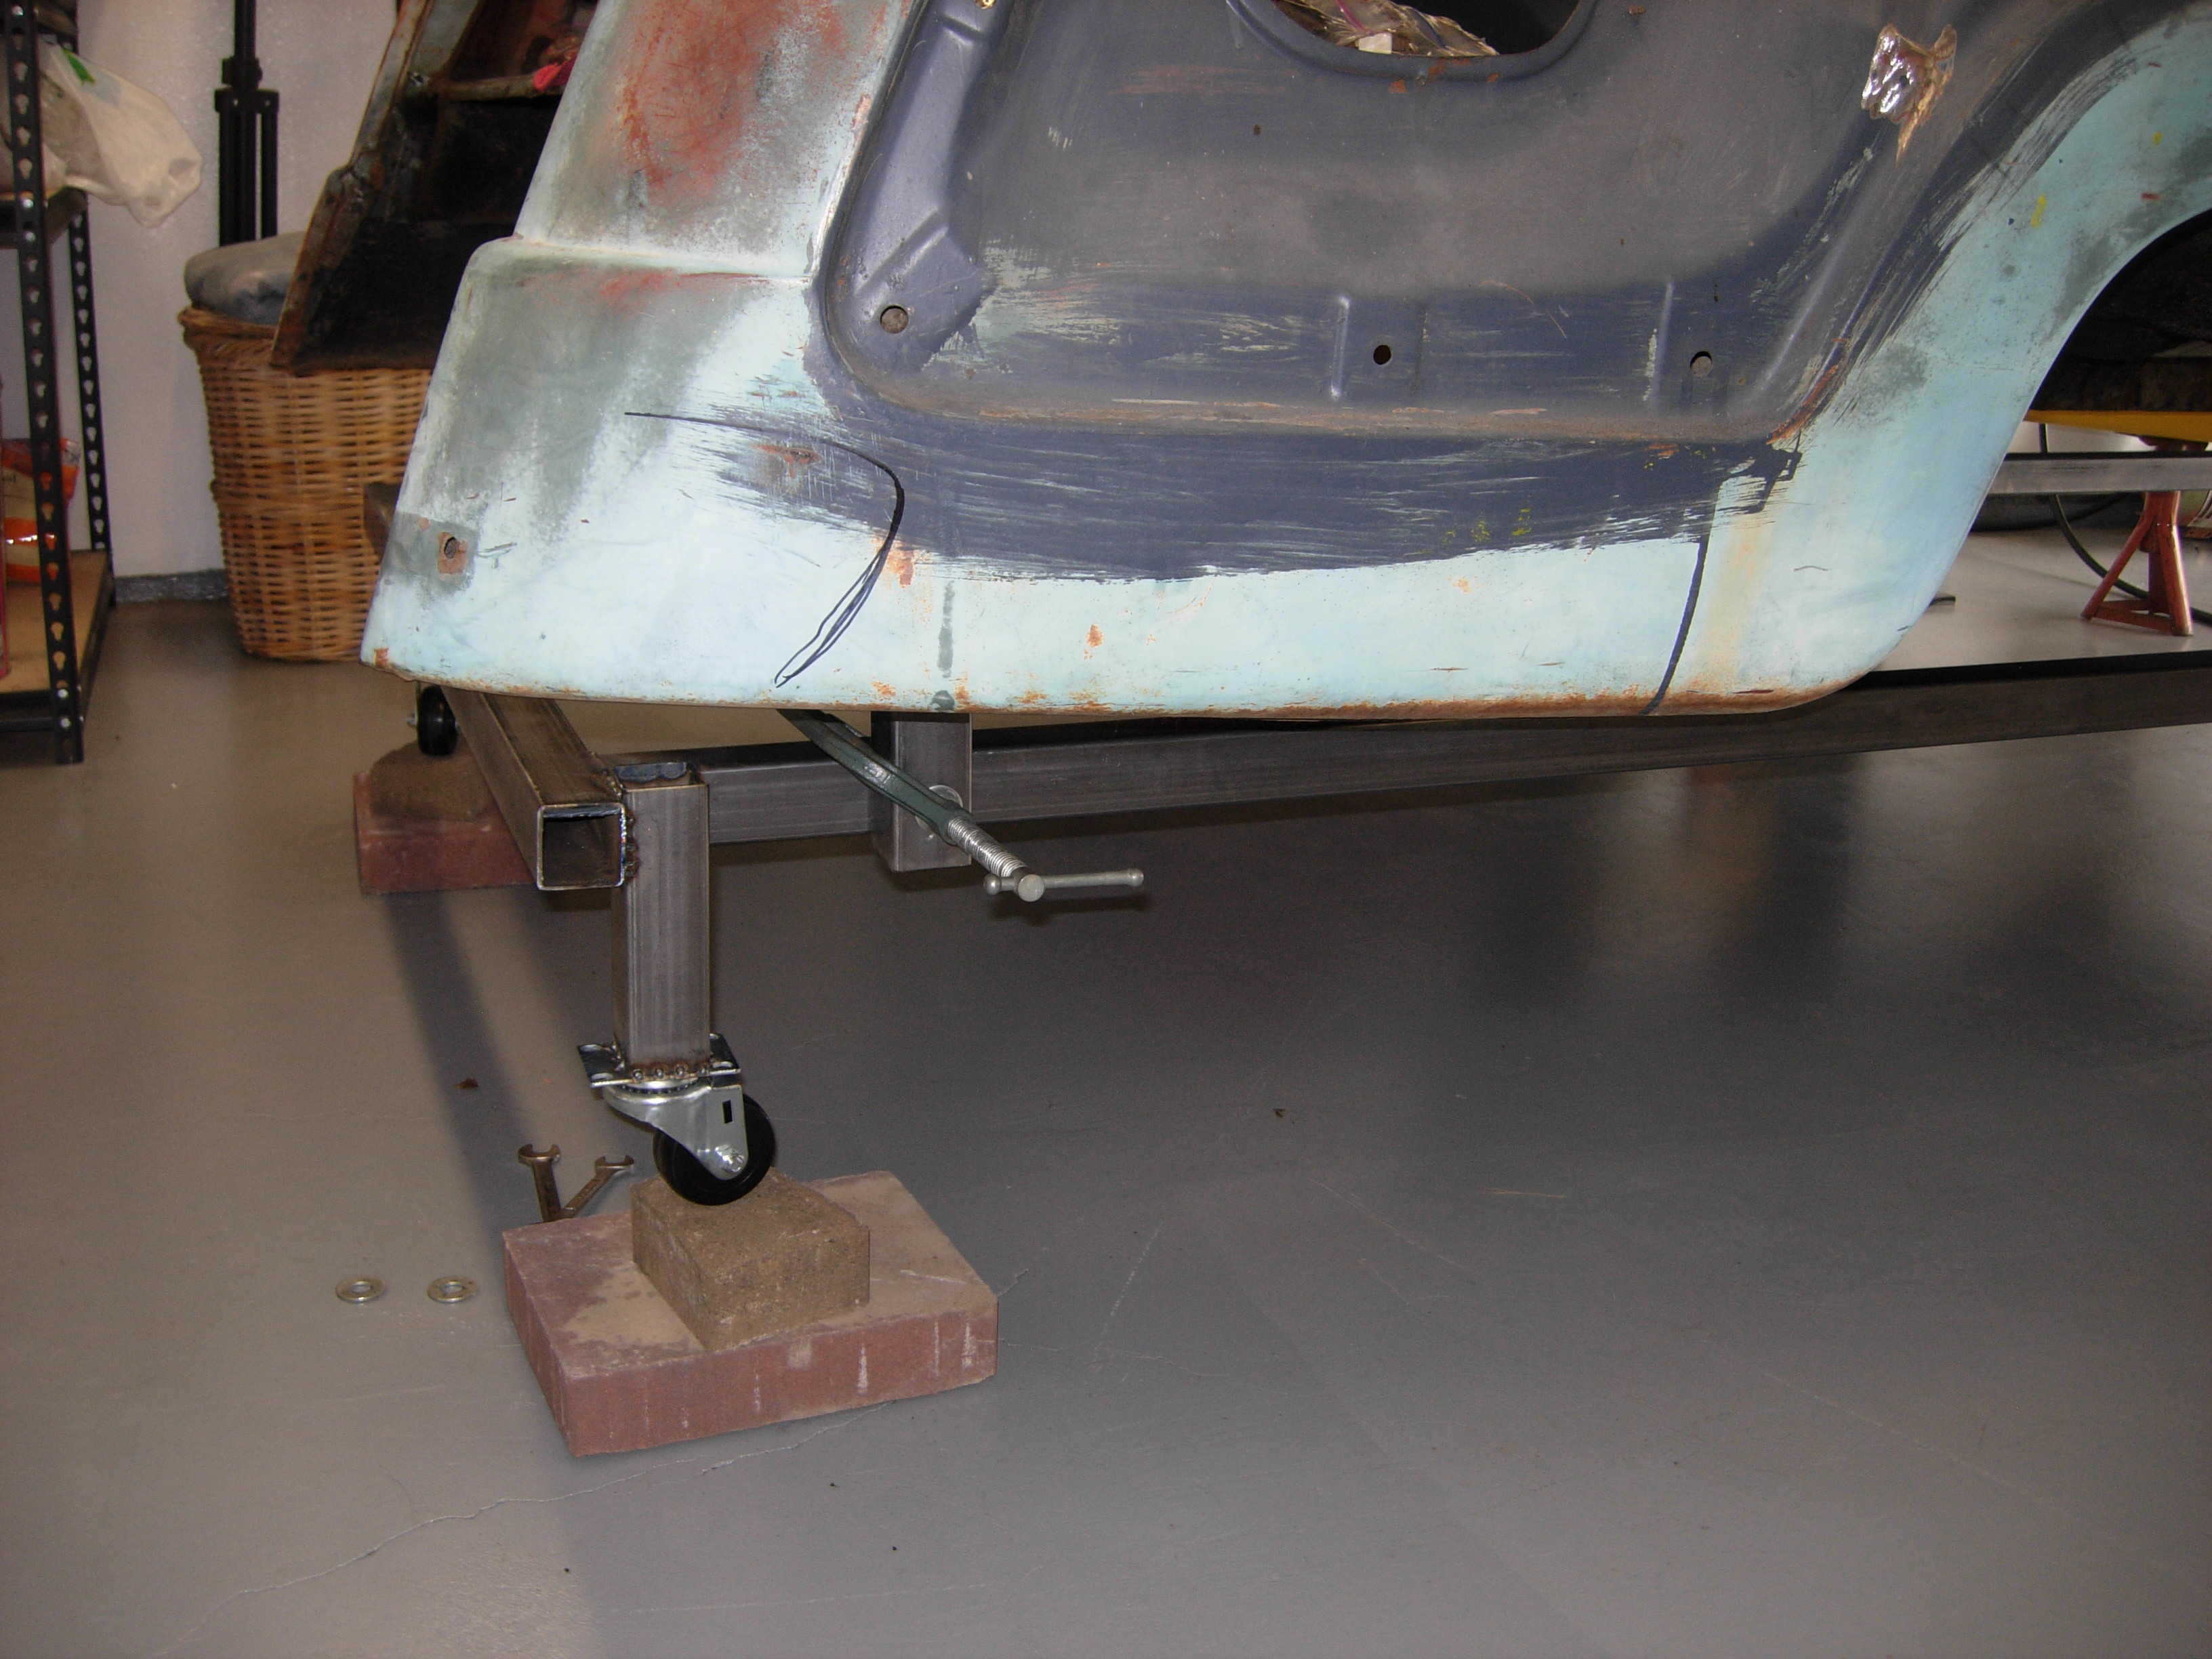
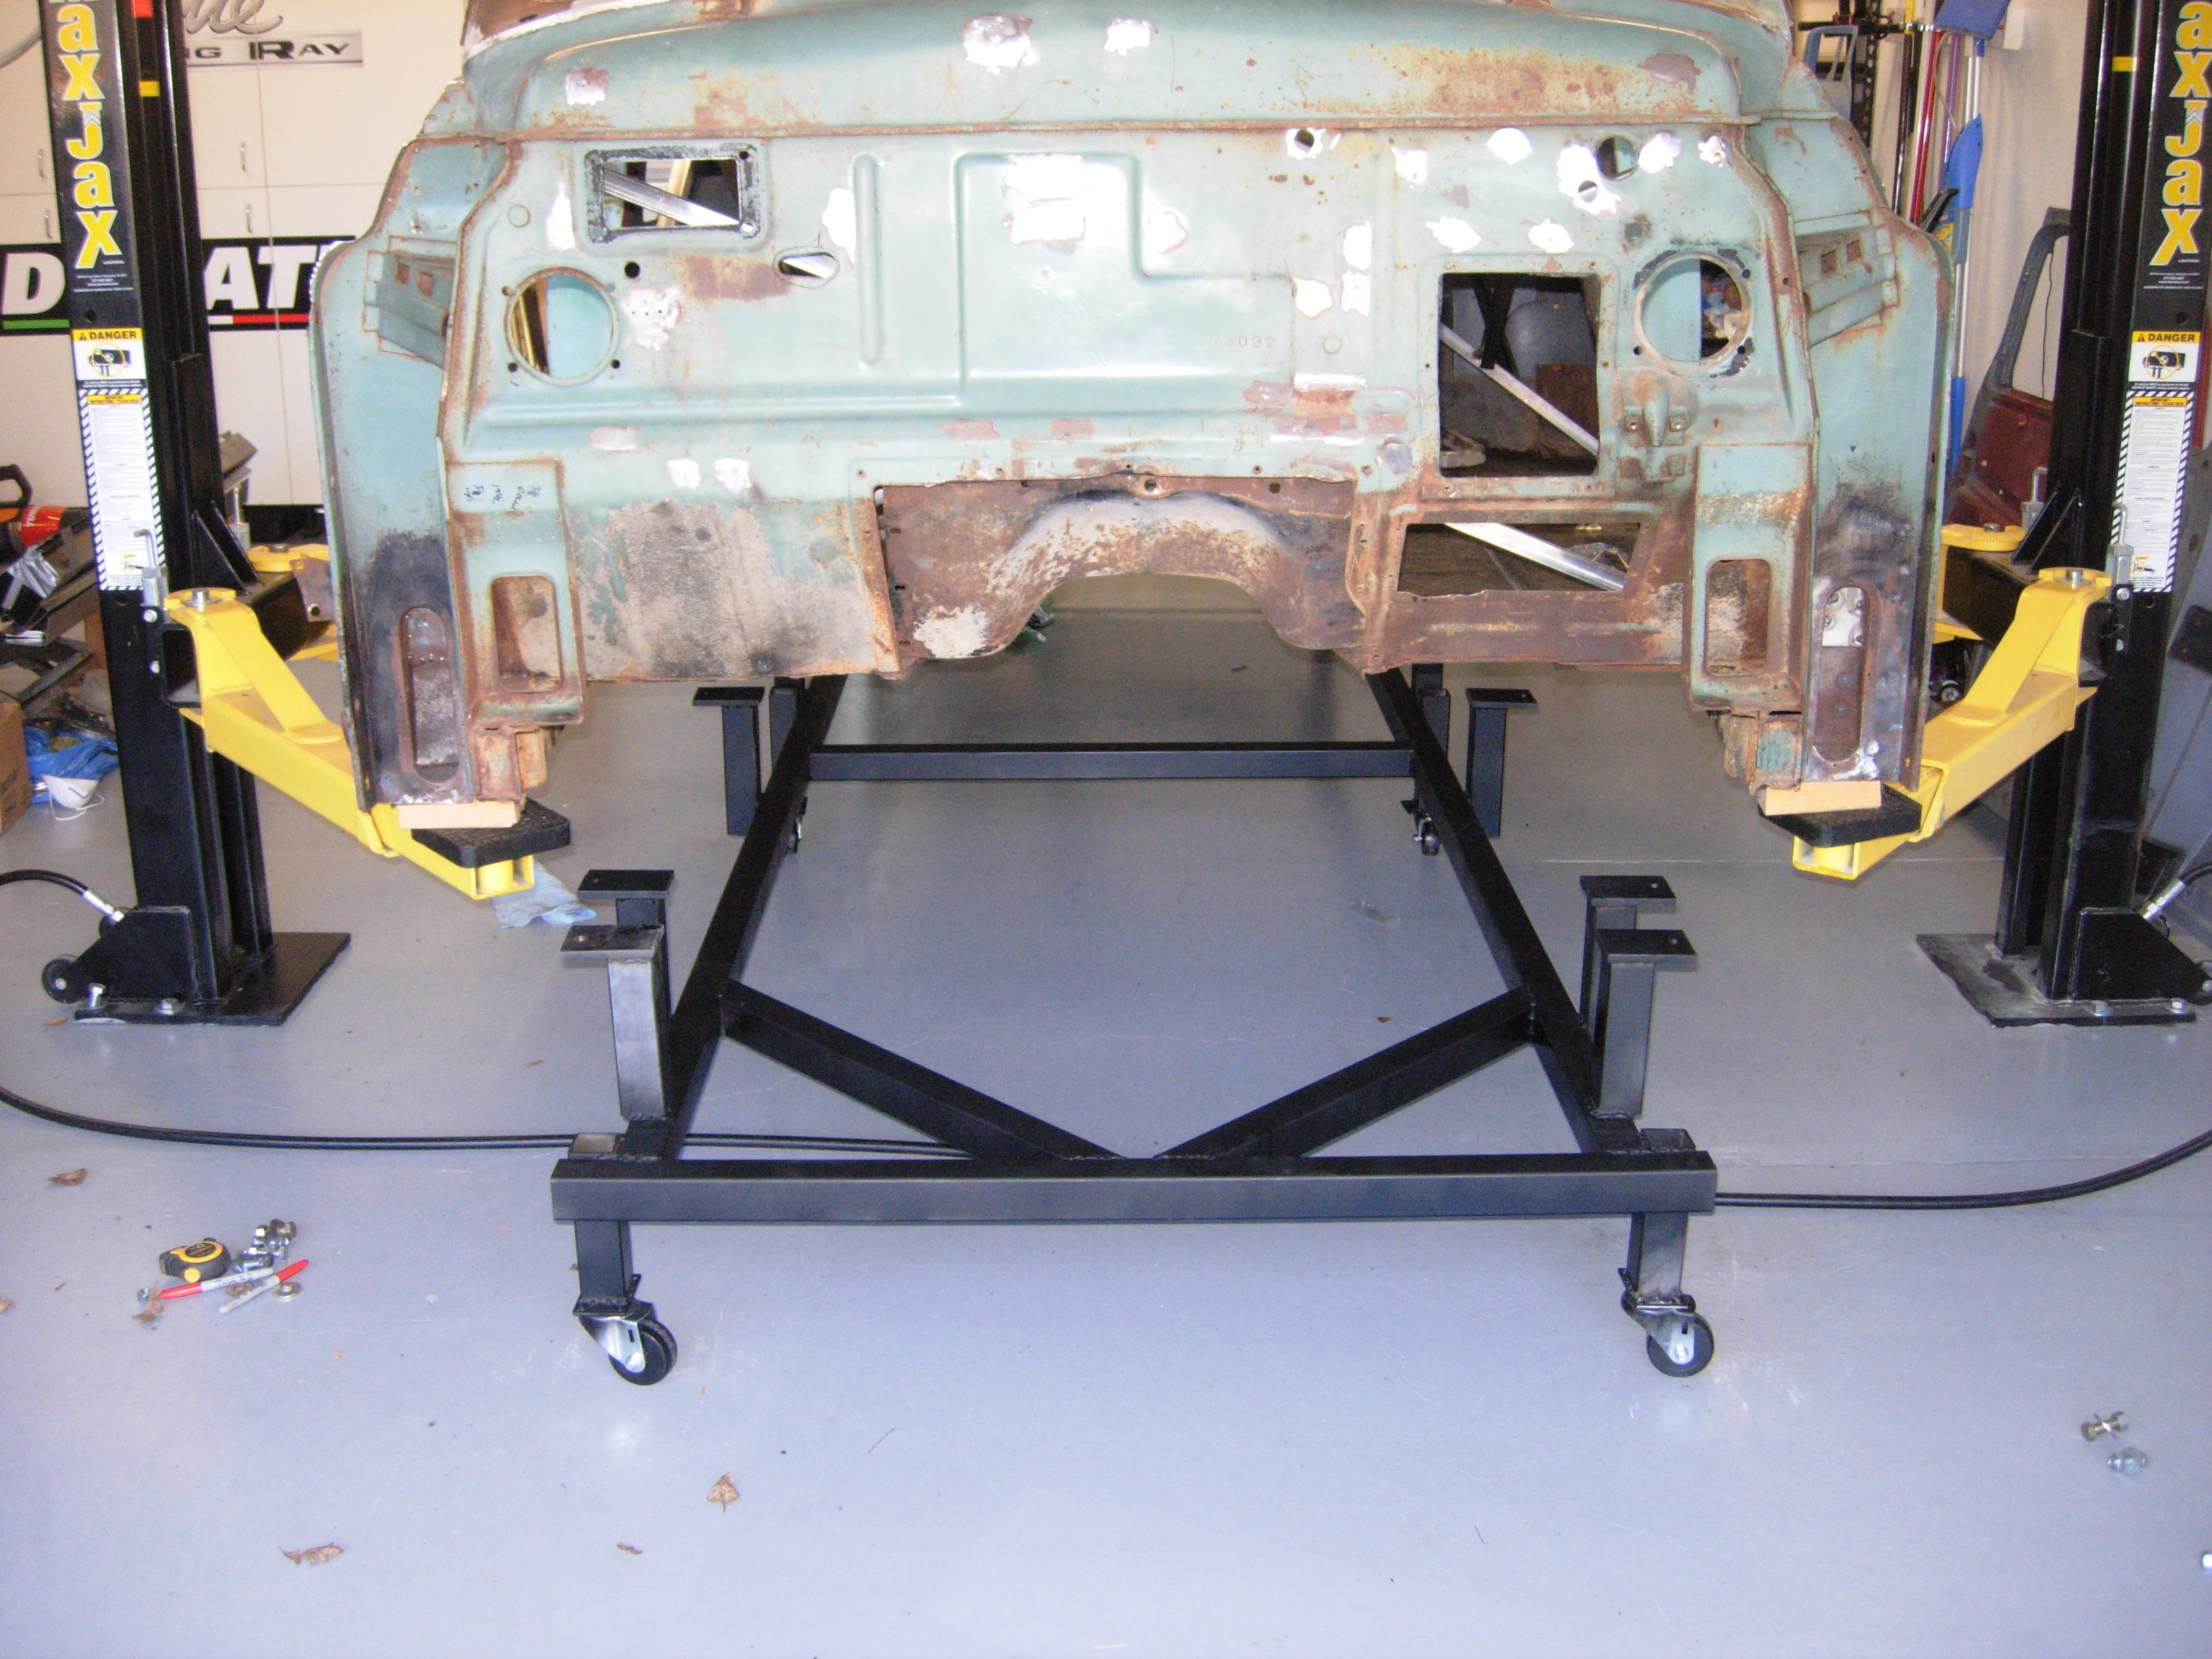
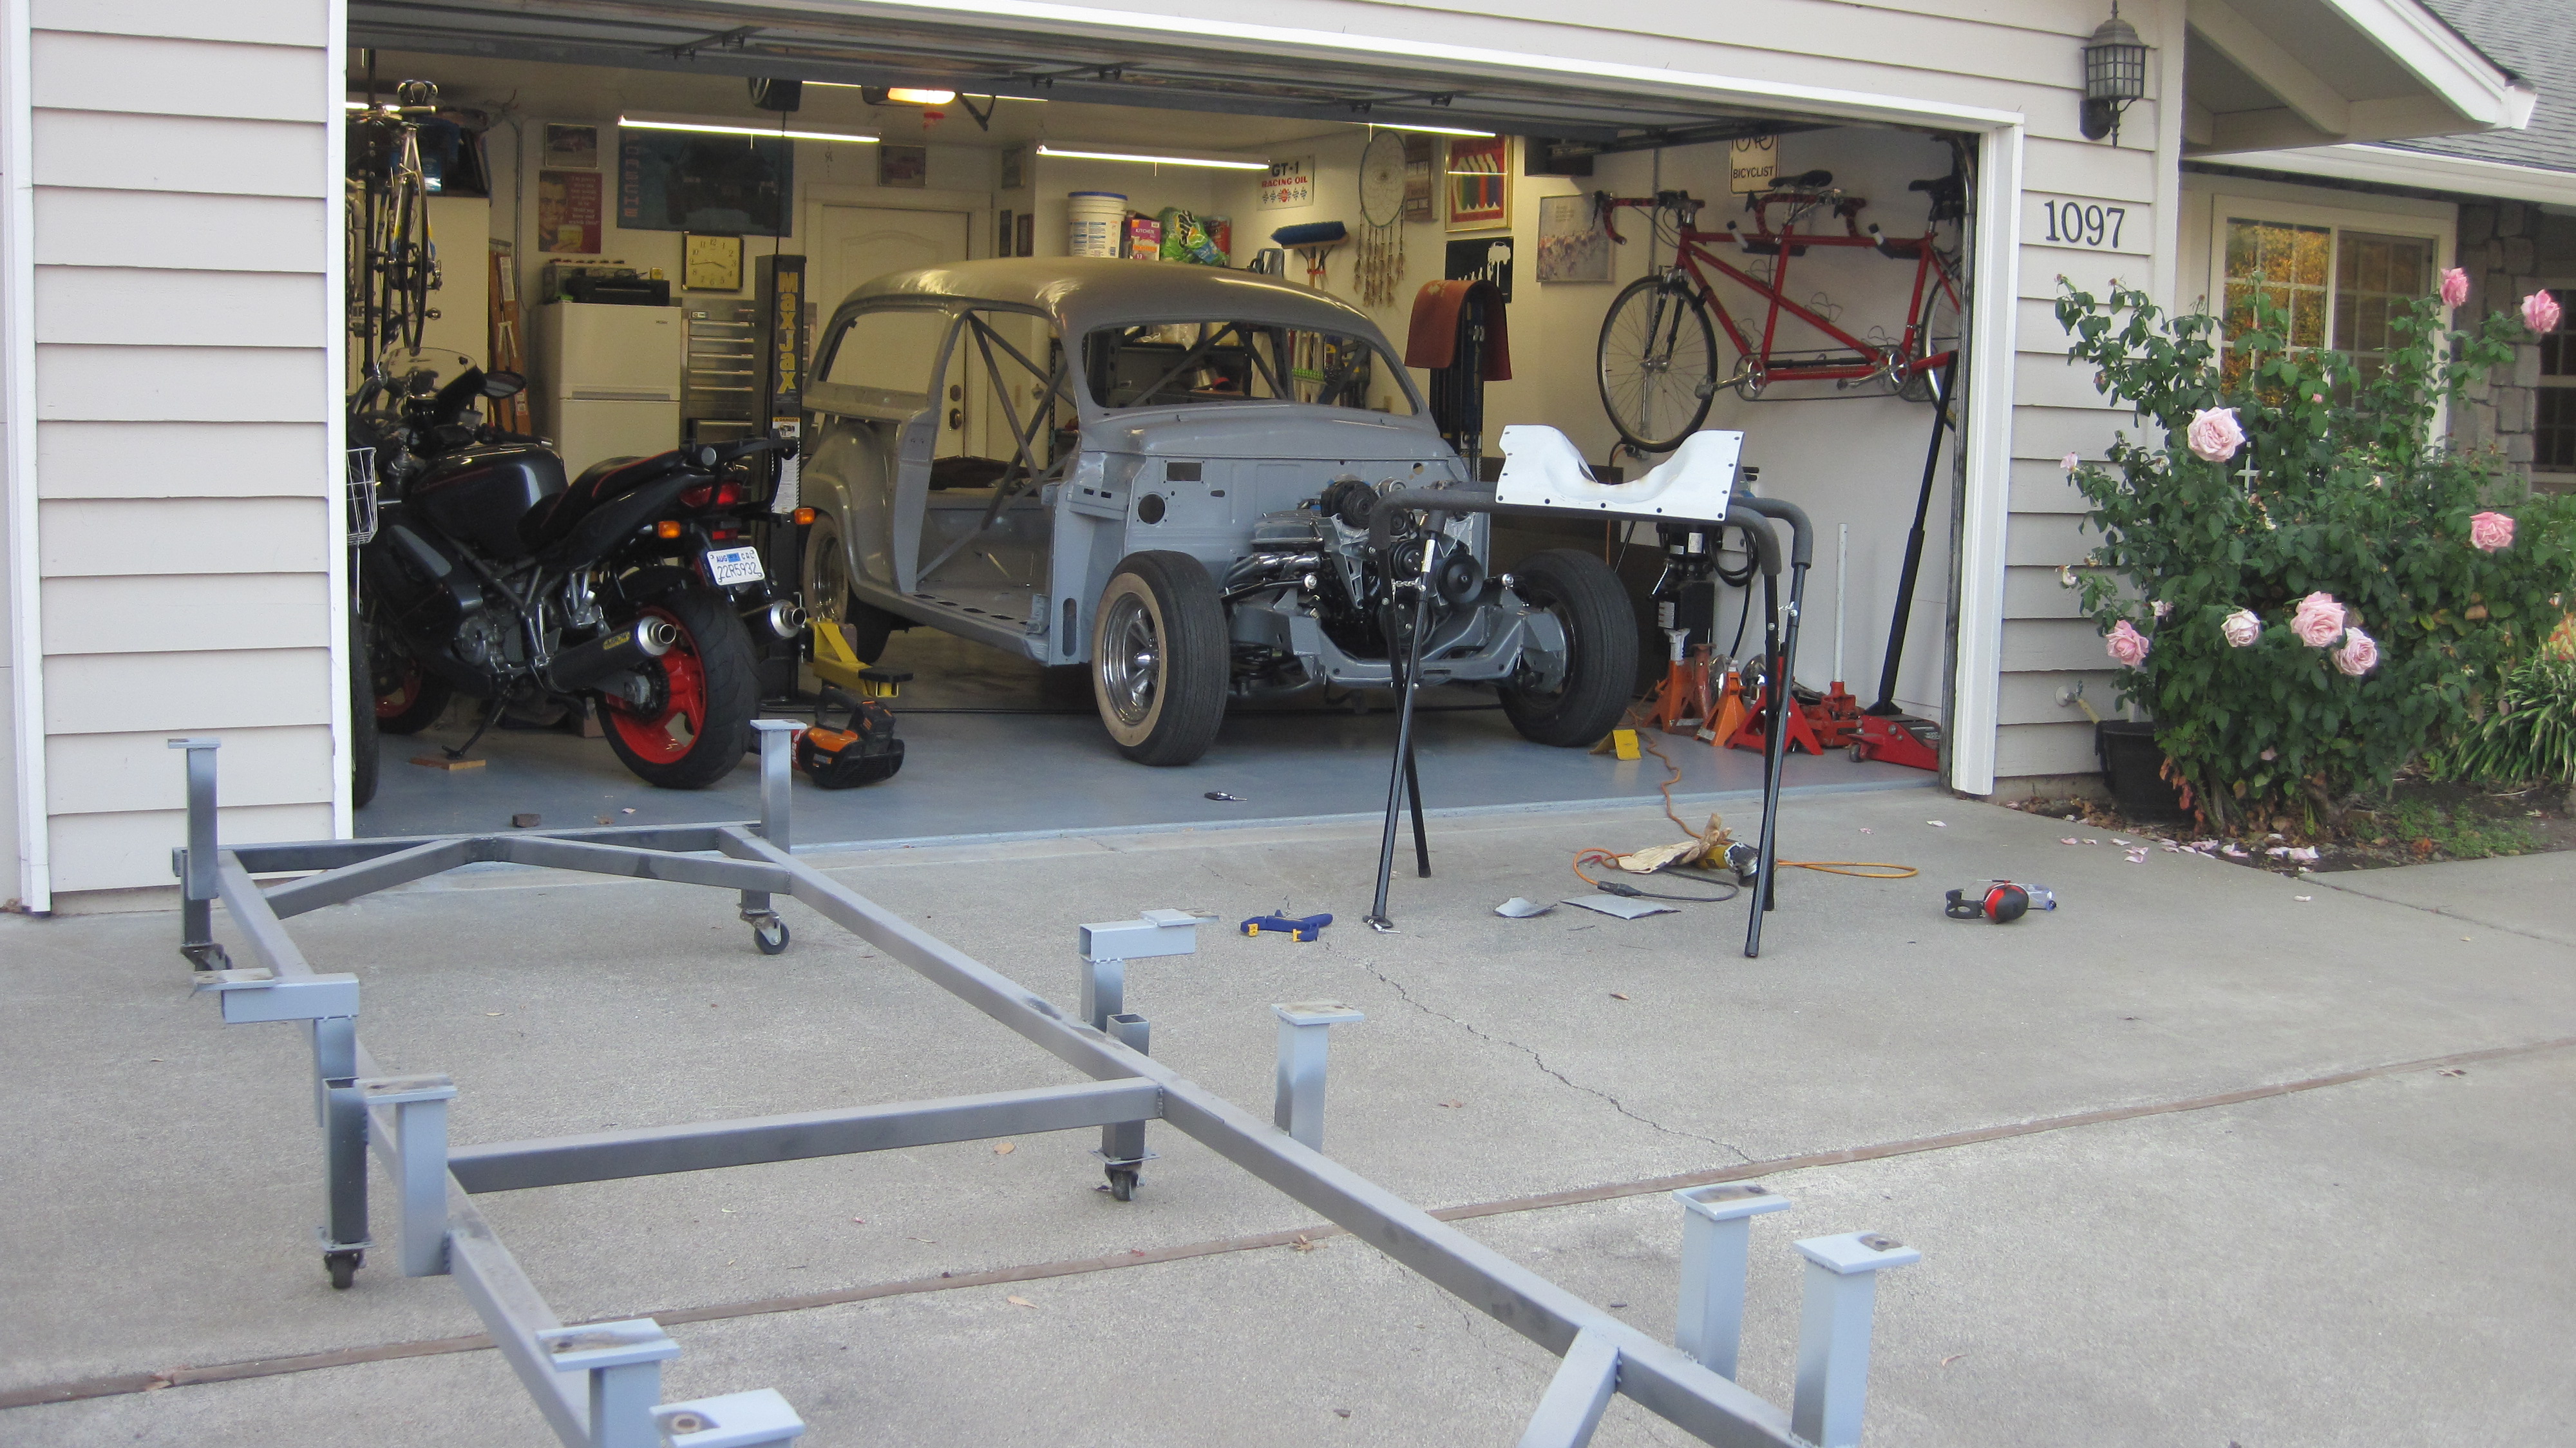
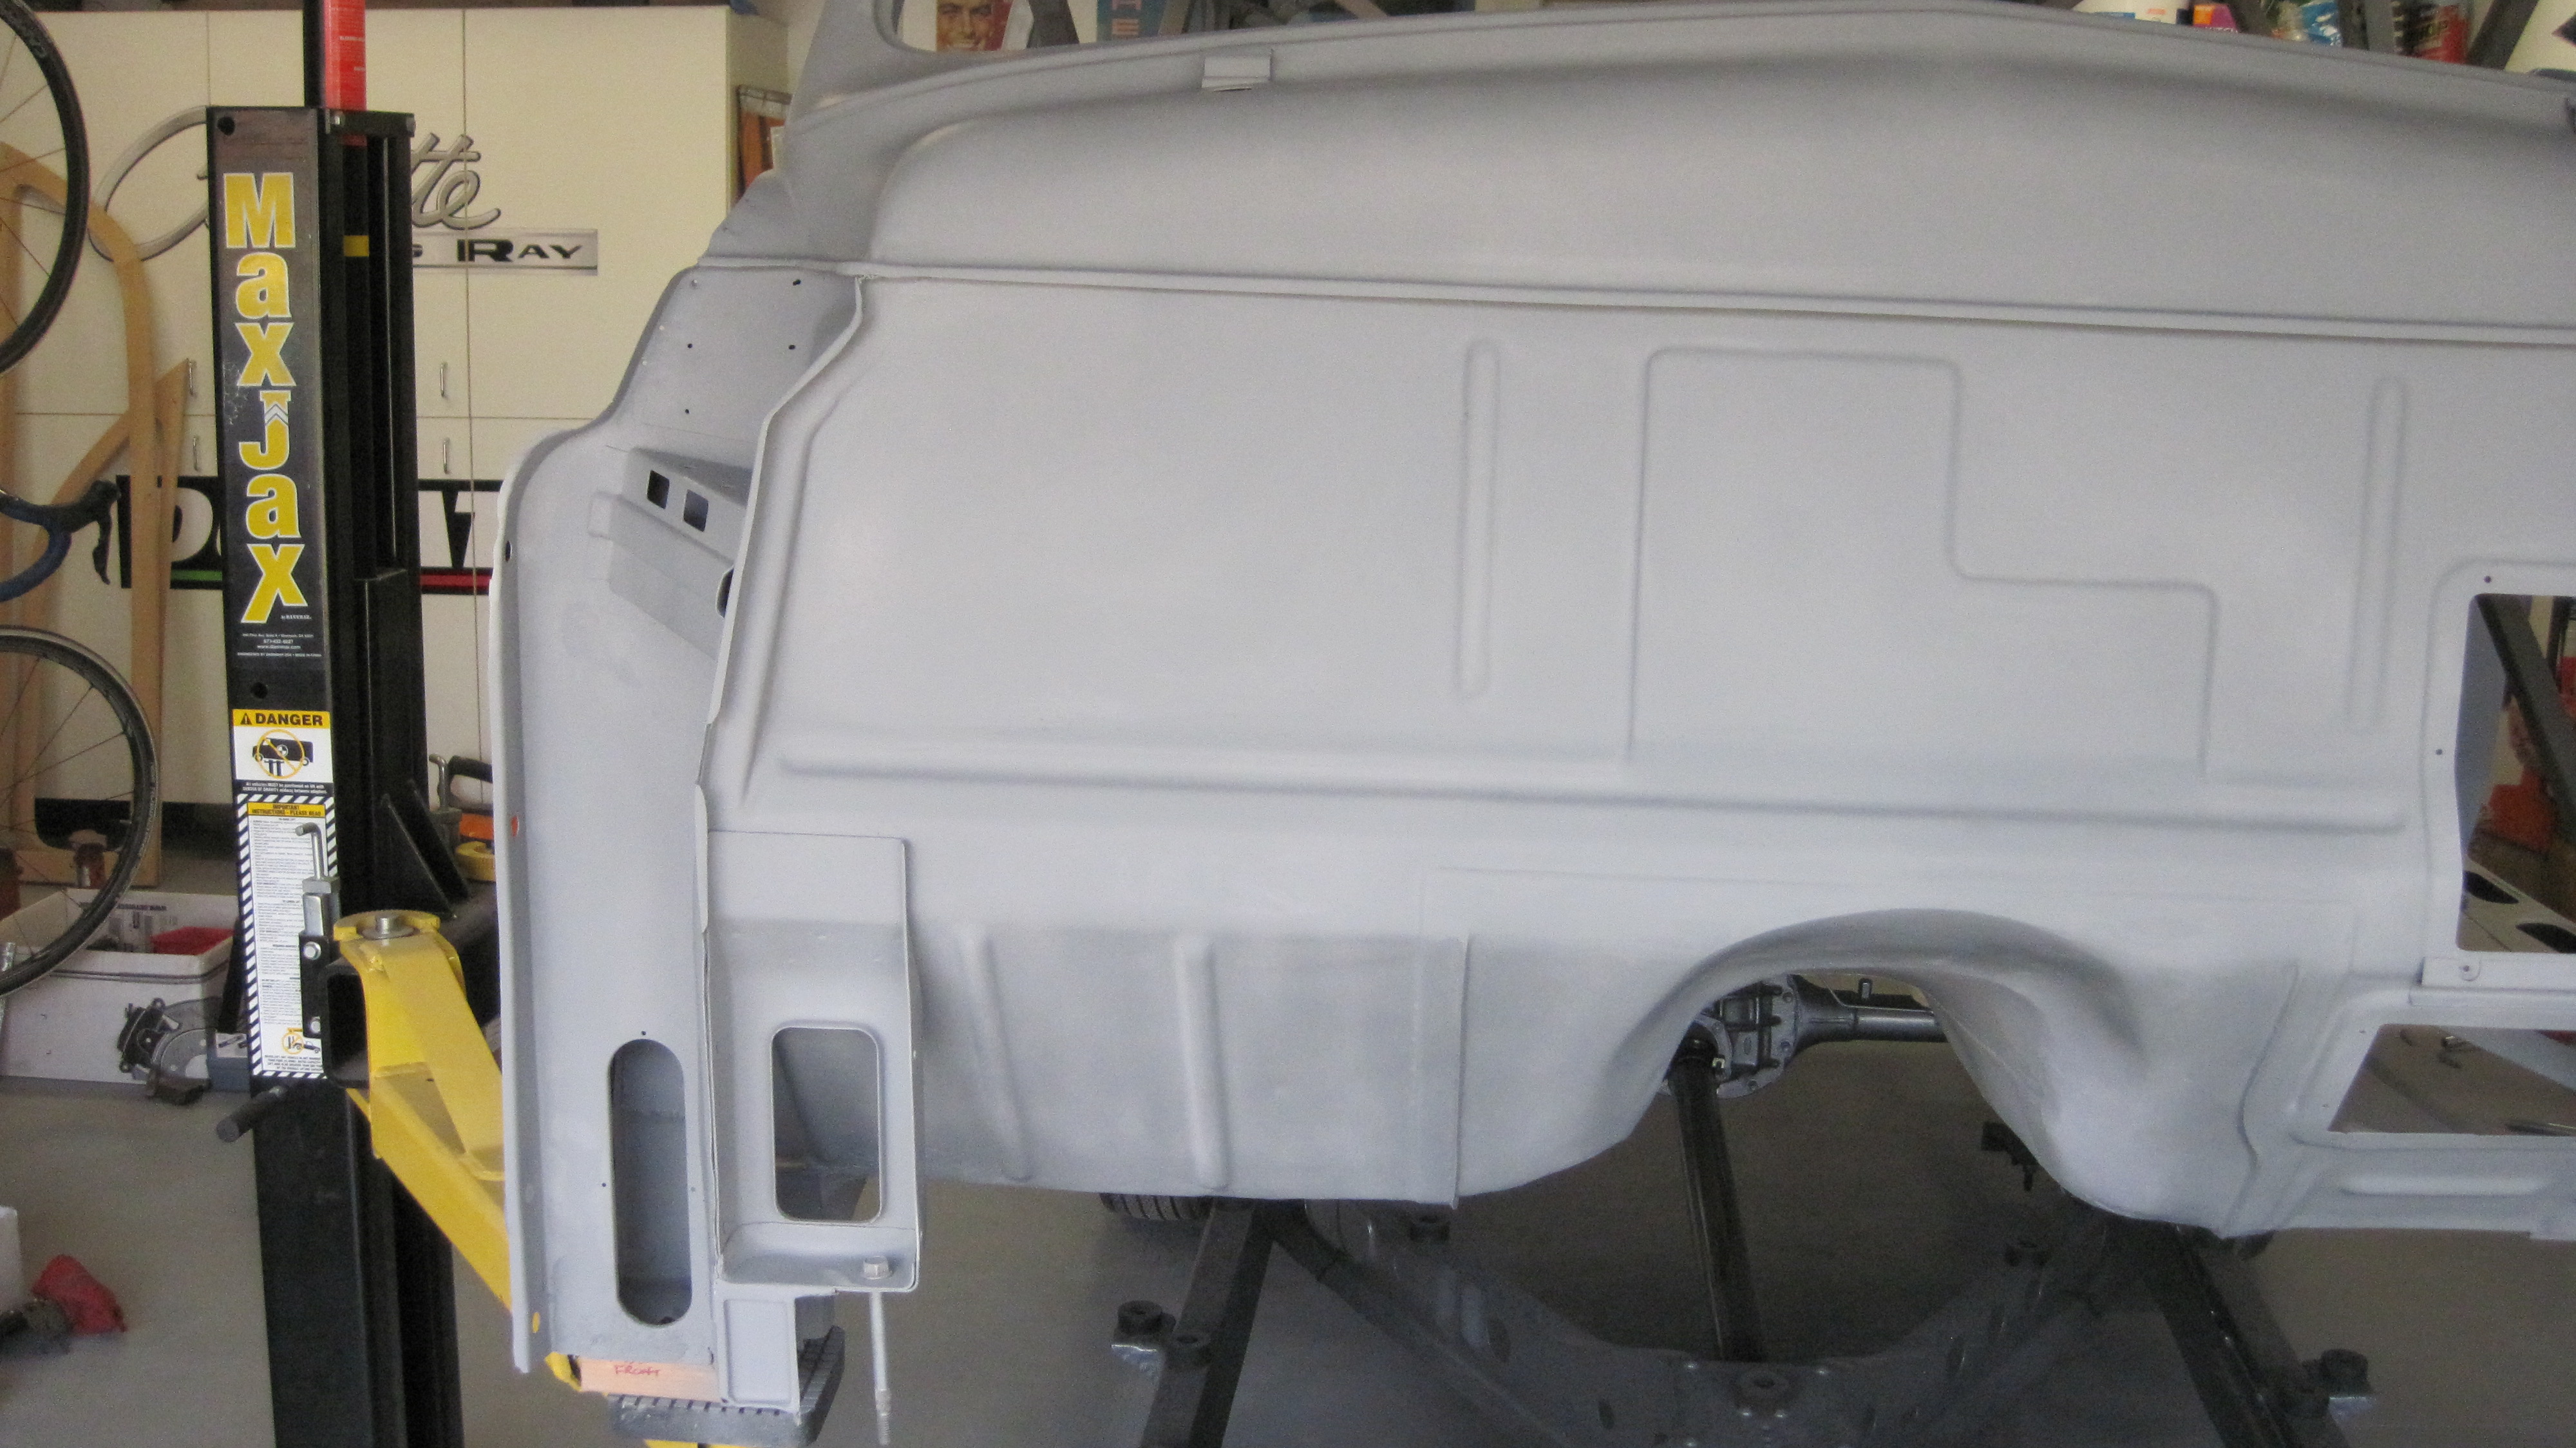
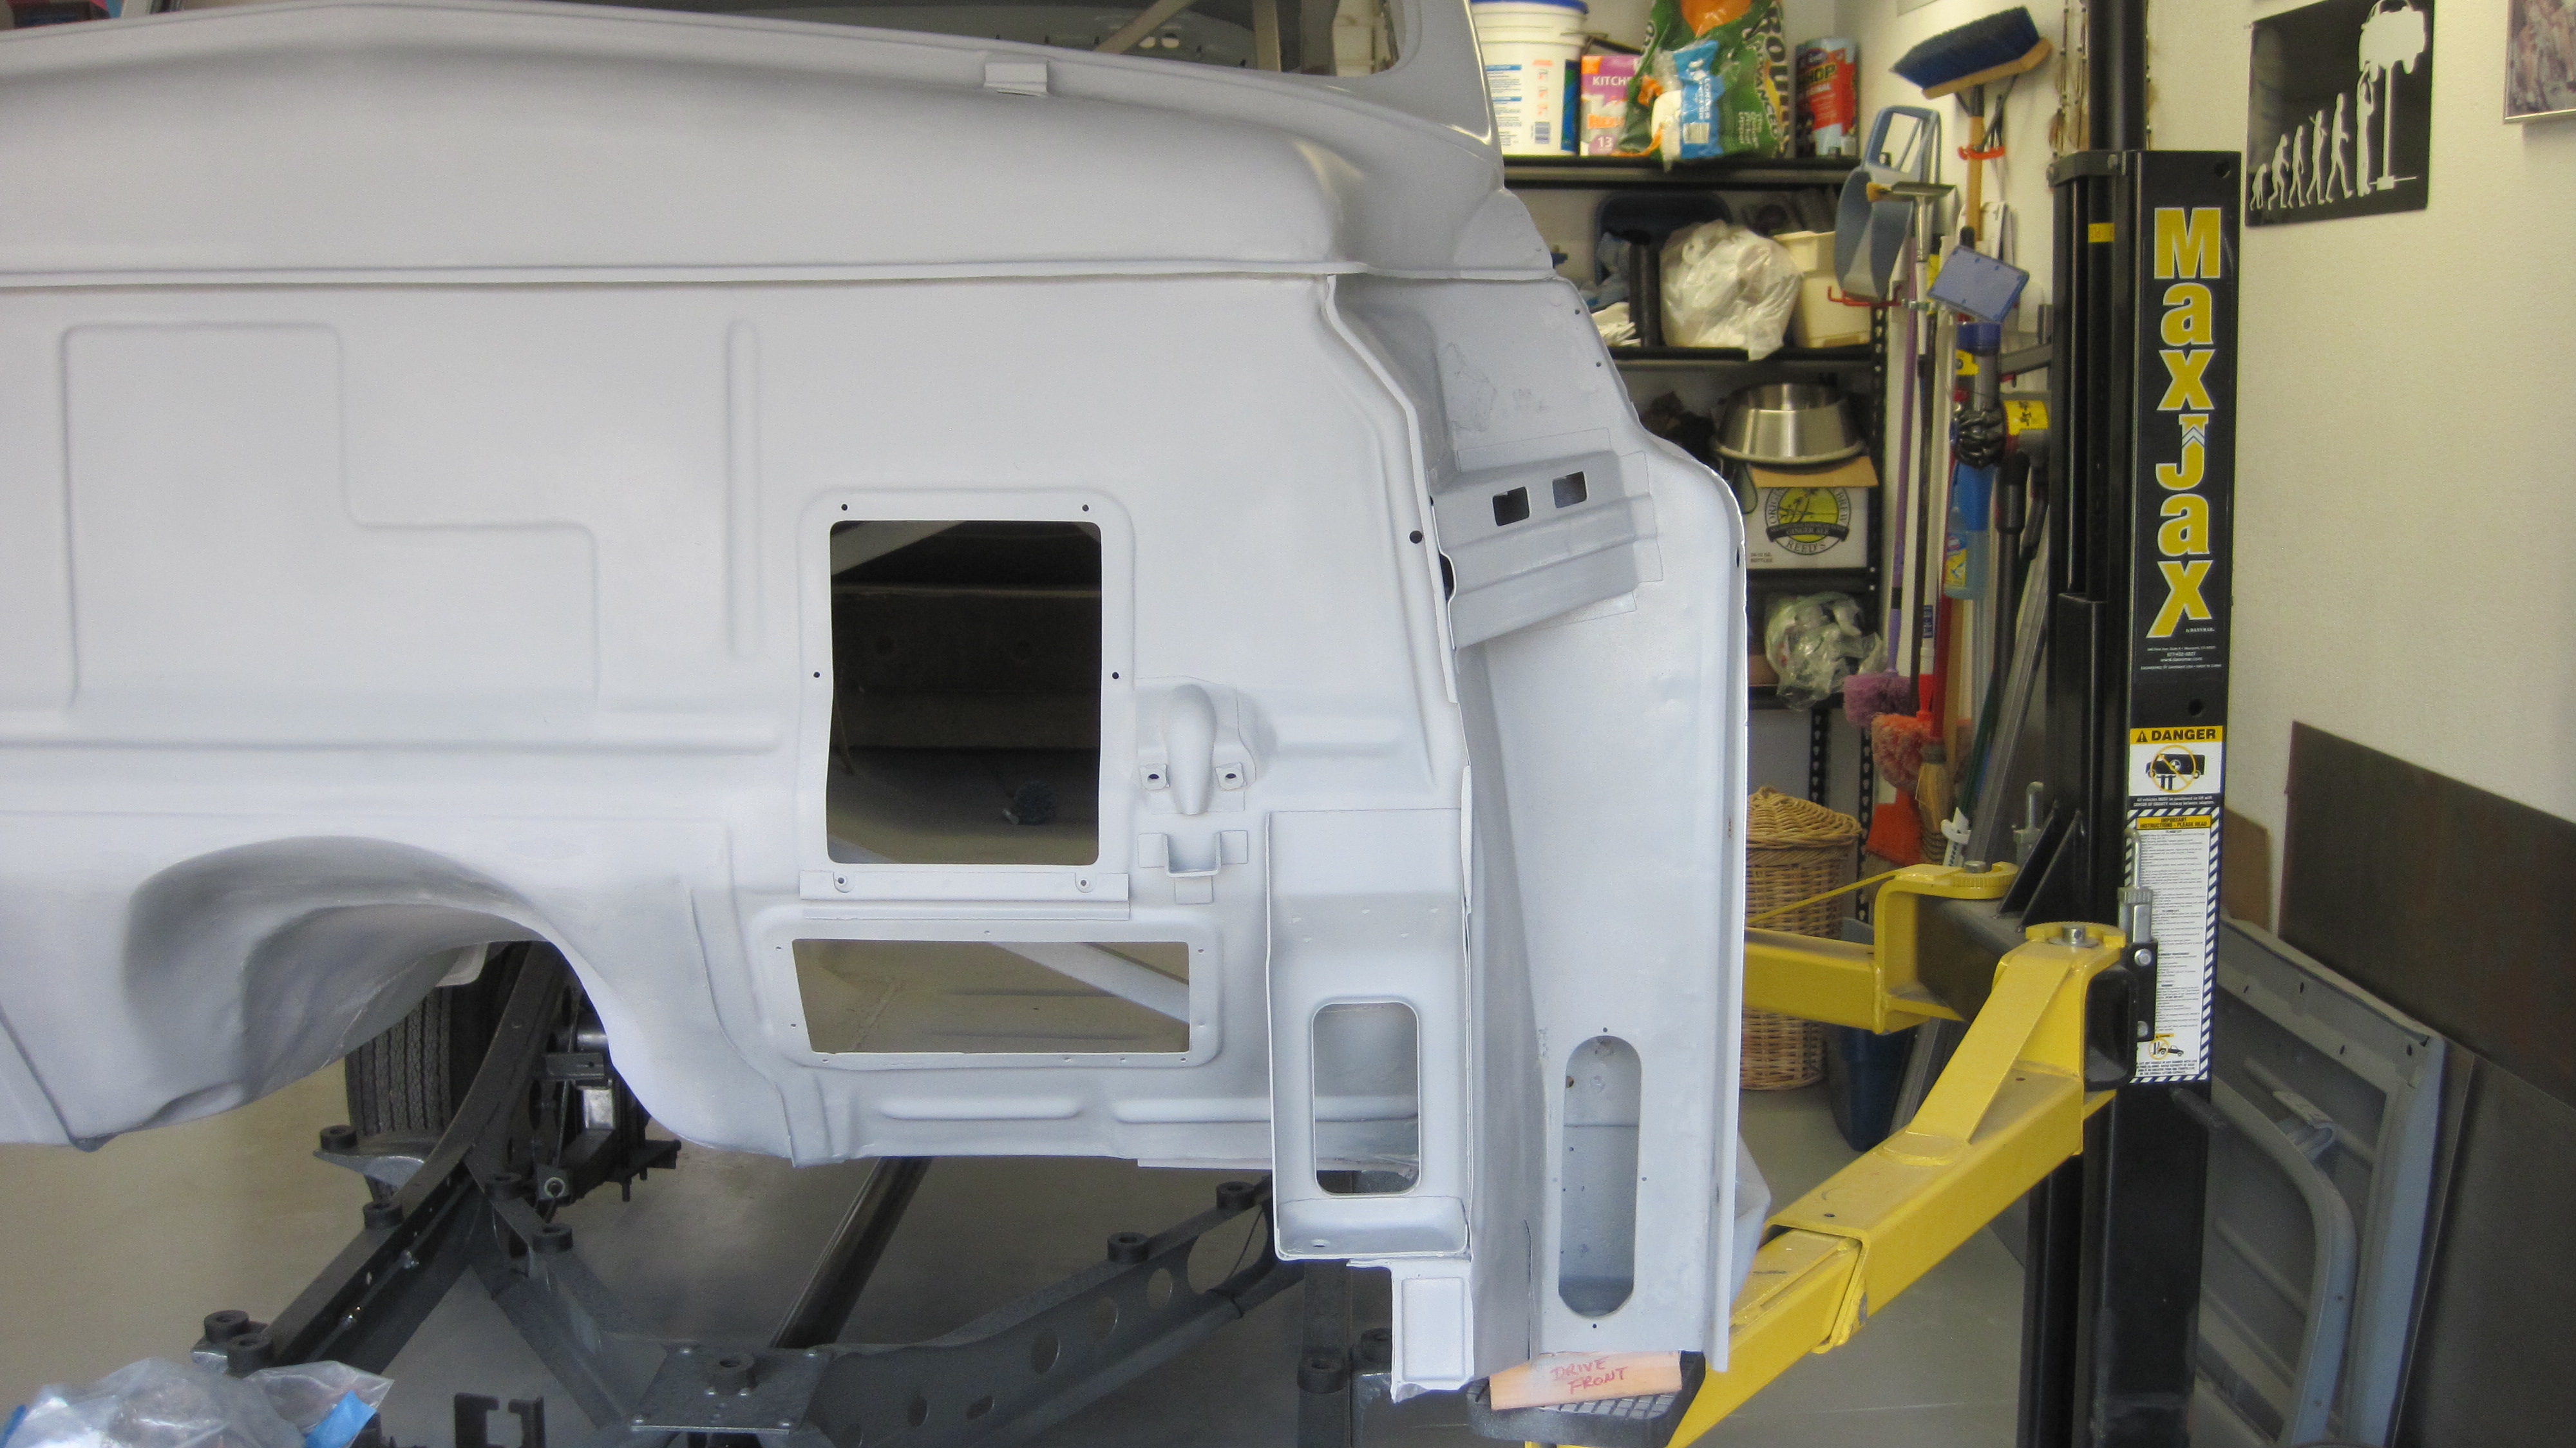
I disconnected the body and chassis and used my super-handy two-post lift to raise the body up.
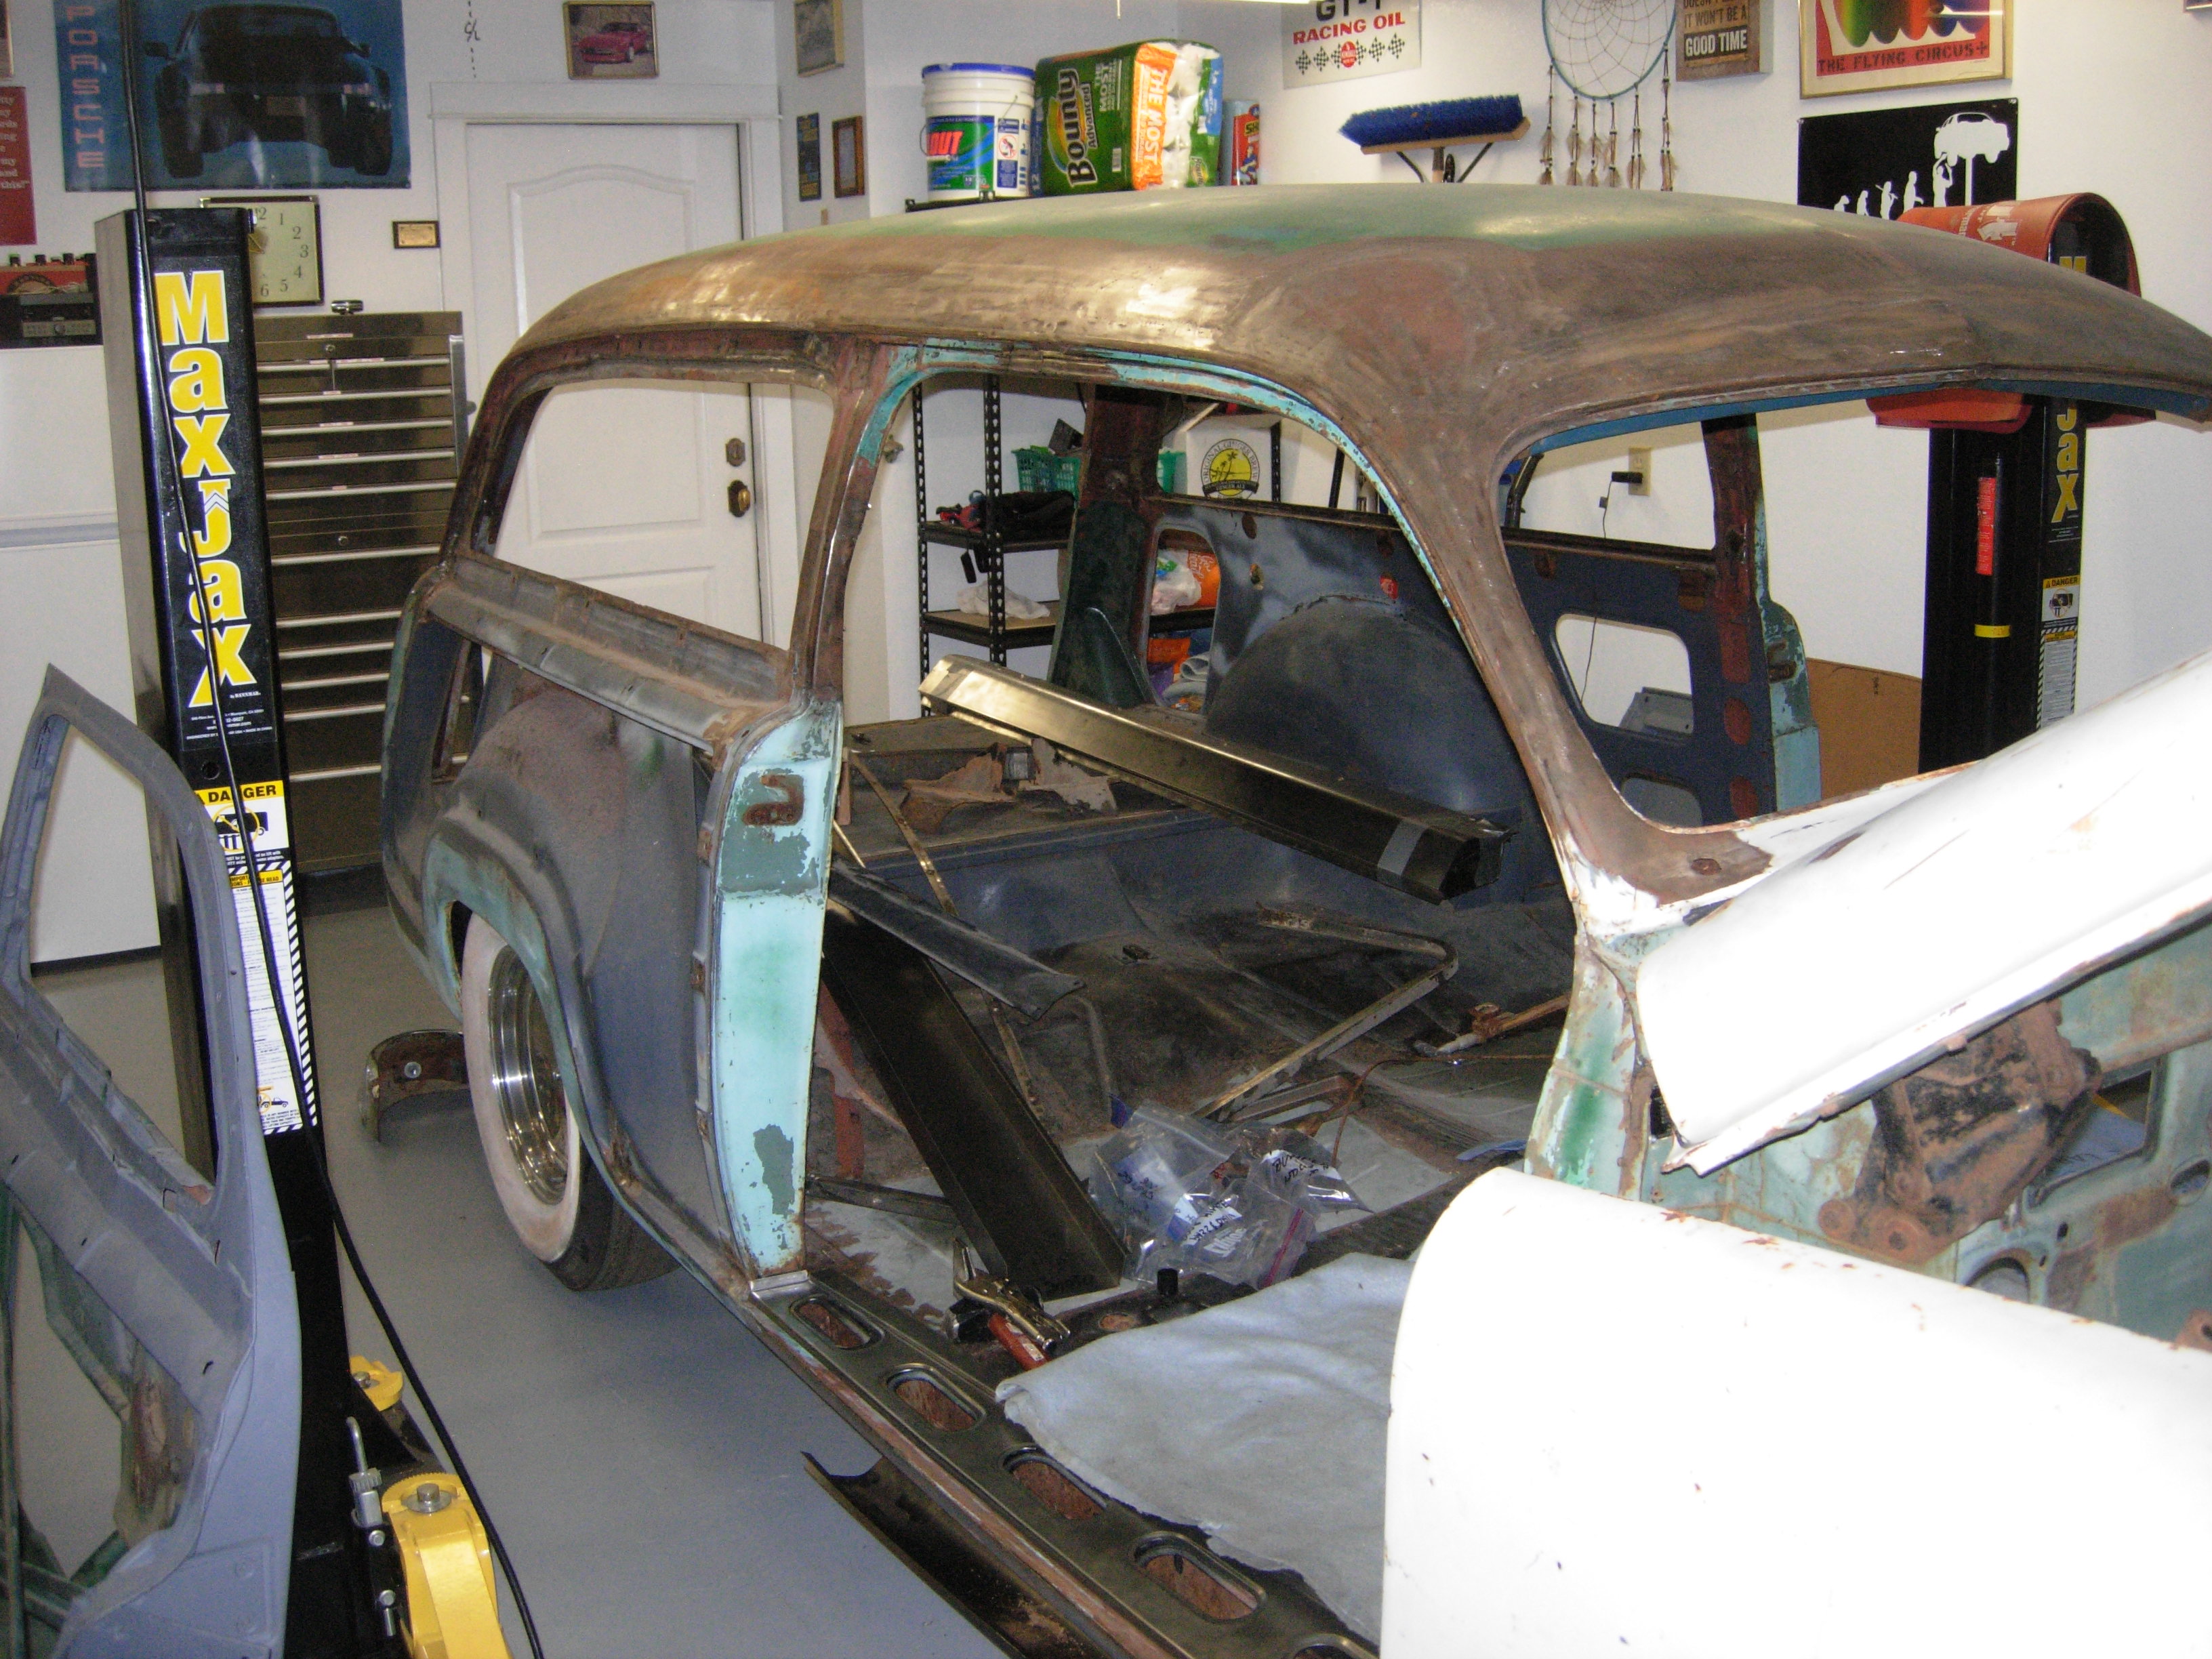
There's a great metal supply shop about 40 minutes away. I spent a couple hundred bucks on some square steel tubing and casters and welded up a body dolly.
This will allow me to send the body off to do the work I can't do, while I get started on the chassis.
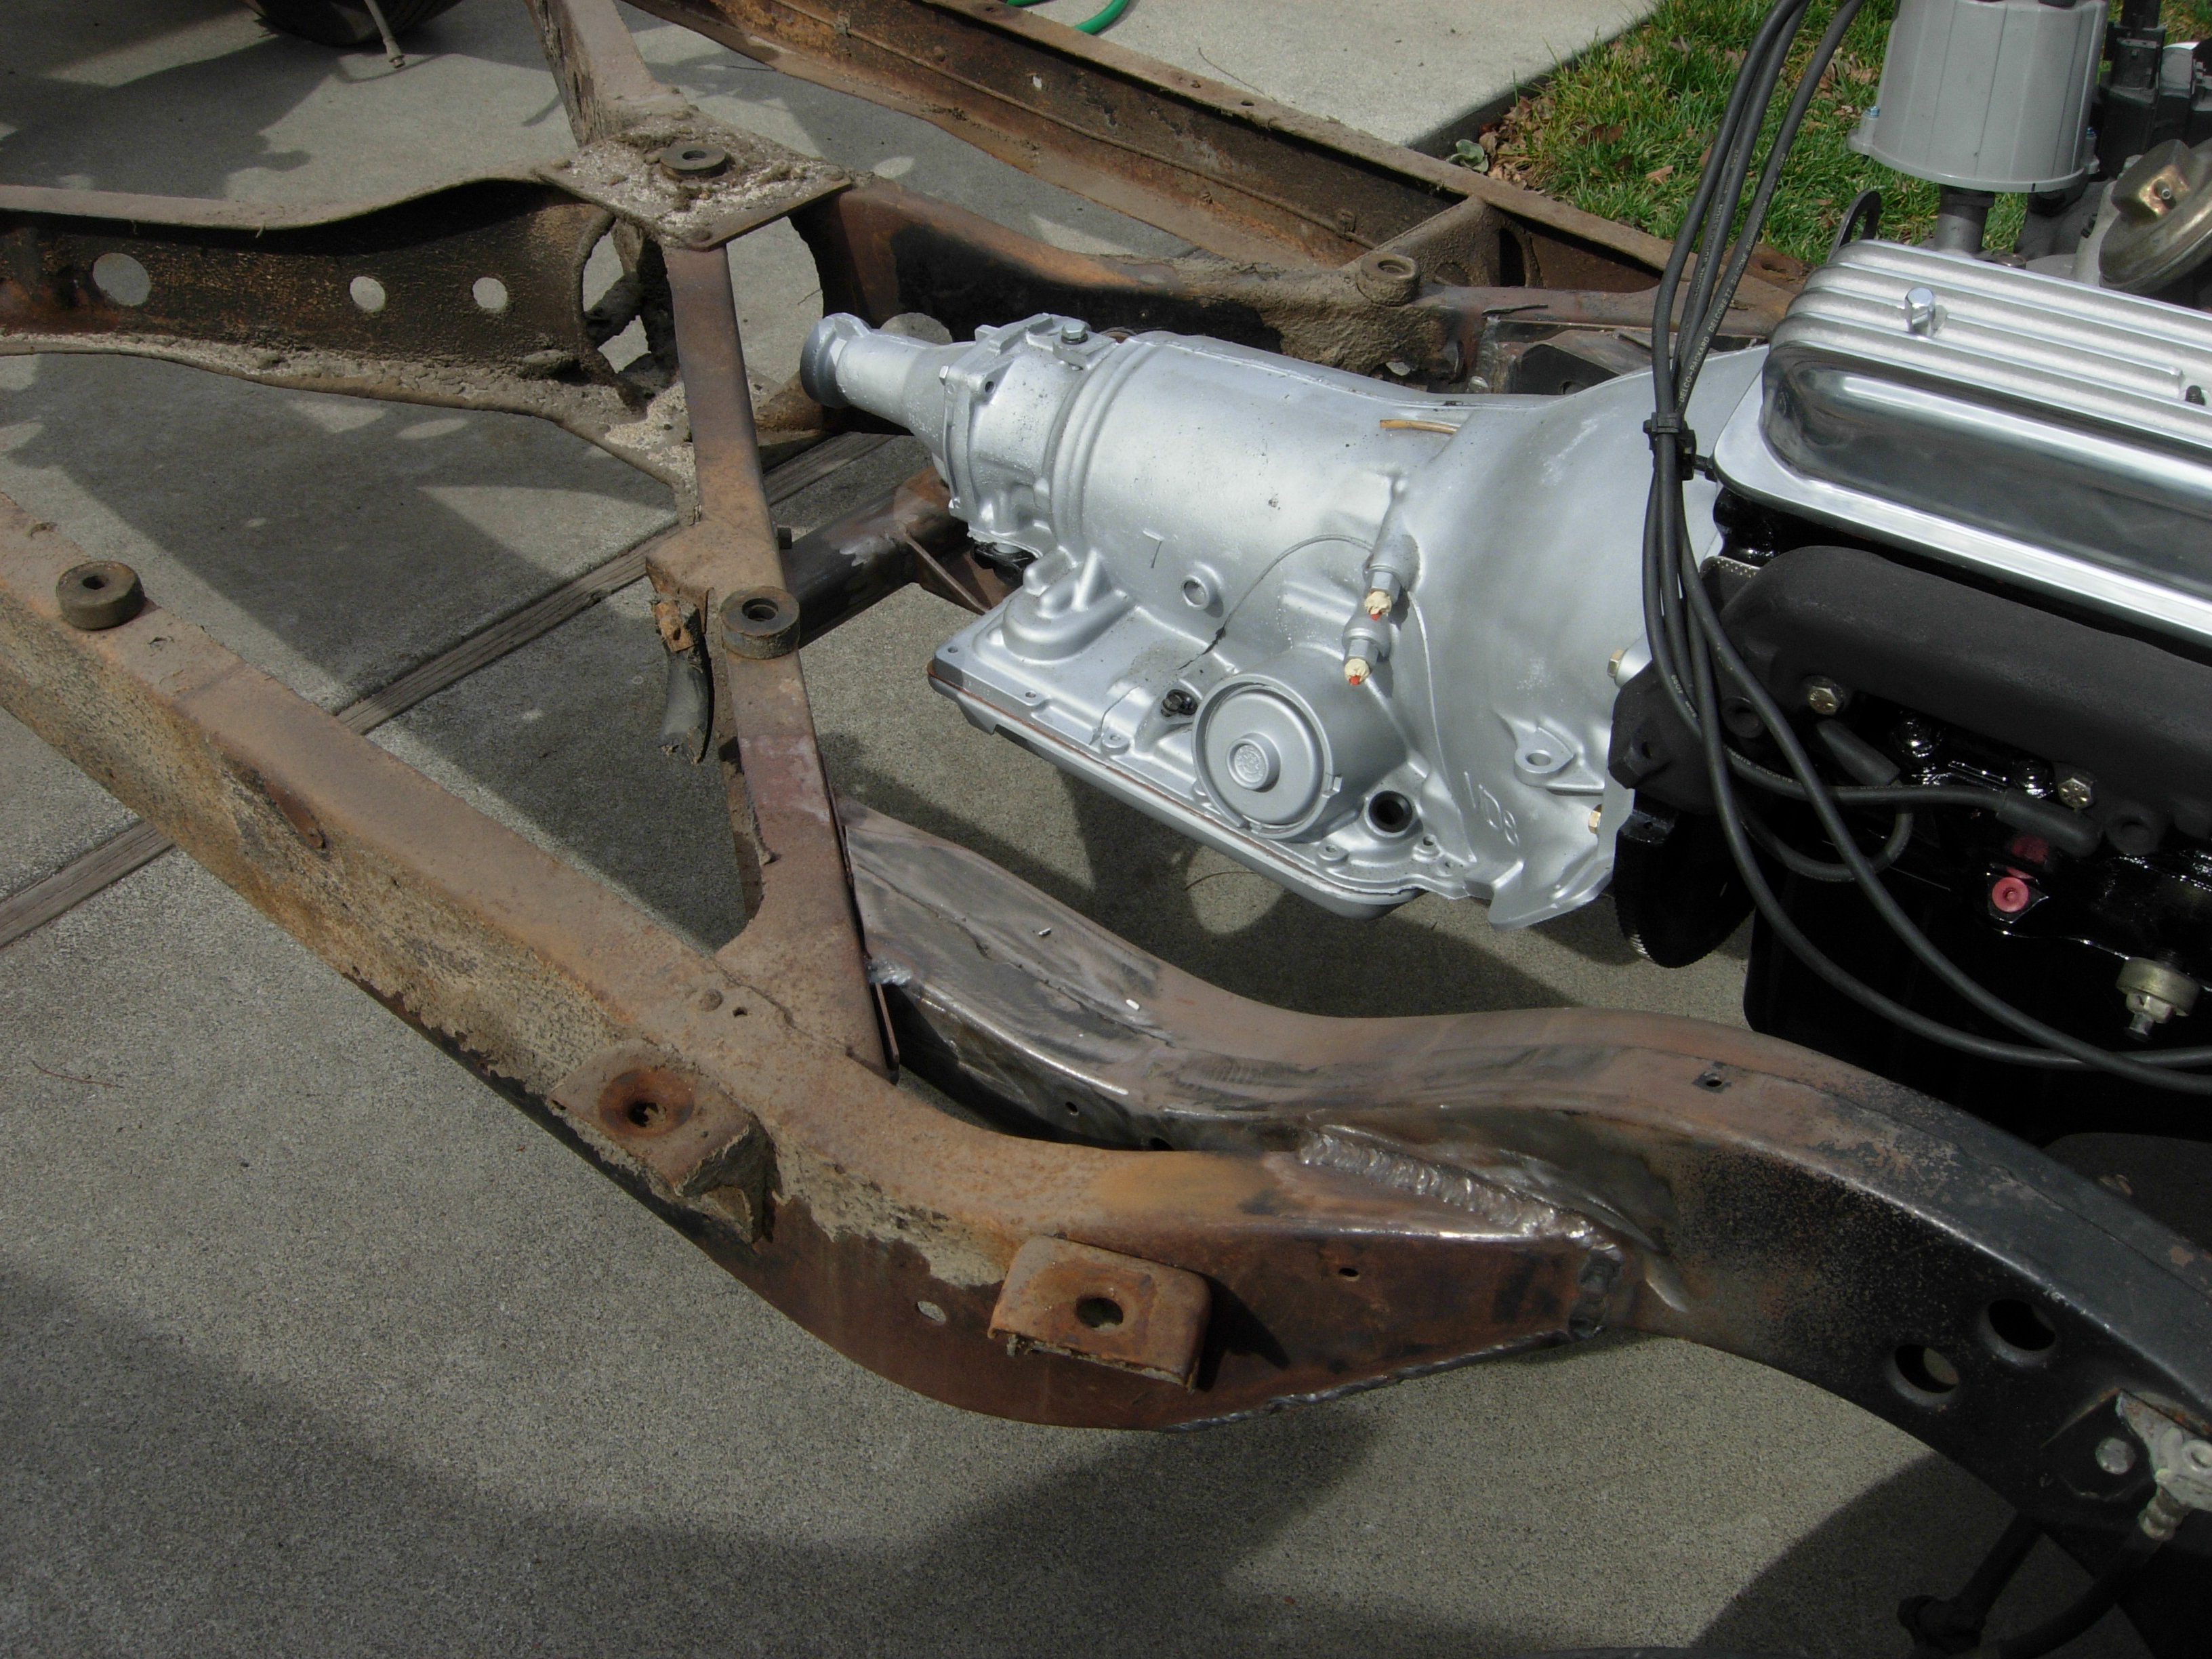
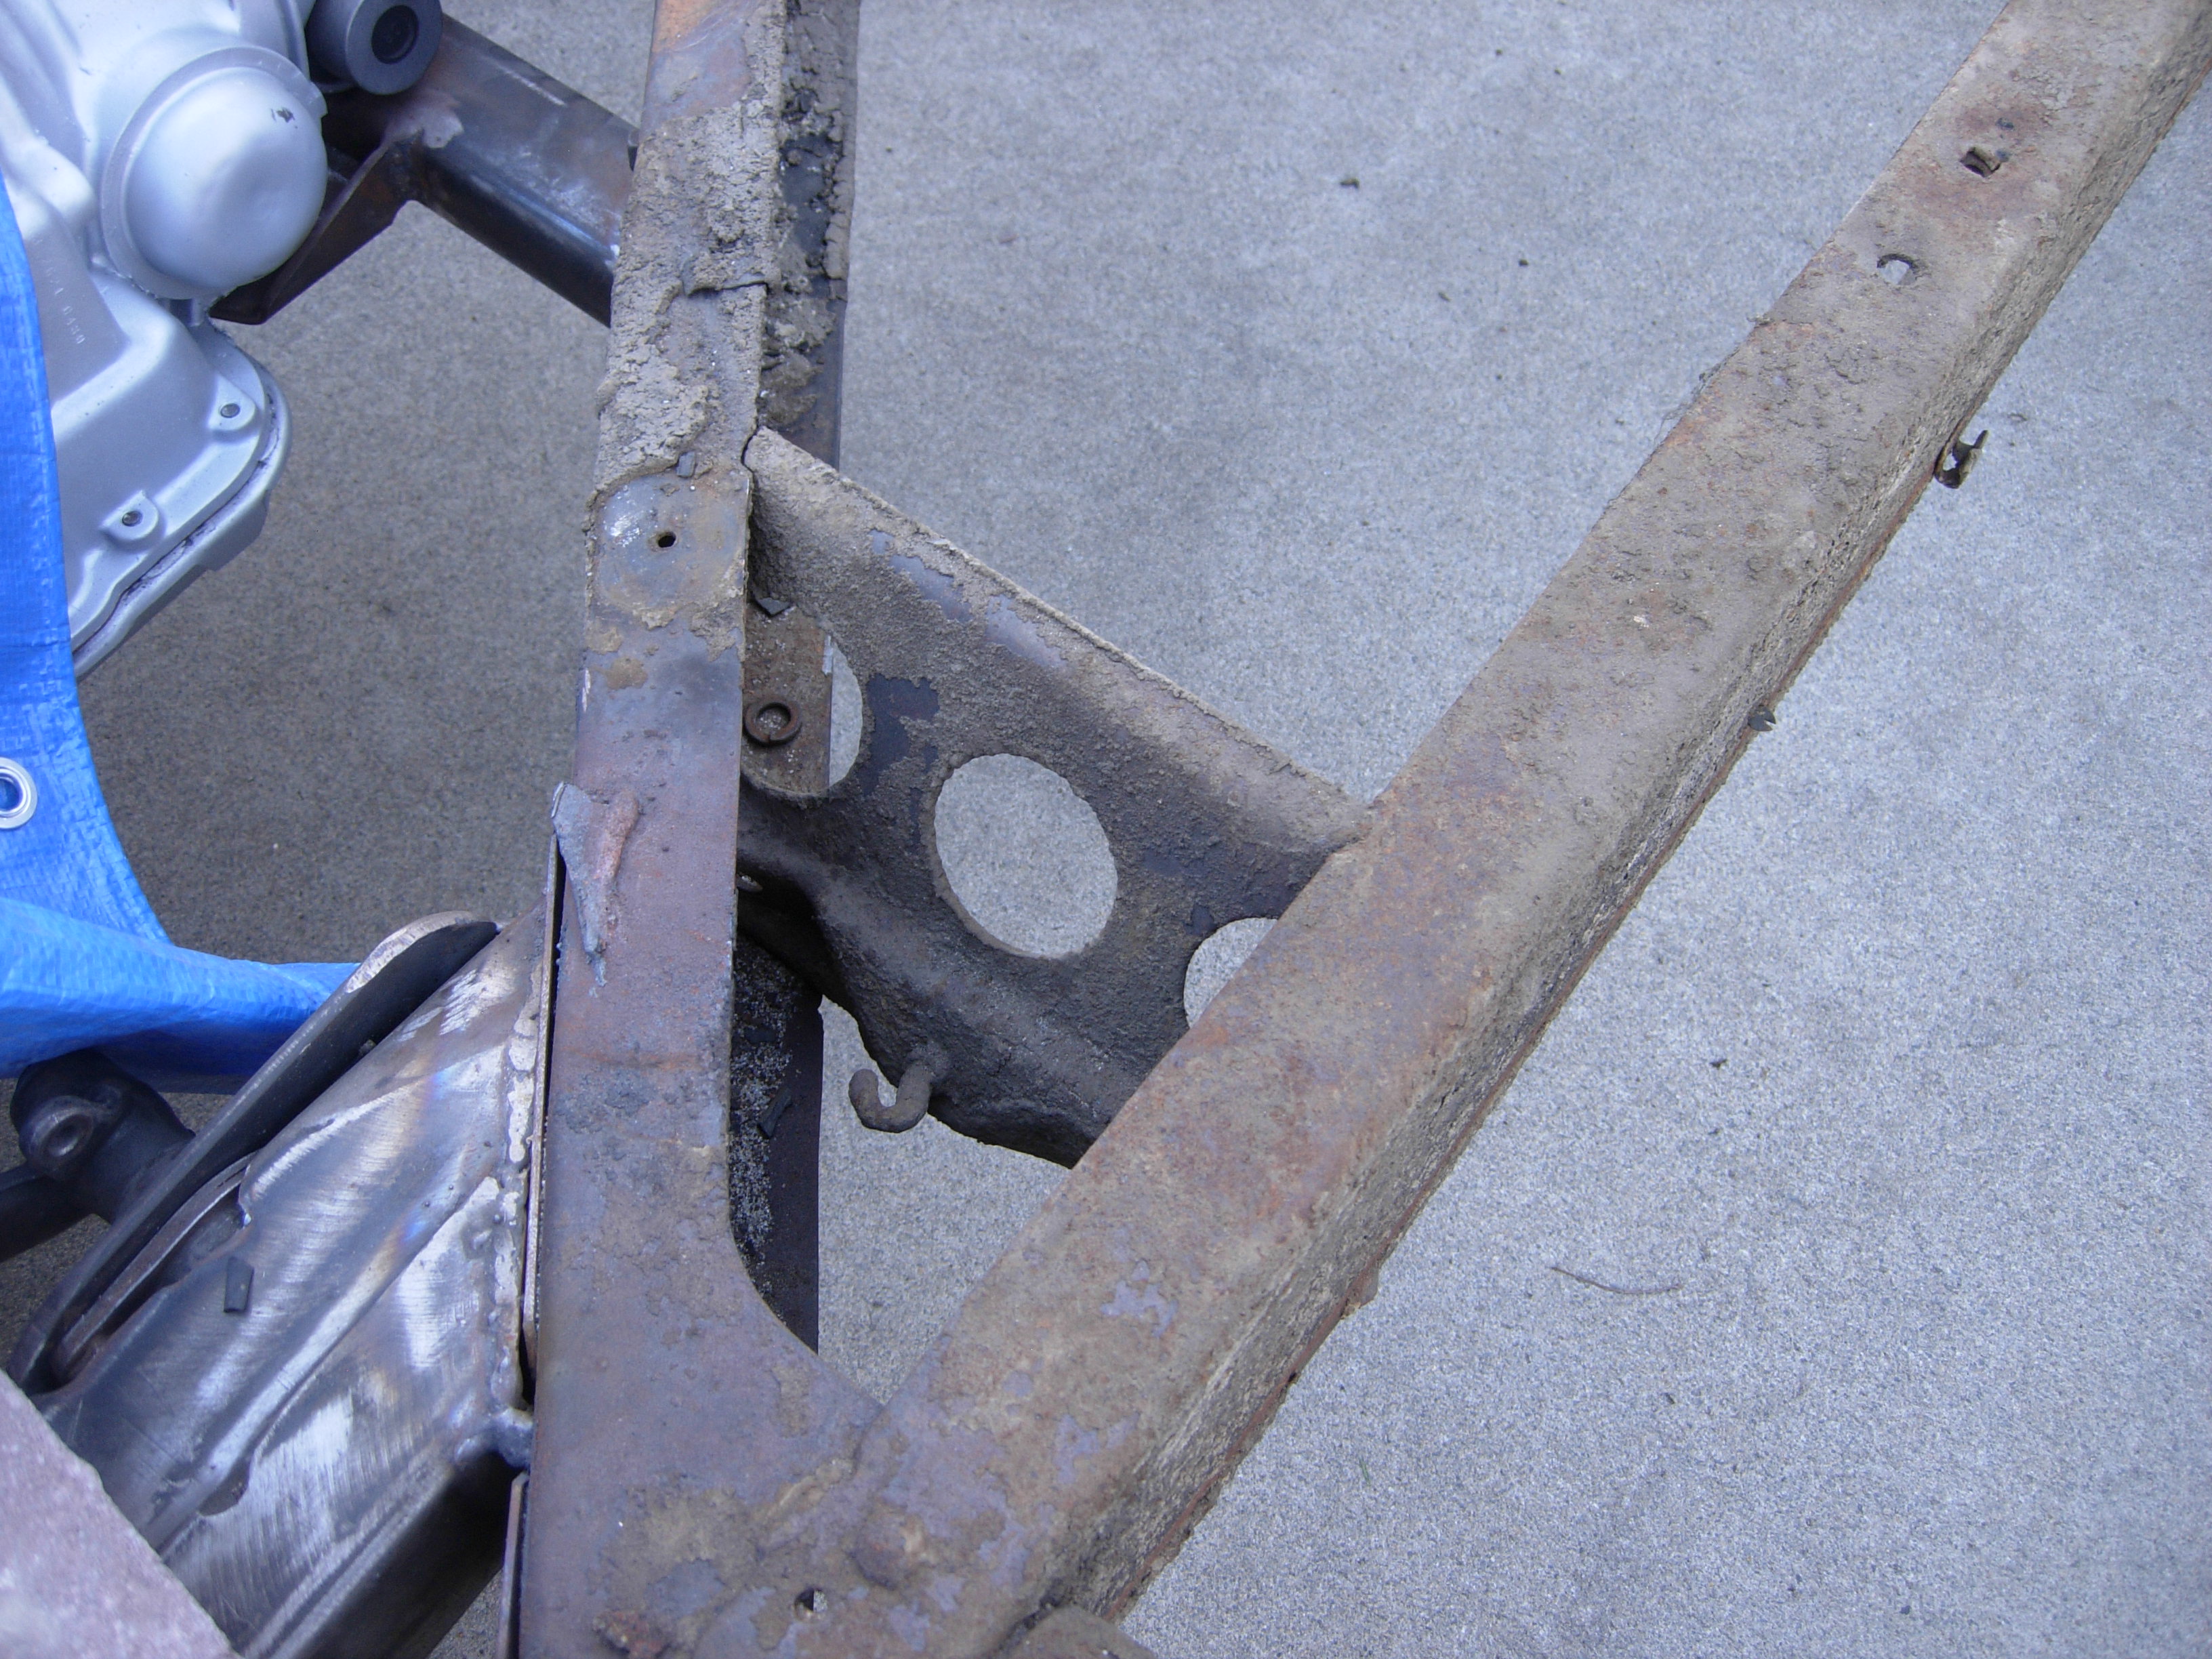
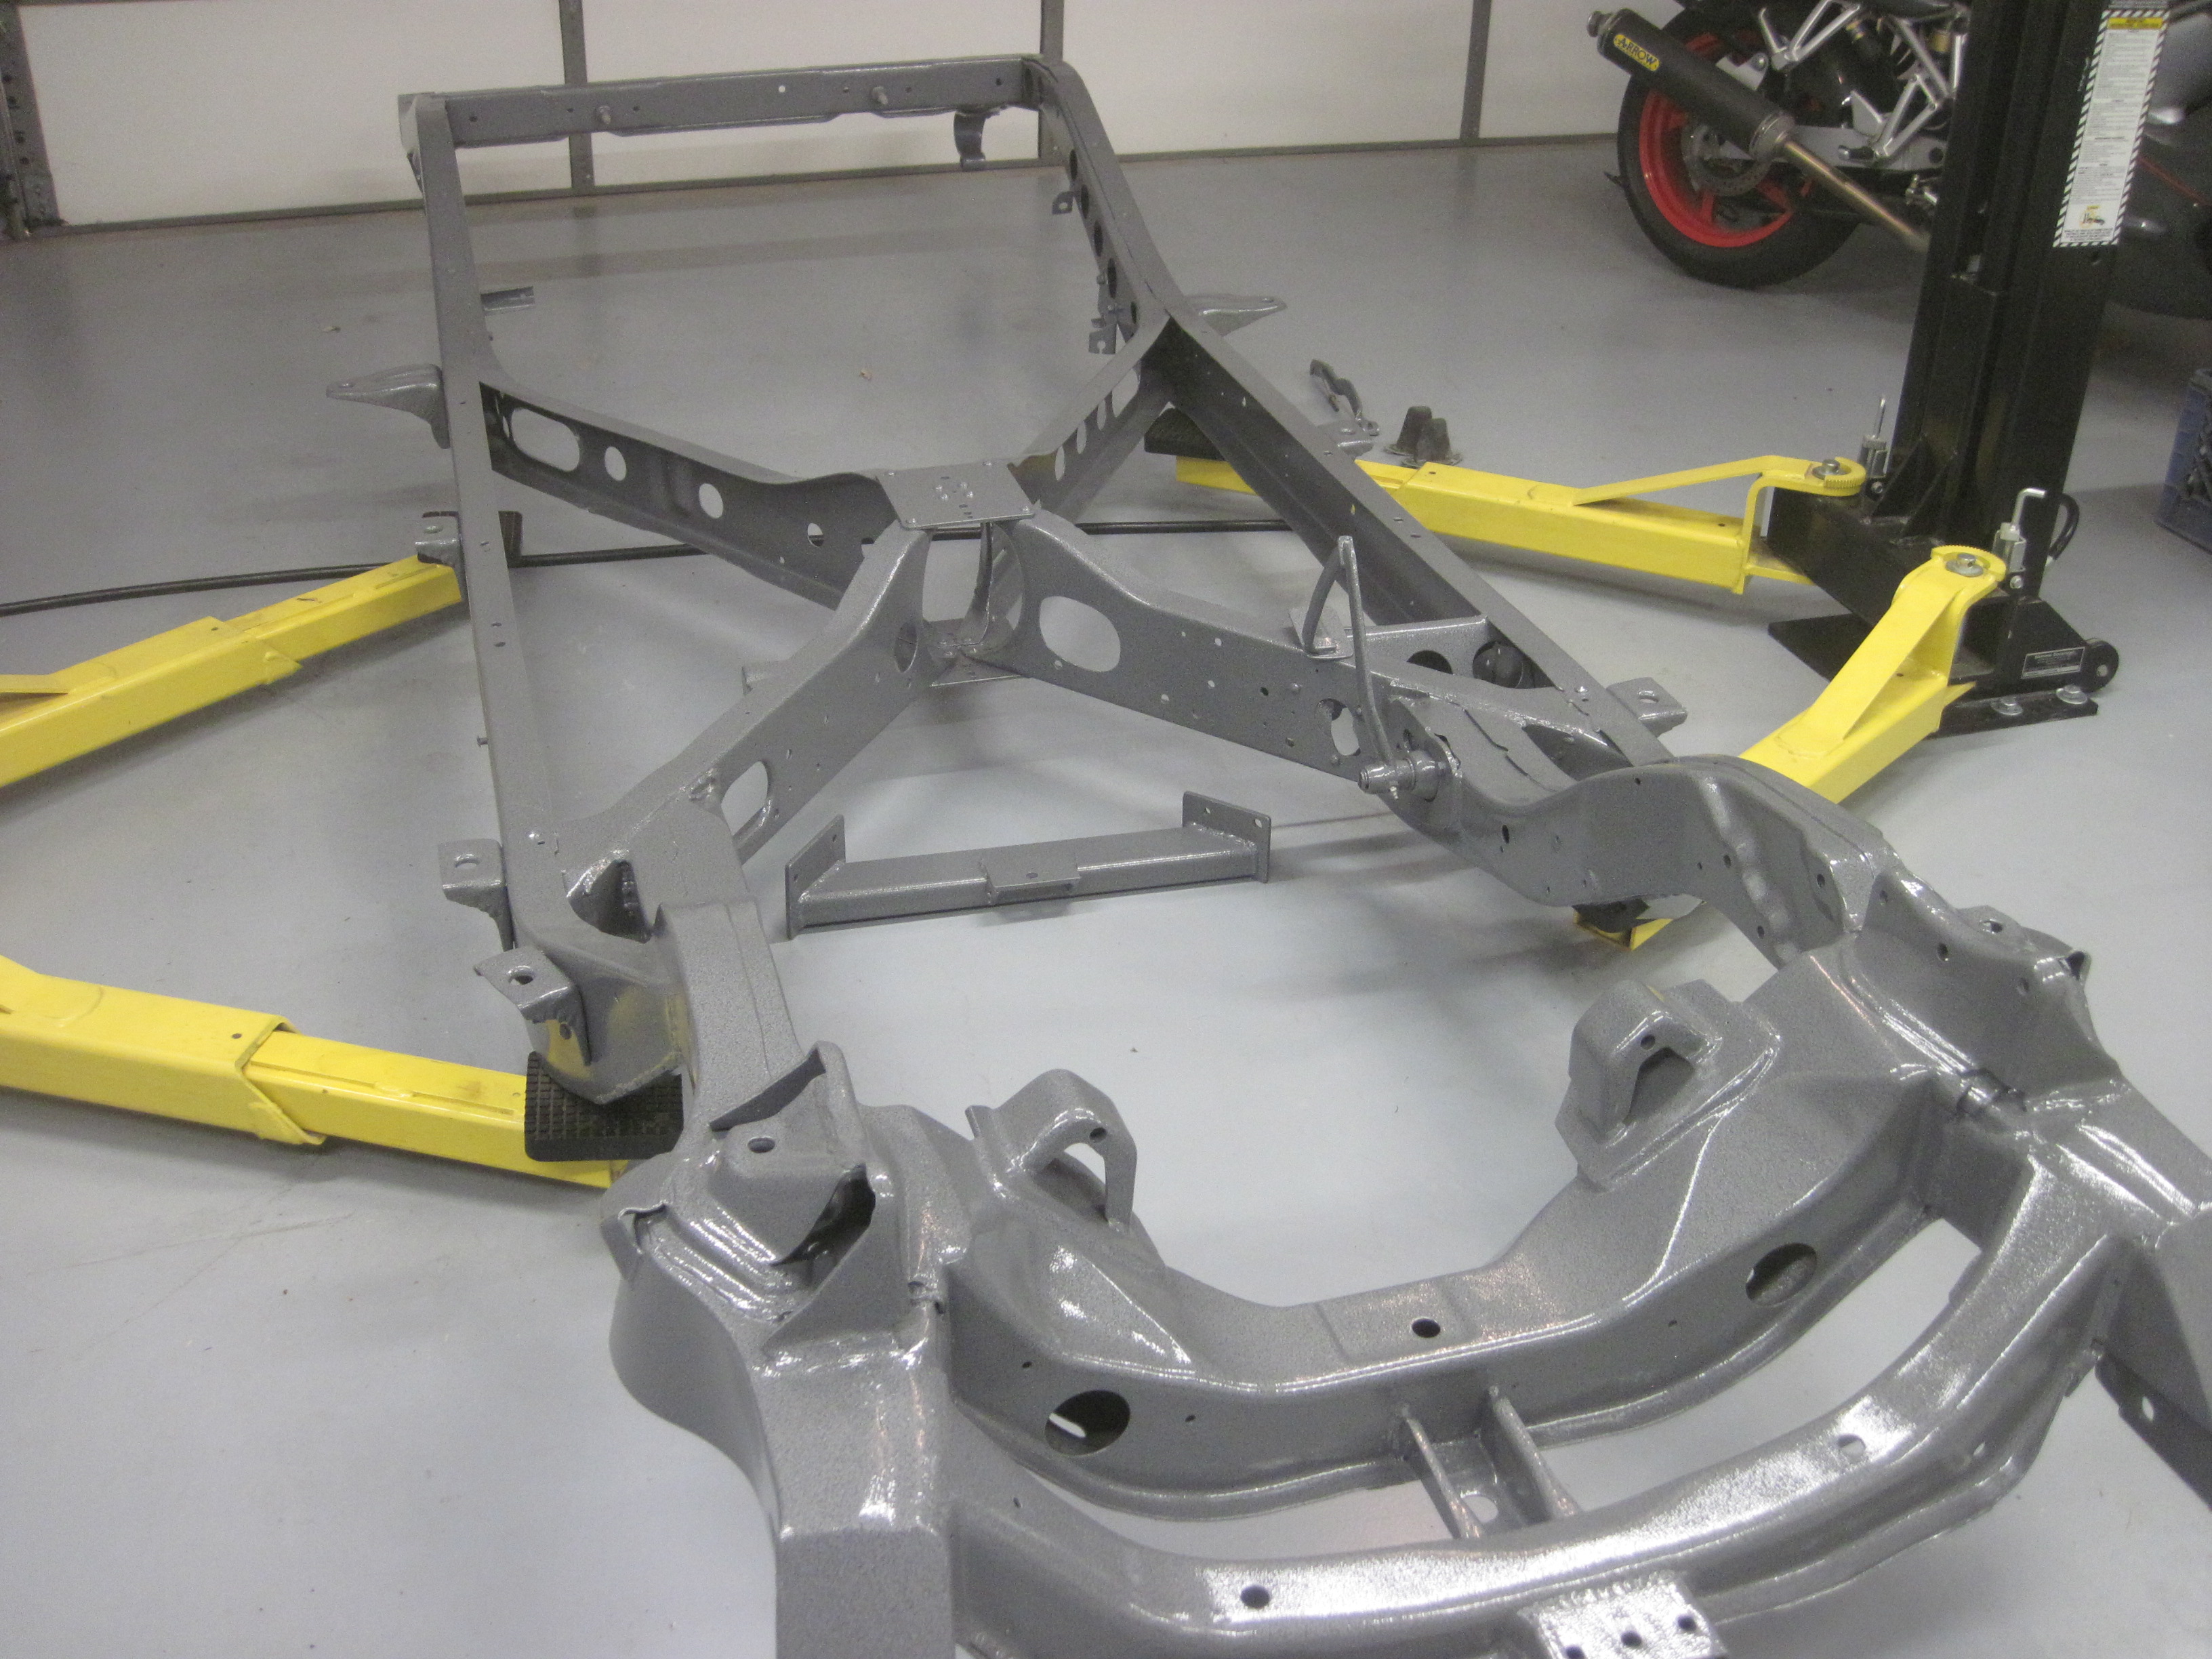
The guy who started this project had welded in a '69 Camaro front clip. He did a nice job on it. Other than that, the chassis is all original, including 60 years of dirt and grime.
Before the frame could be powdercoated I needed to relocate the motor mounts and fabricate a new transmission crossmember to make room for the exhaust. I also had to mount a brake master cylinder, and cut holes in the frame for dual exhausts.
After media blasting to clean everything and powdercoating the chassis it looks pretty cool. I had it done in a grey hammertone finish that hides dirt and imperfections. The camera flash makes it look lighter than it really is.
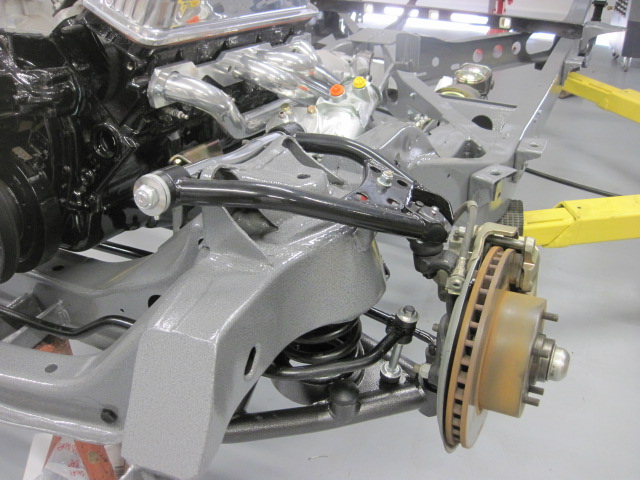
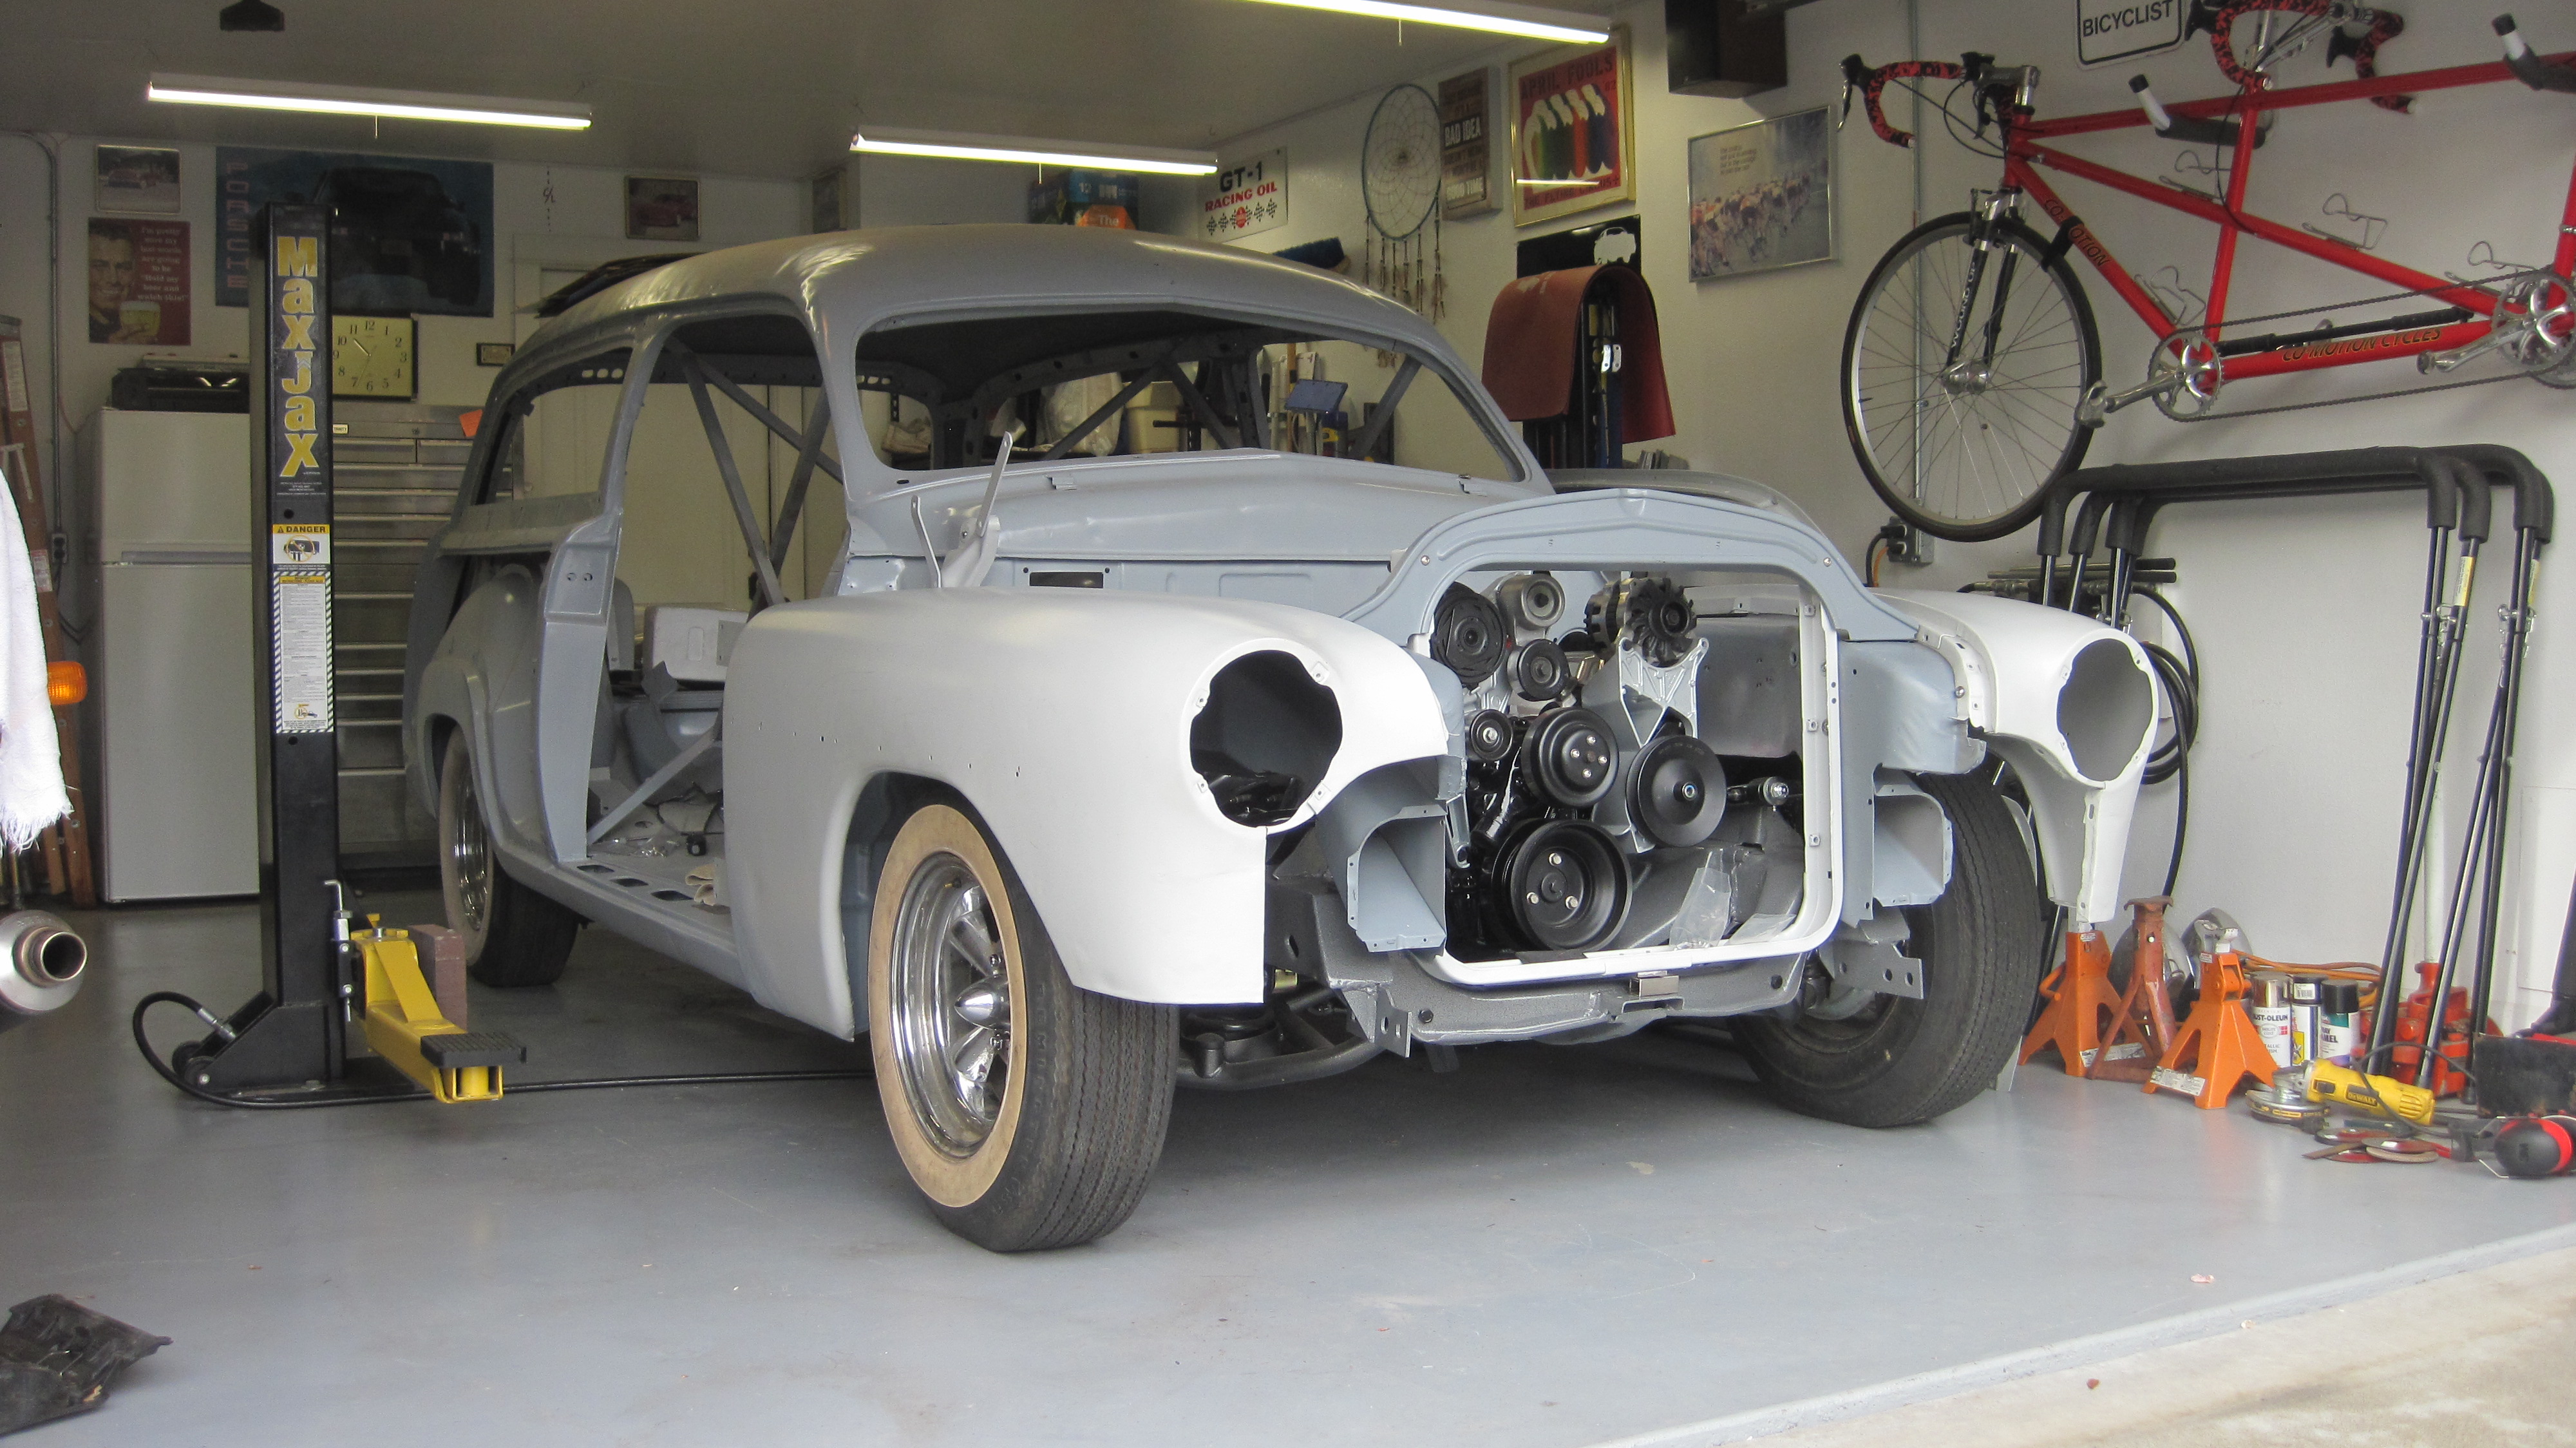
This is finally at the stage where I'm putting the car together. Mentally, this is a HUGE step!
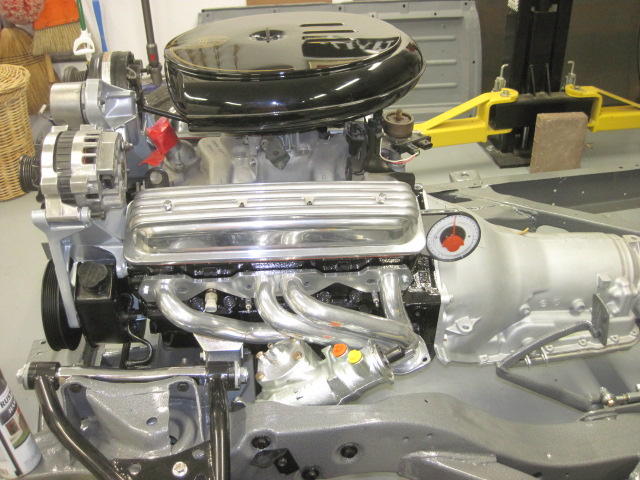
This would be a good time to talk about the drivetrain. Since the prior owner put in the Camaro front clip, he also put in a throttle body injected 350 with a 700R4 overdrive automatic. Pretty basic, but this will be a cruiser car, I'm not gonna autocross or race a woody.
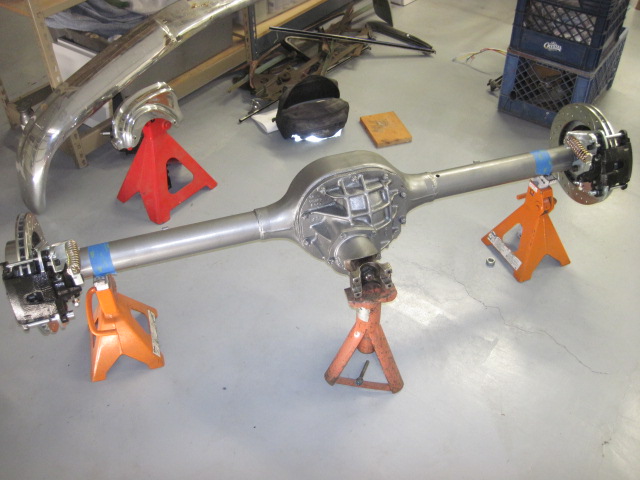
The project came with a Ford 8inch differential. Again, nothing exotic, but it's enough for the moderate power of the engine. I added 3.50 gears, an Eaton positraction, and rear disc brakes.
In November 2018 the body came back from the paint shop in a new coat of primer.
There's a TON of work now to modify transmission tunnel, smooth firewall, clean up inner fenders, blah, blah, blah.
I fit-checked the front body panels to see what areas need holes filled, etc.
I plan to french the headlights and weld up most of the front body seams. I think I'll need to put more attach points between the chassis and bodywork to reduce flexing/vibration.
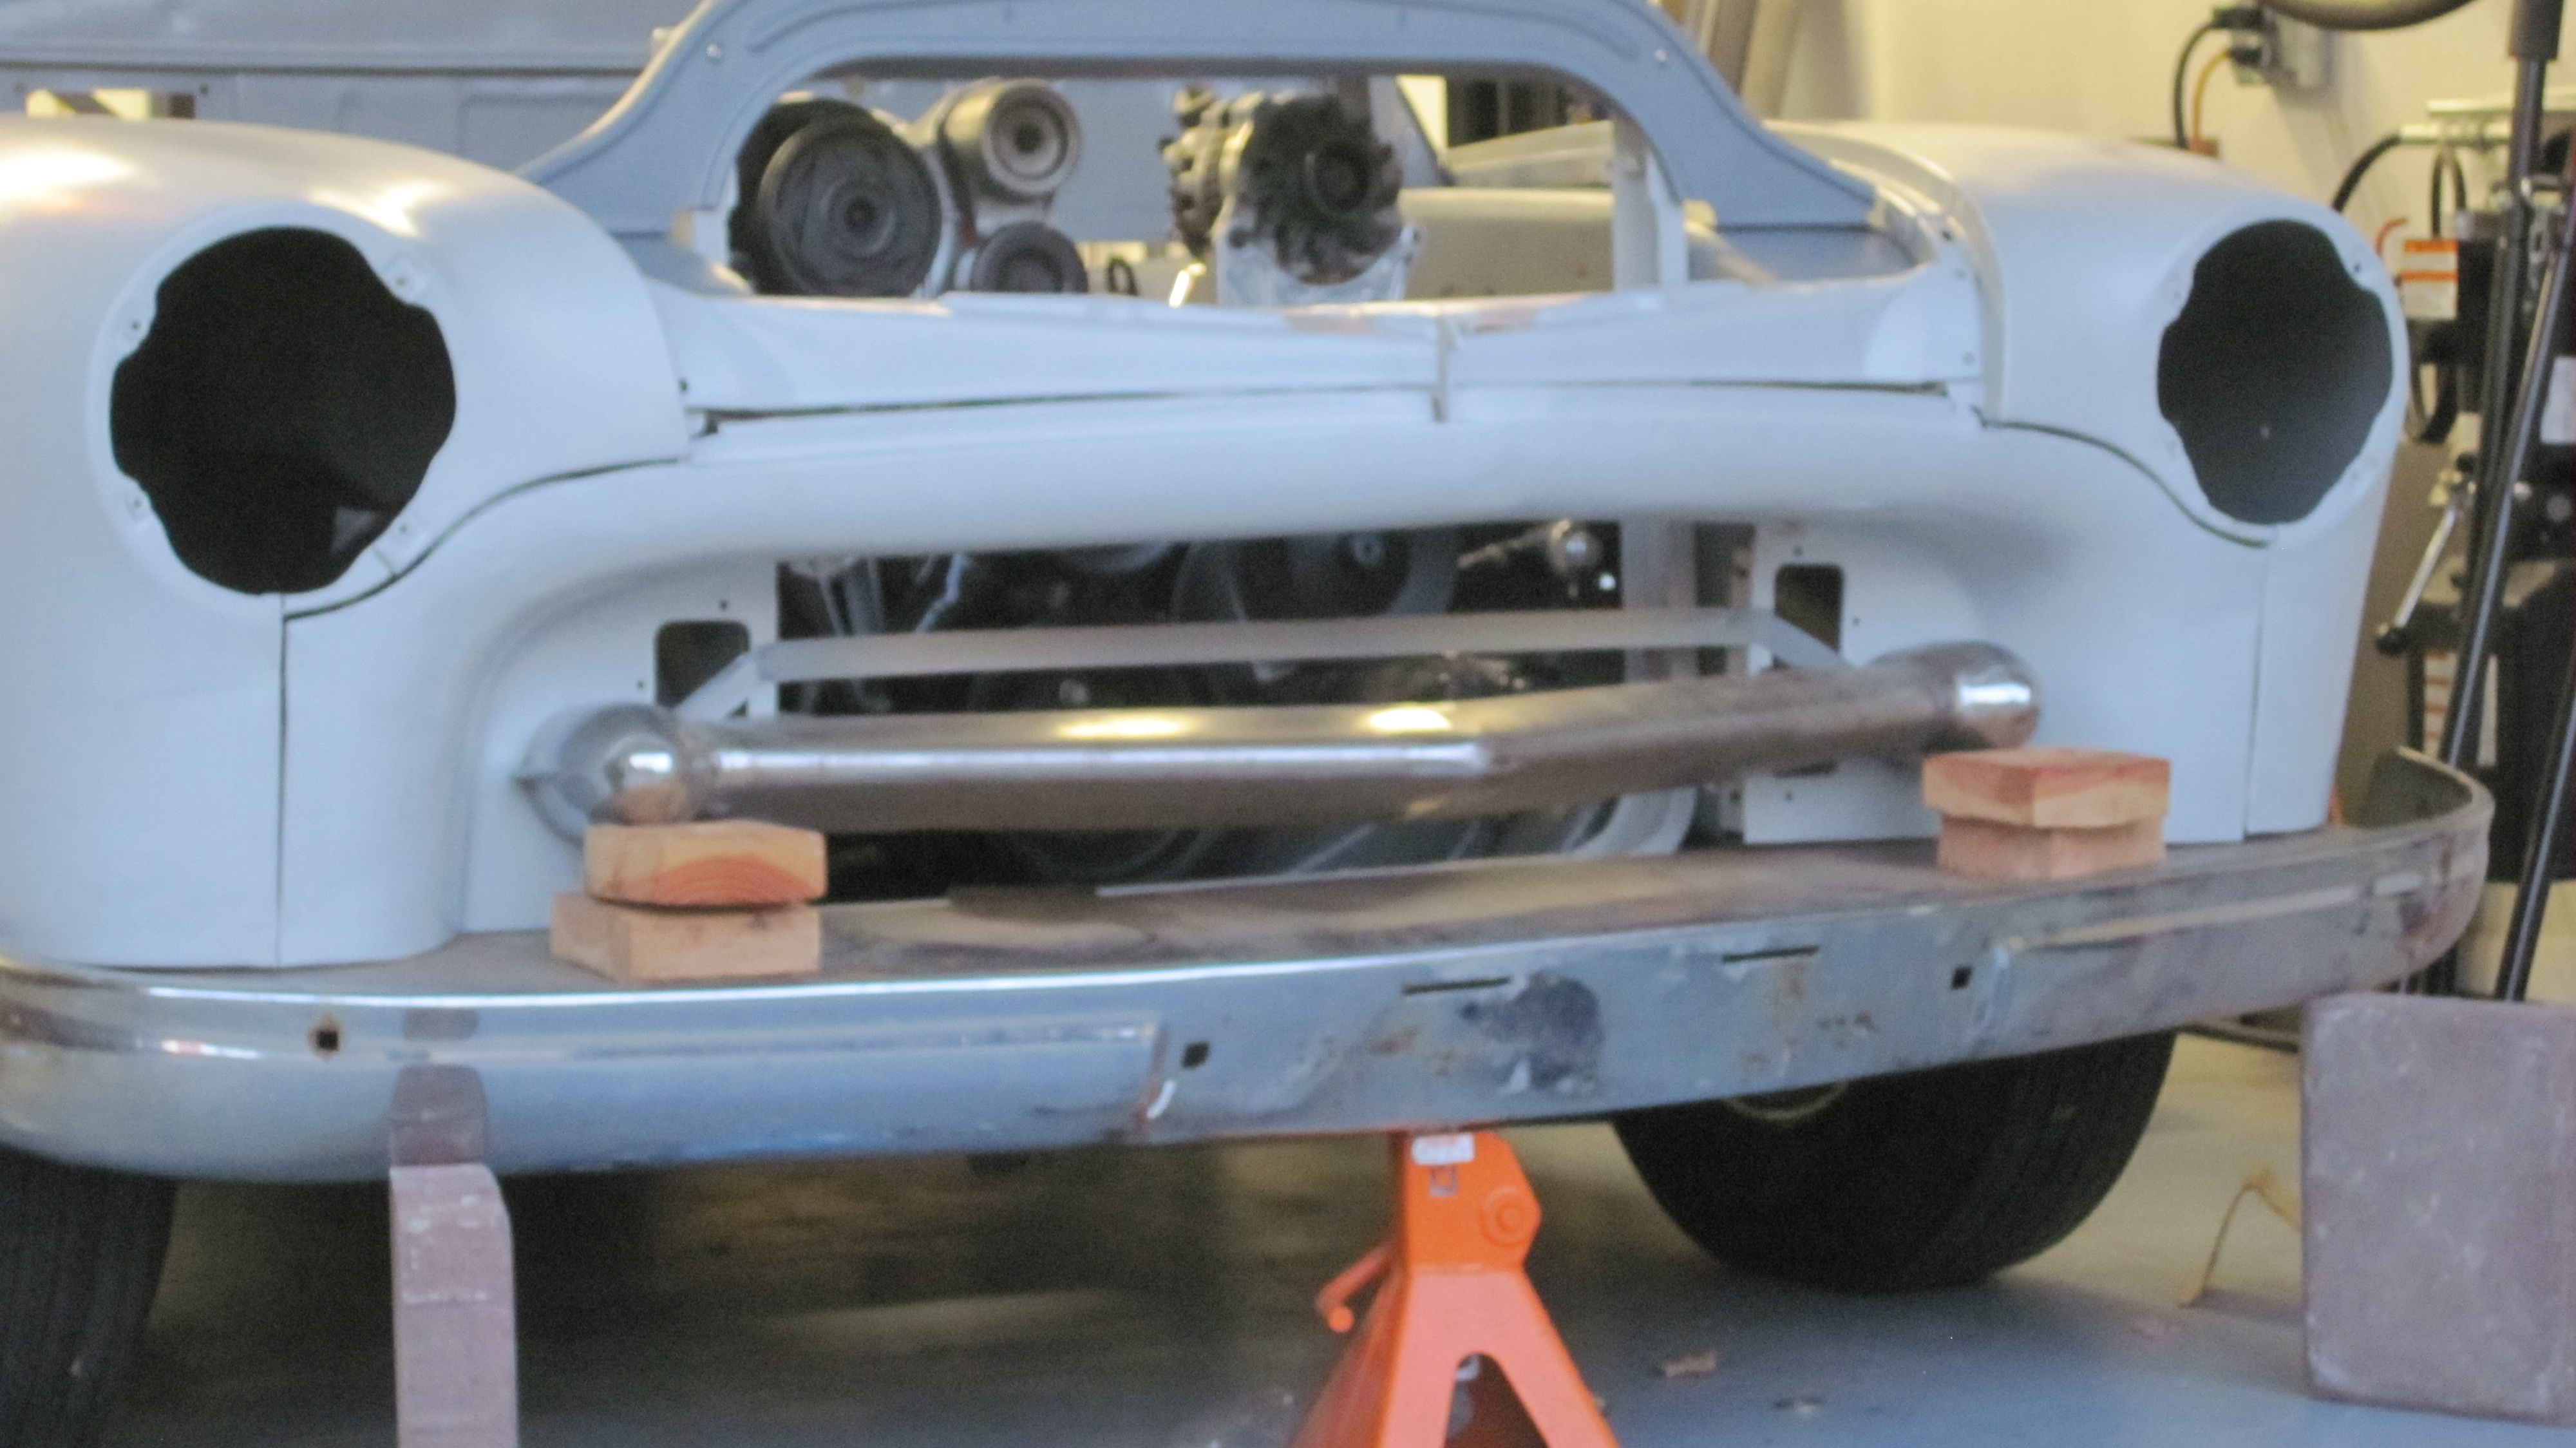
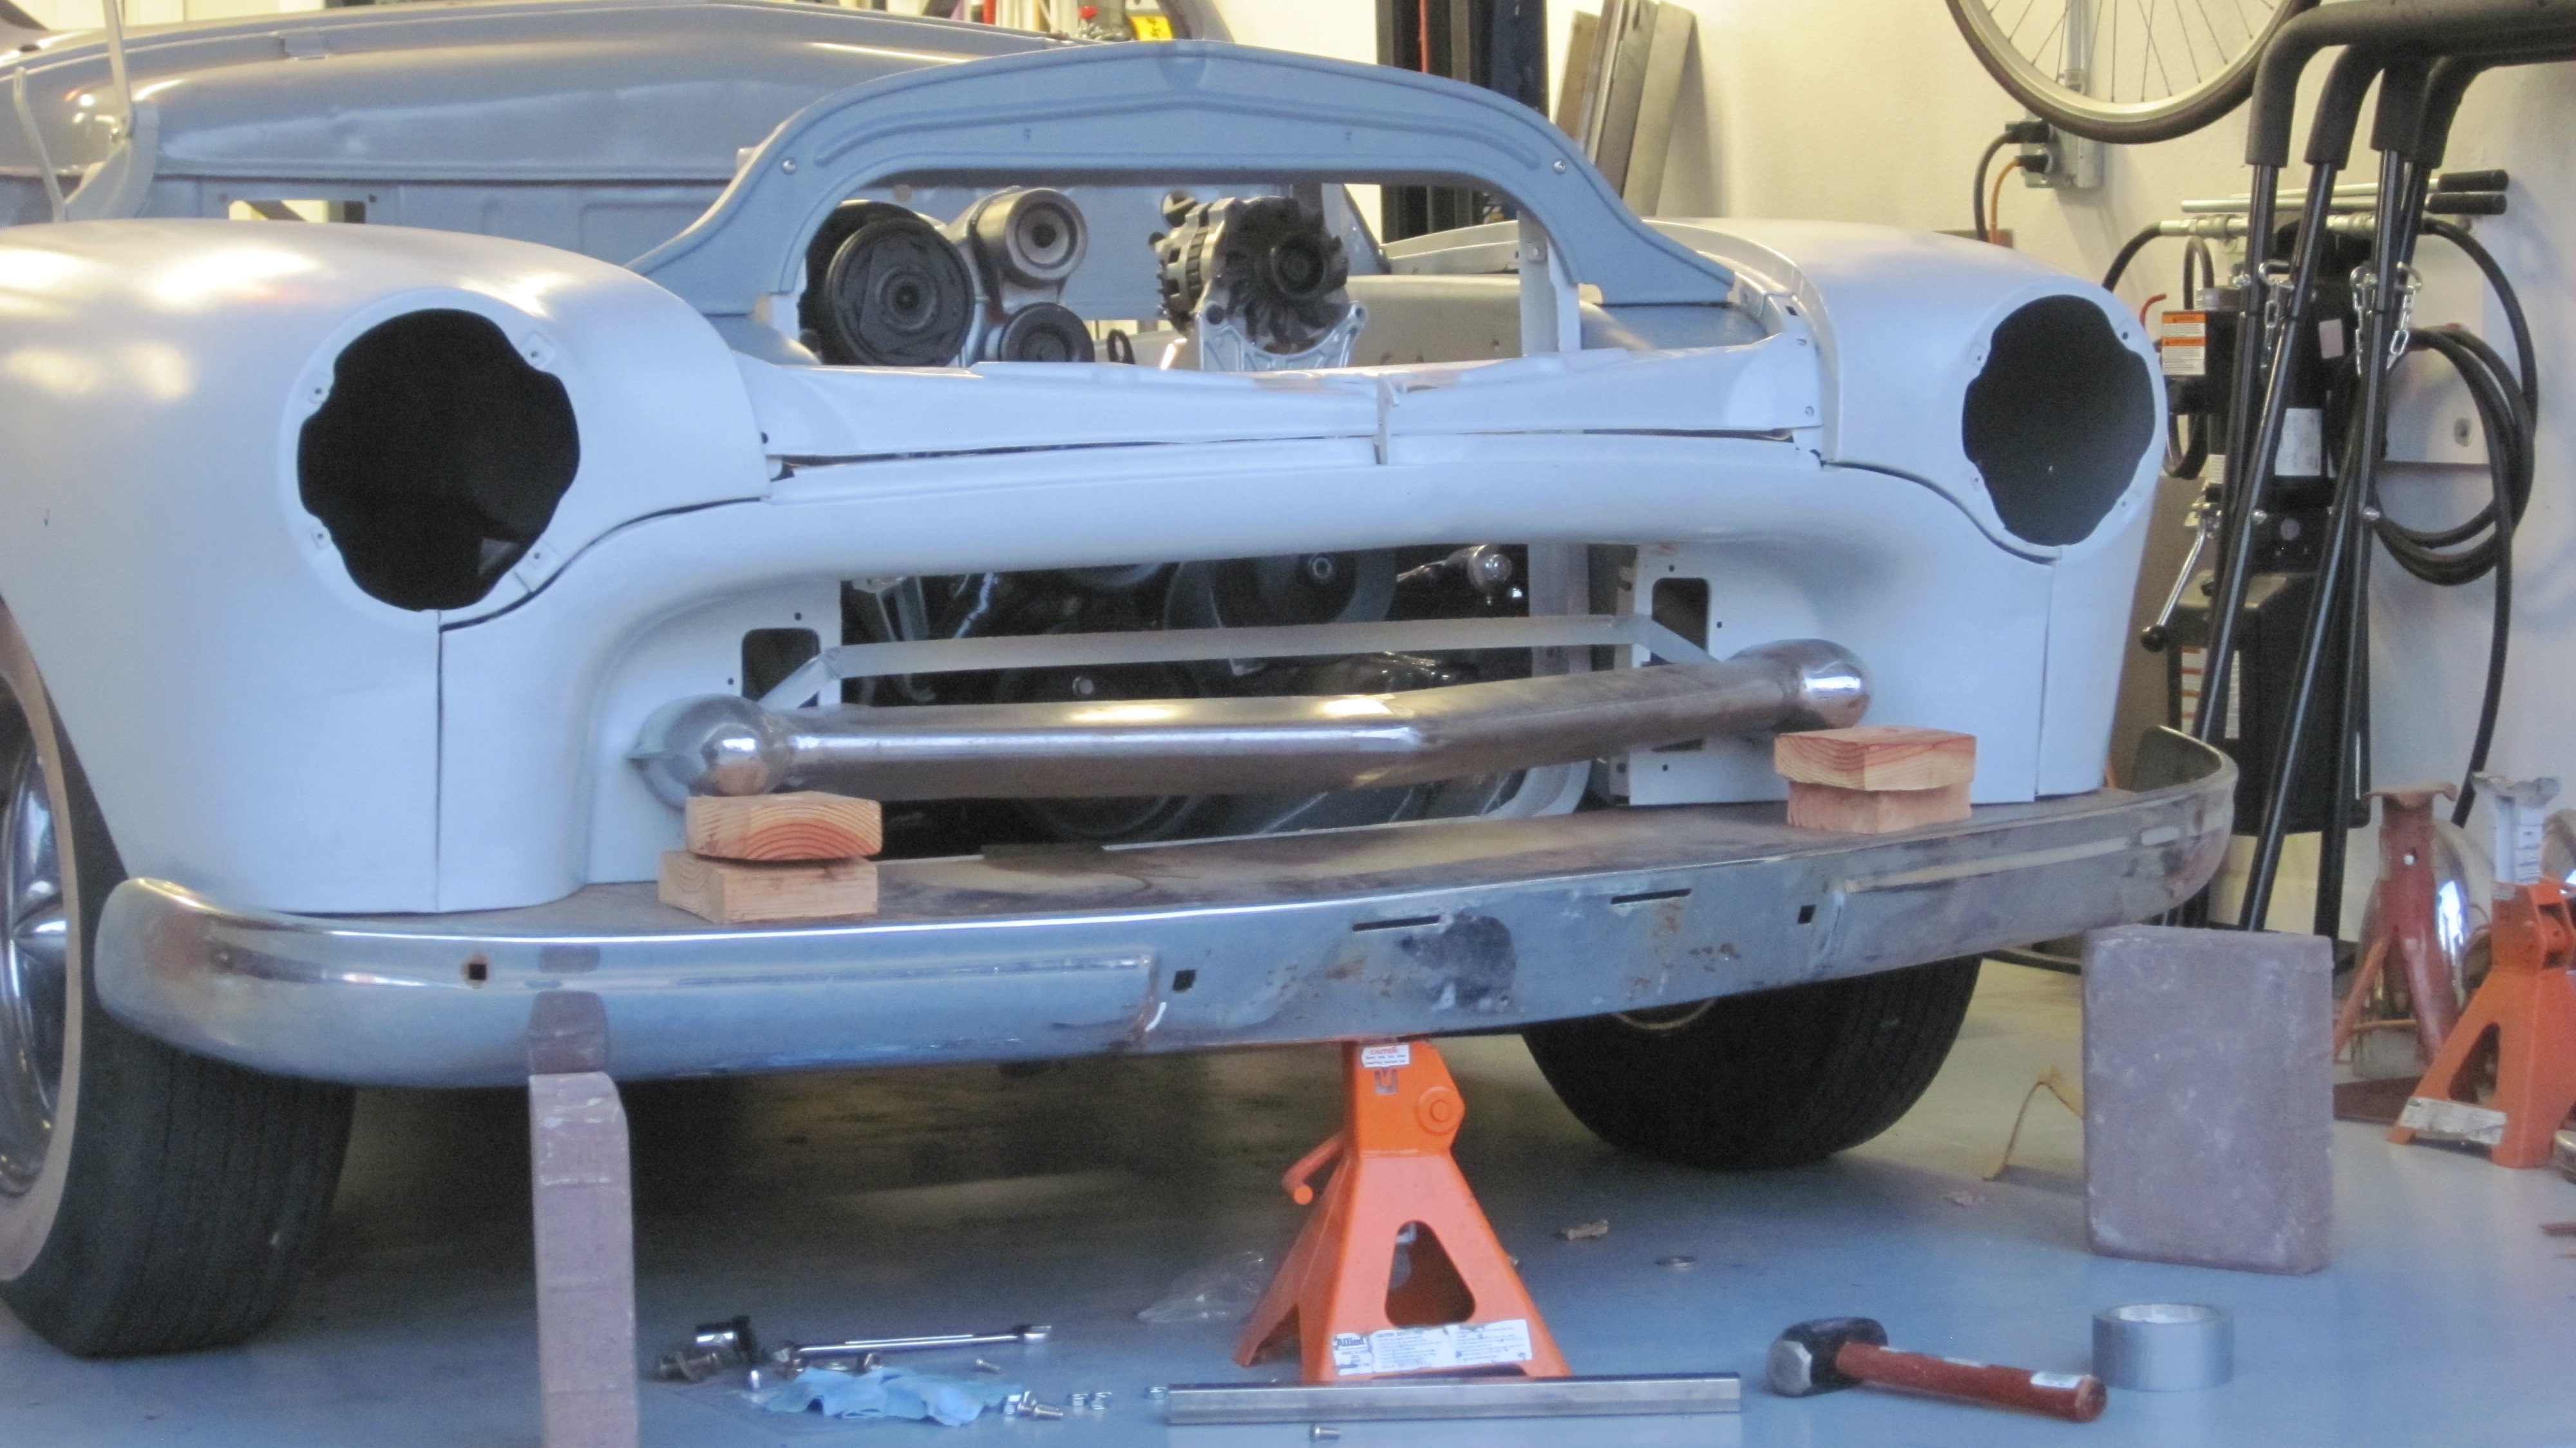
I never really liked the bumpers I got with the project. They're too busy looking, I wanted something cleaner looking. The original 1949 front bumper was far simpler, and I had picked up a cheap one for mock-up purposes.
I put the bumper on for brainstorming, and didn't like that look either. Then I flipped it over and suddenly it looked perfect! I'll need to section about 4 inches out and clean up the ends, but it really makes the front end look smooth now.
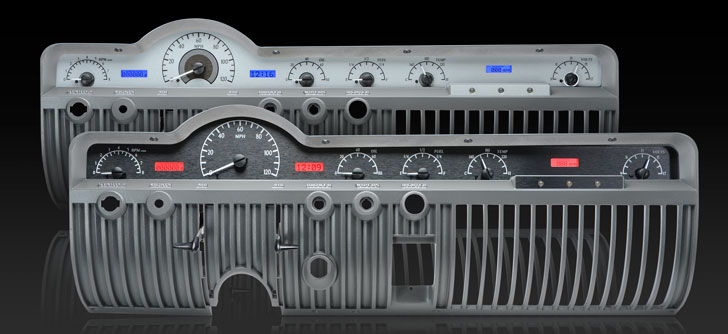
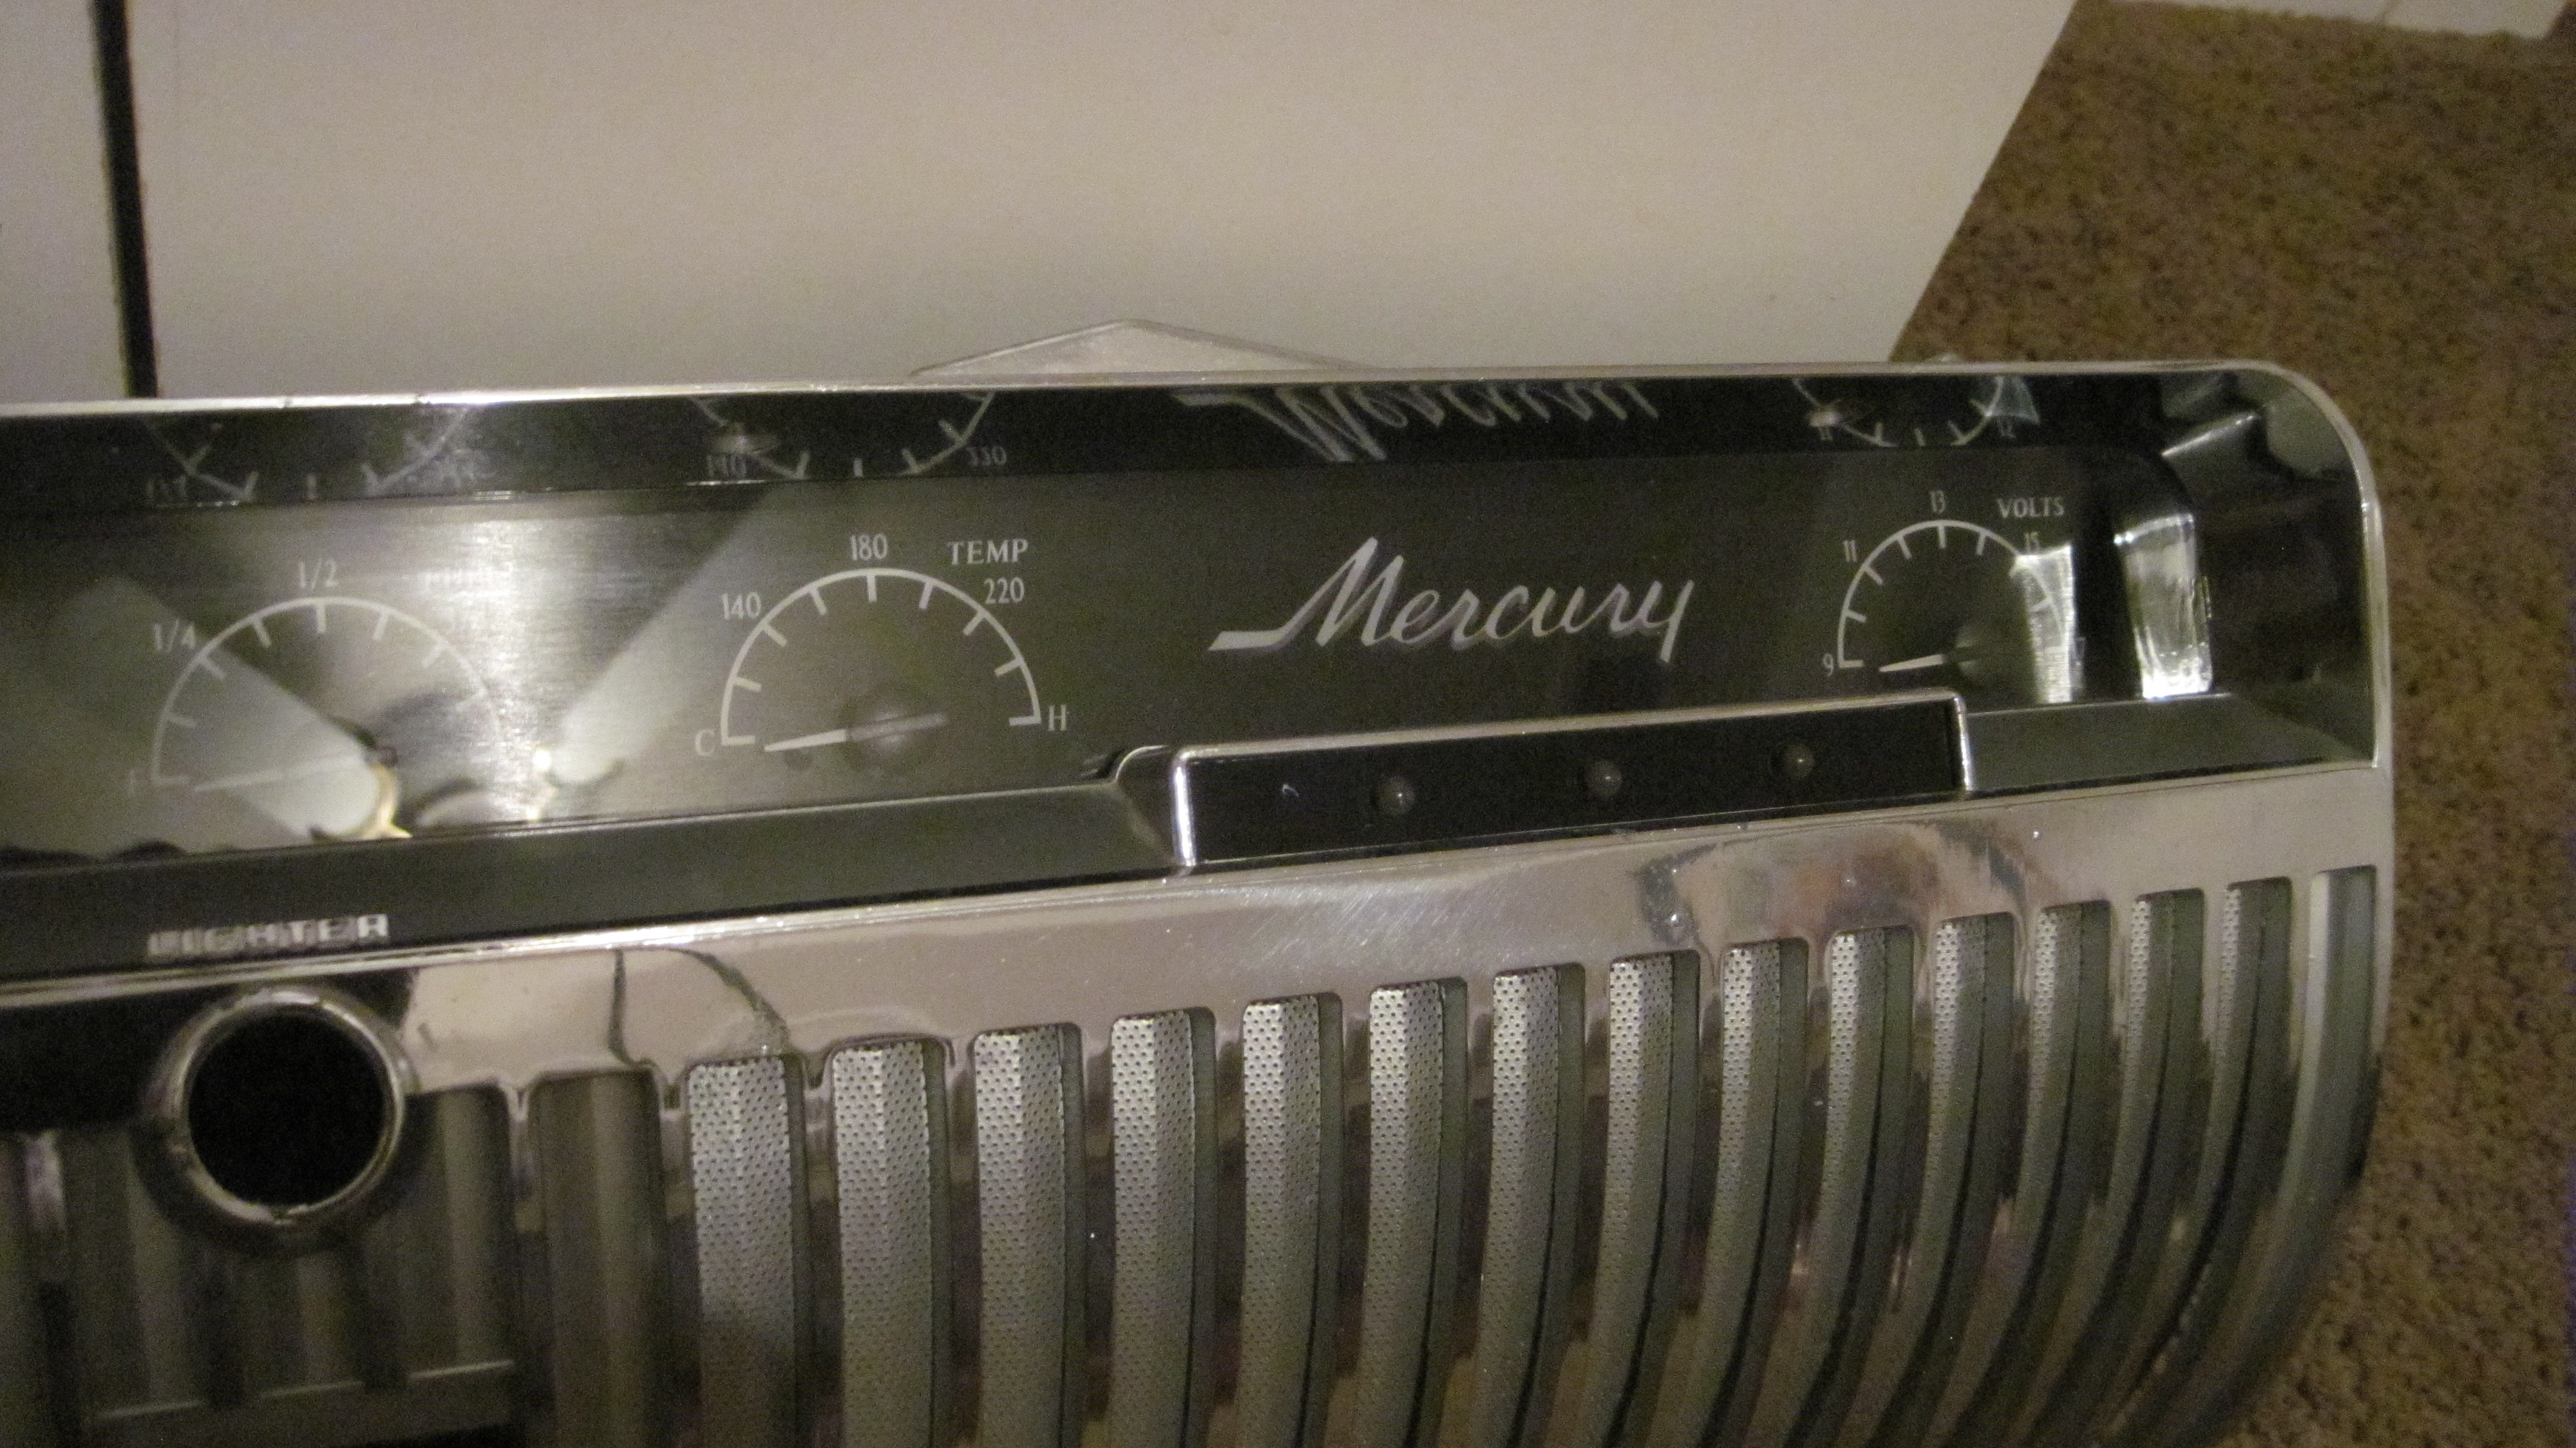
Switching to the dash, this is the only feasable gauge package available for my dash. But I hated the digital clock where the radio used to go.
So, I spoke with Dakota Digital and if I could provide them with the artwork I wanted, they could modify the silkscreen and put a Mercury logo there instead.
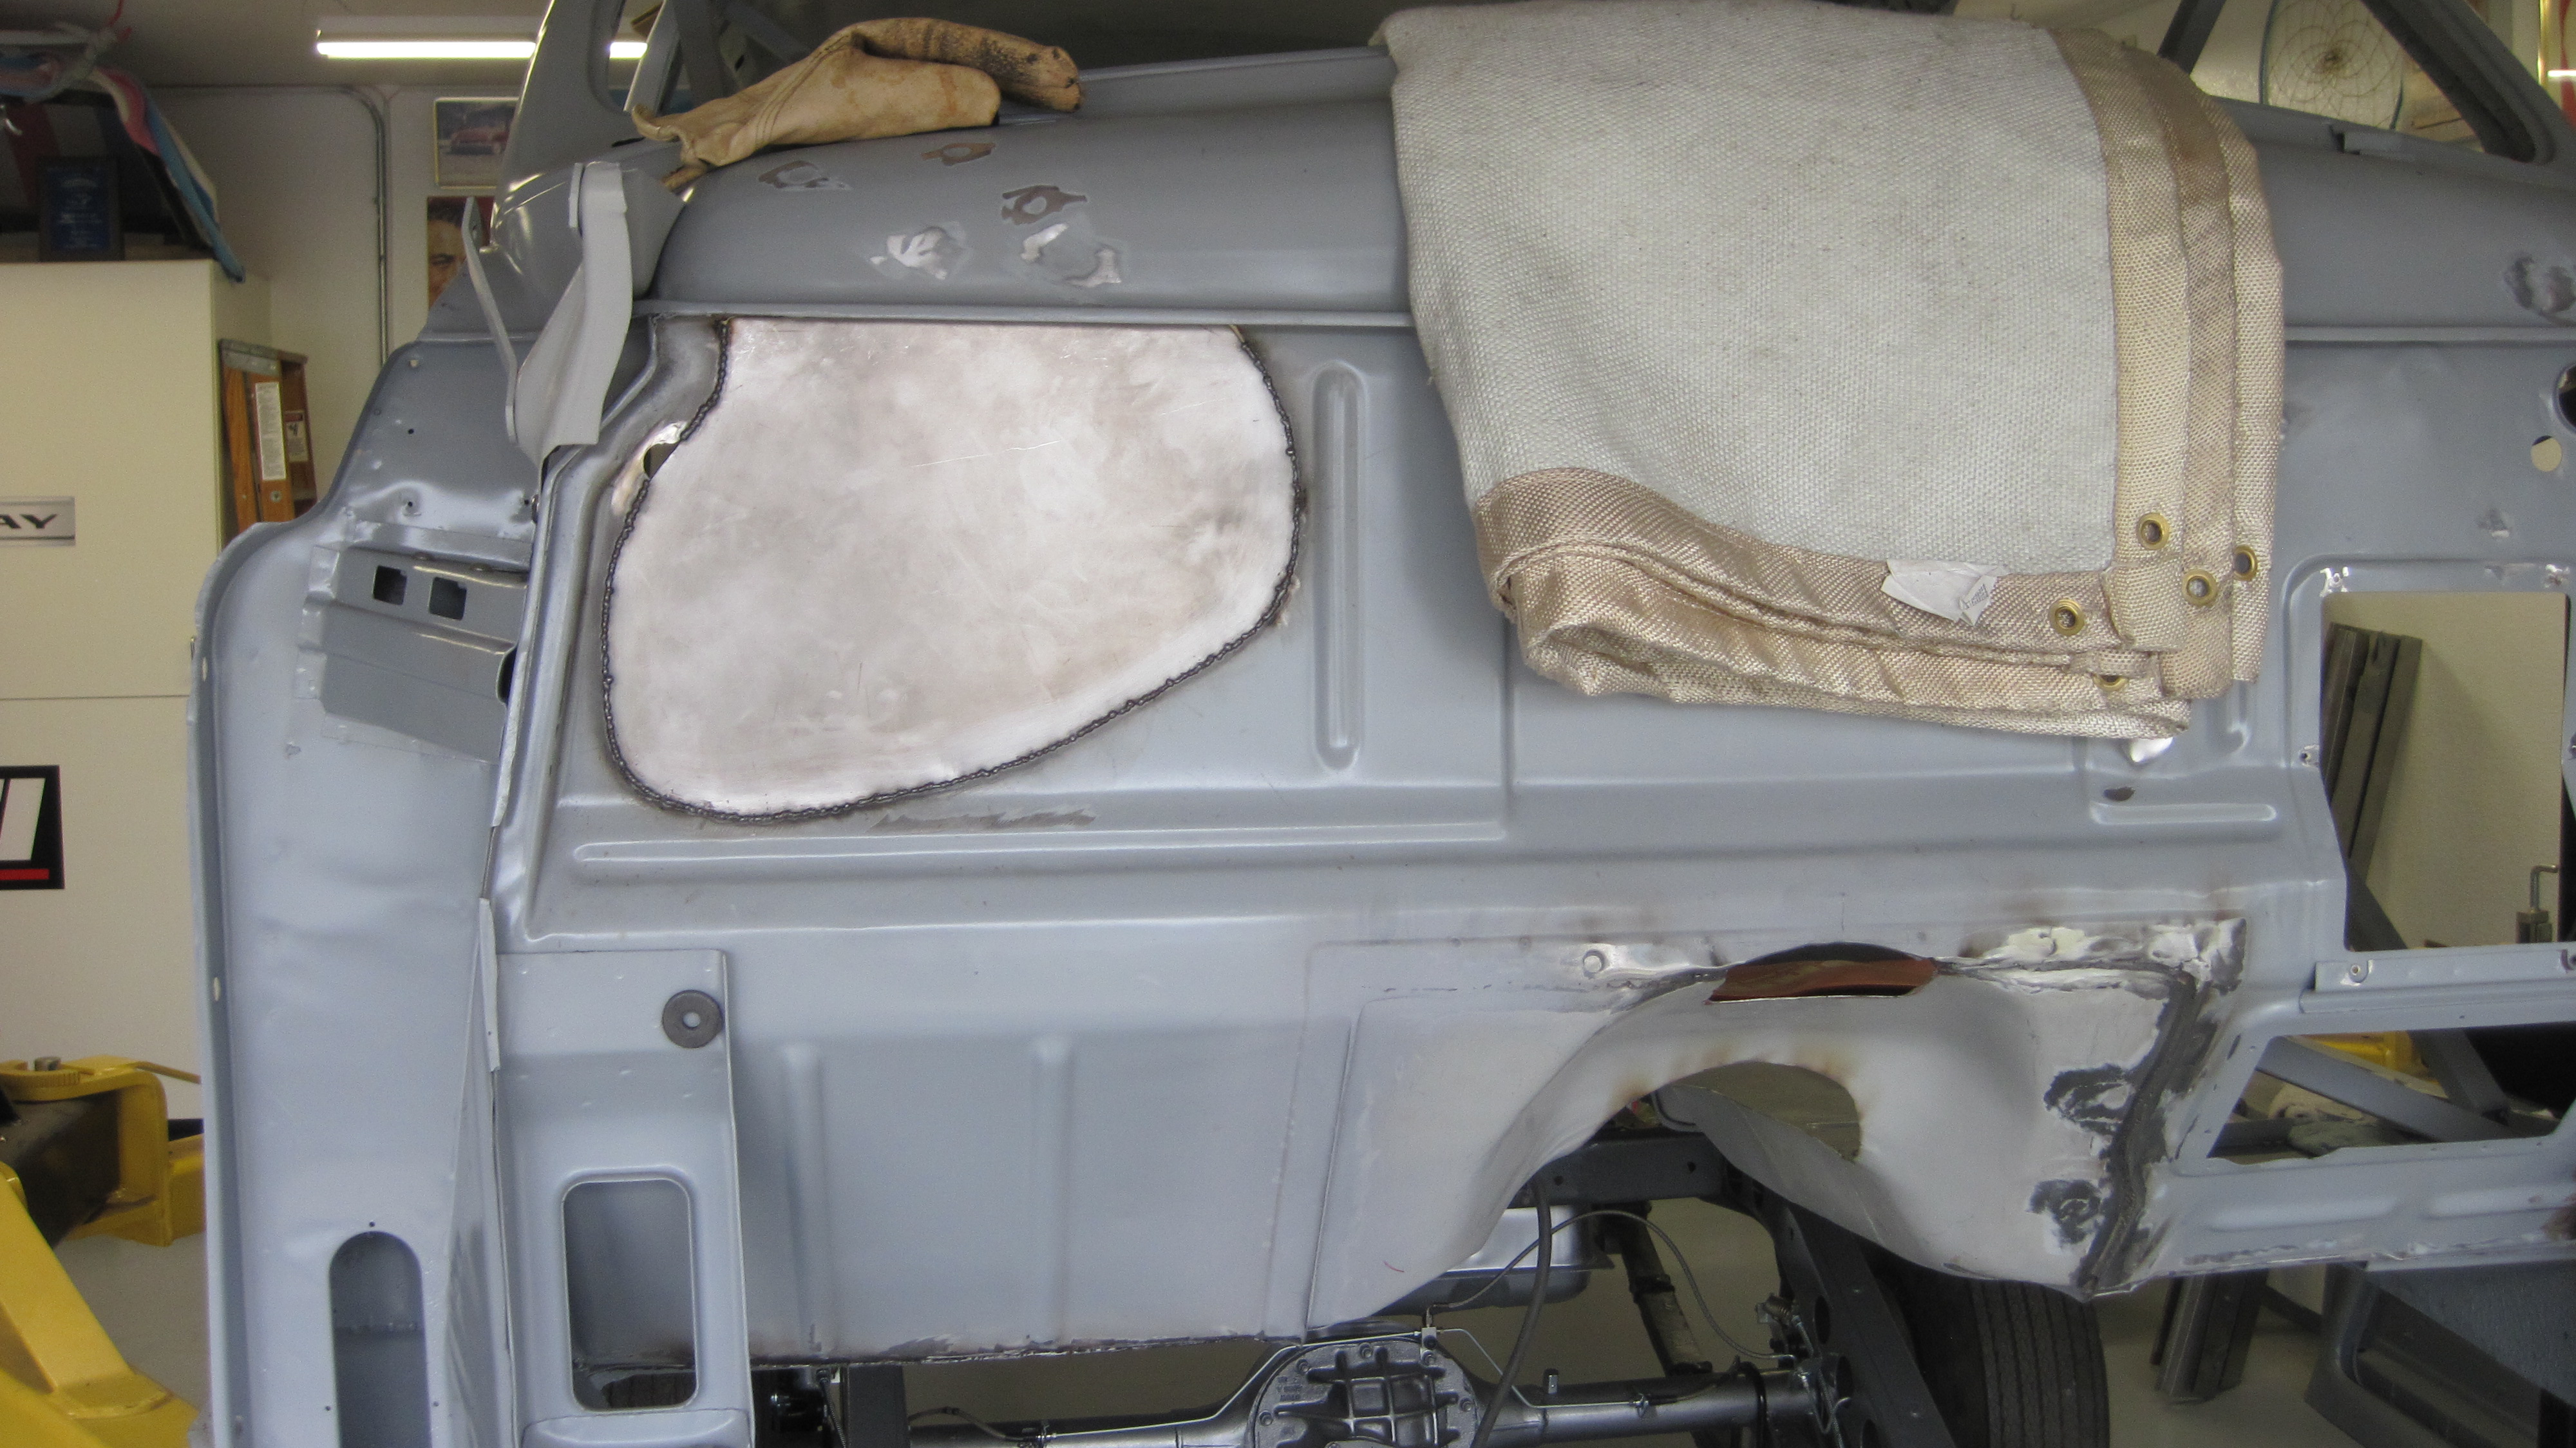
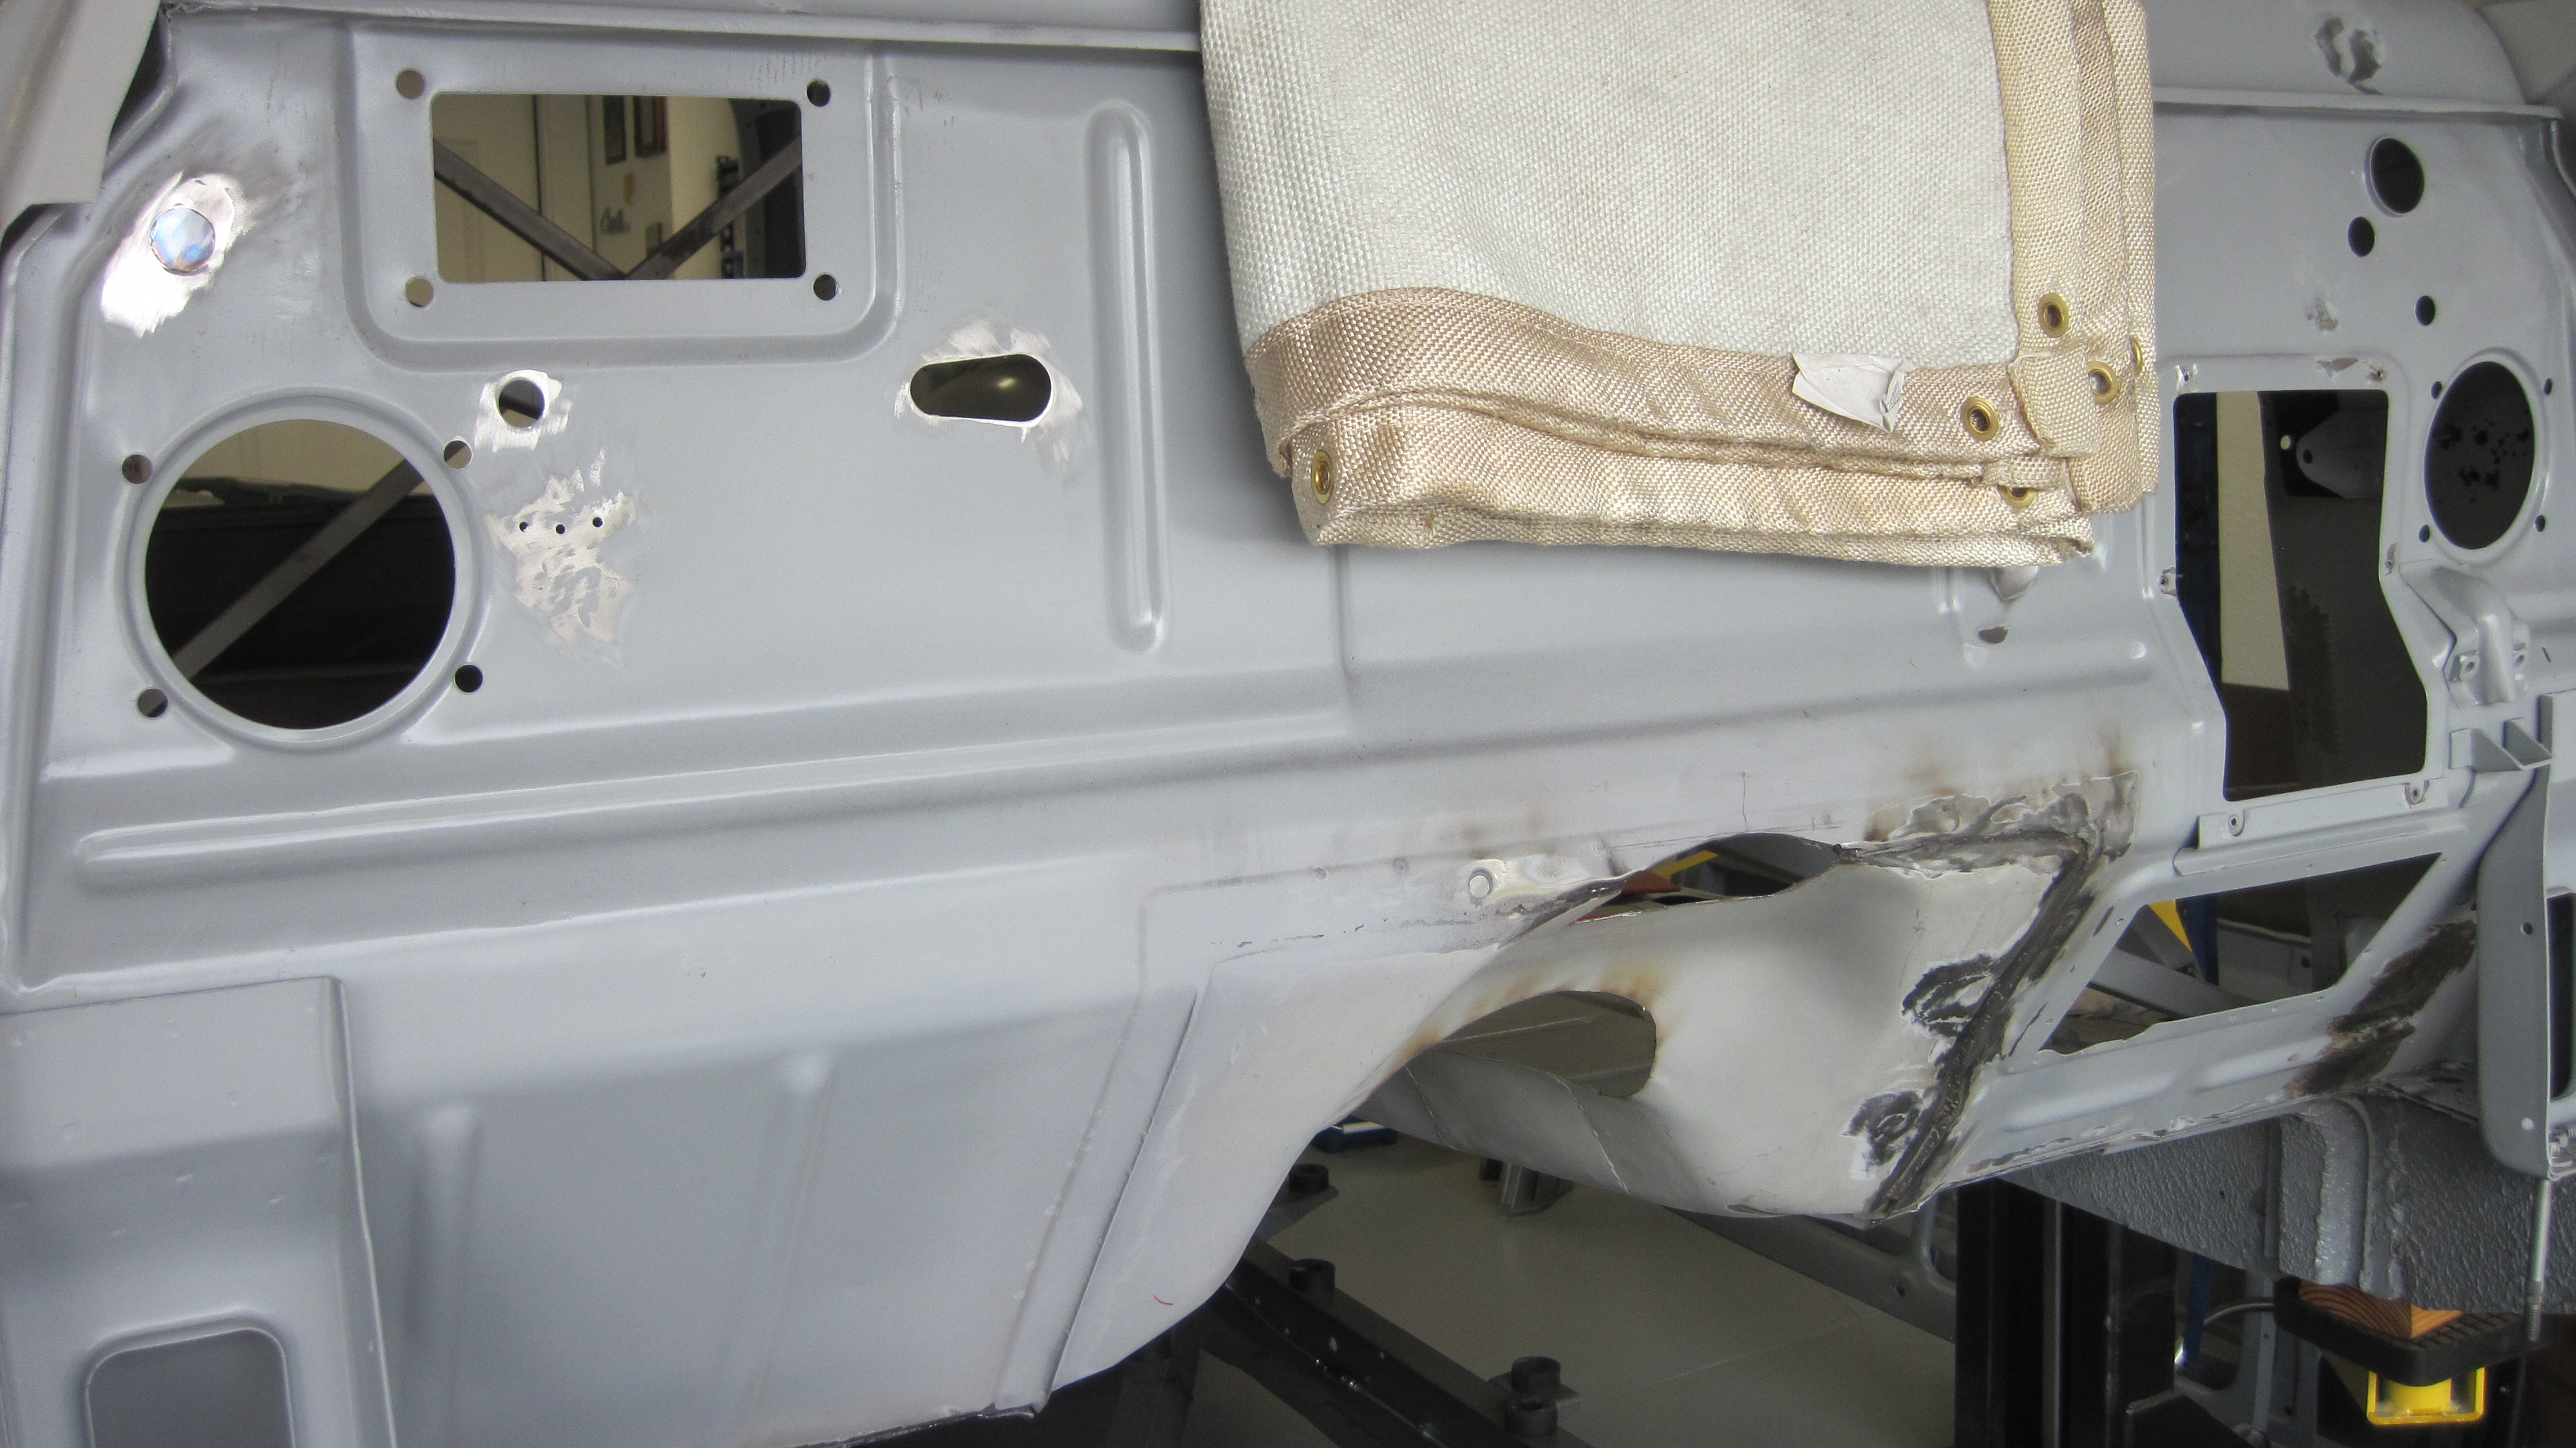
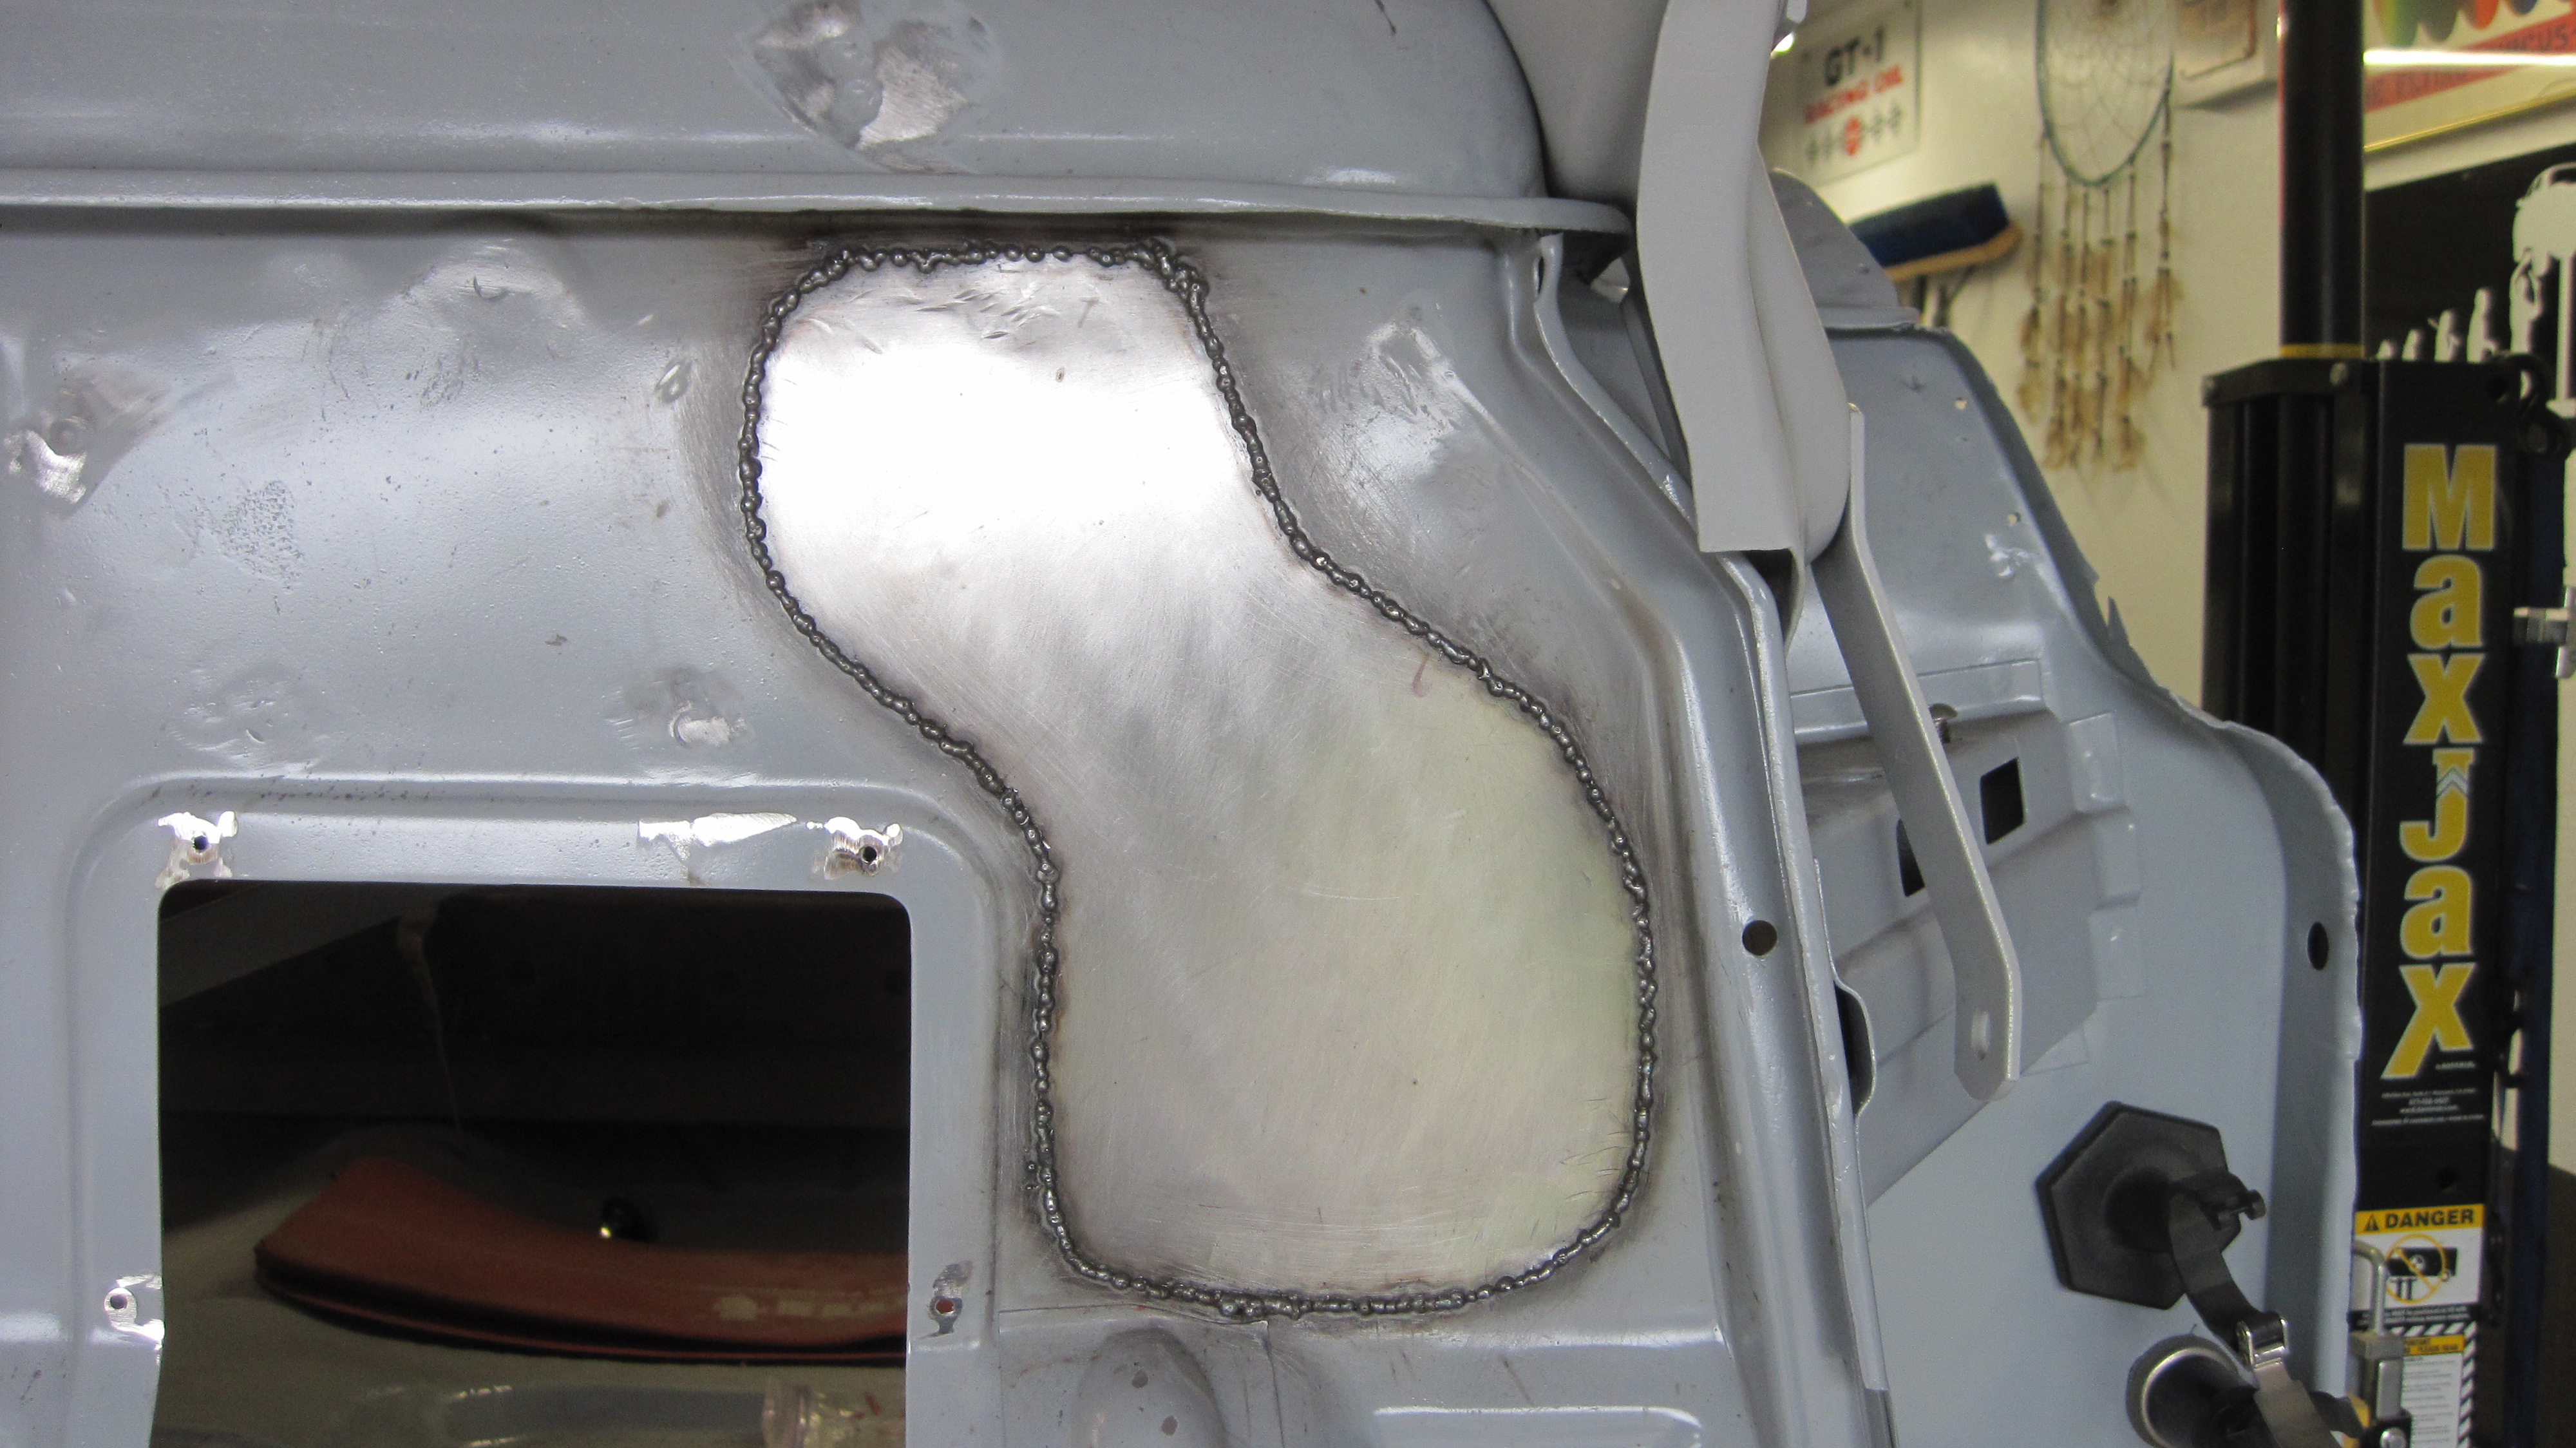
I filled the small holes individually, but on the large sections I cut out patch panels.
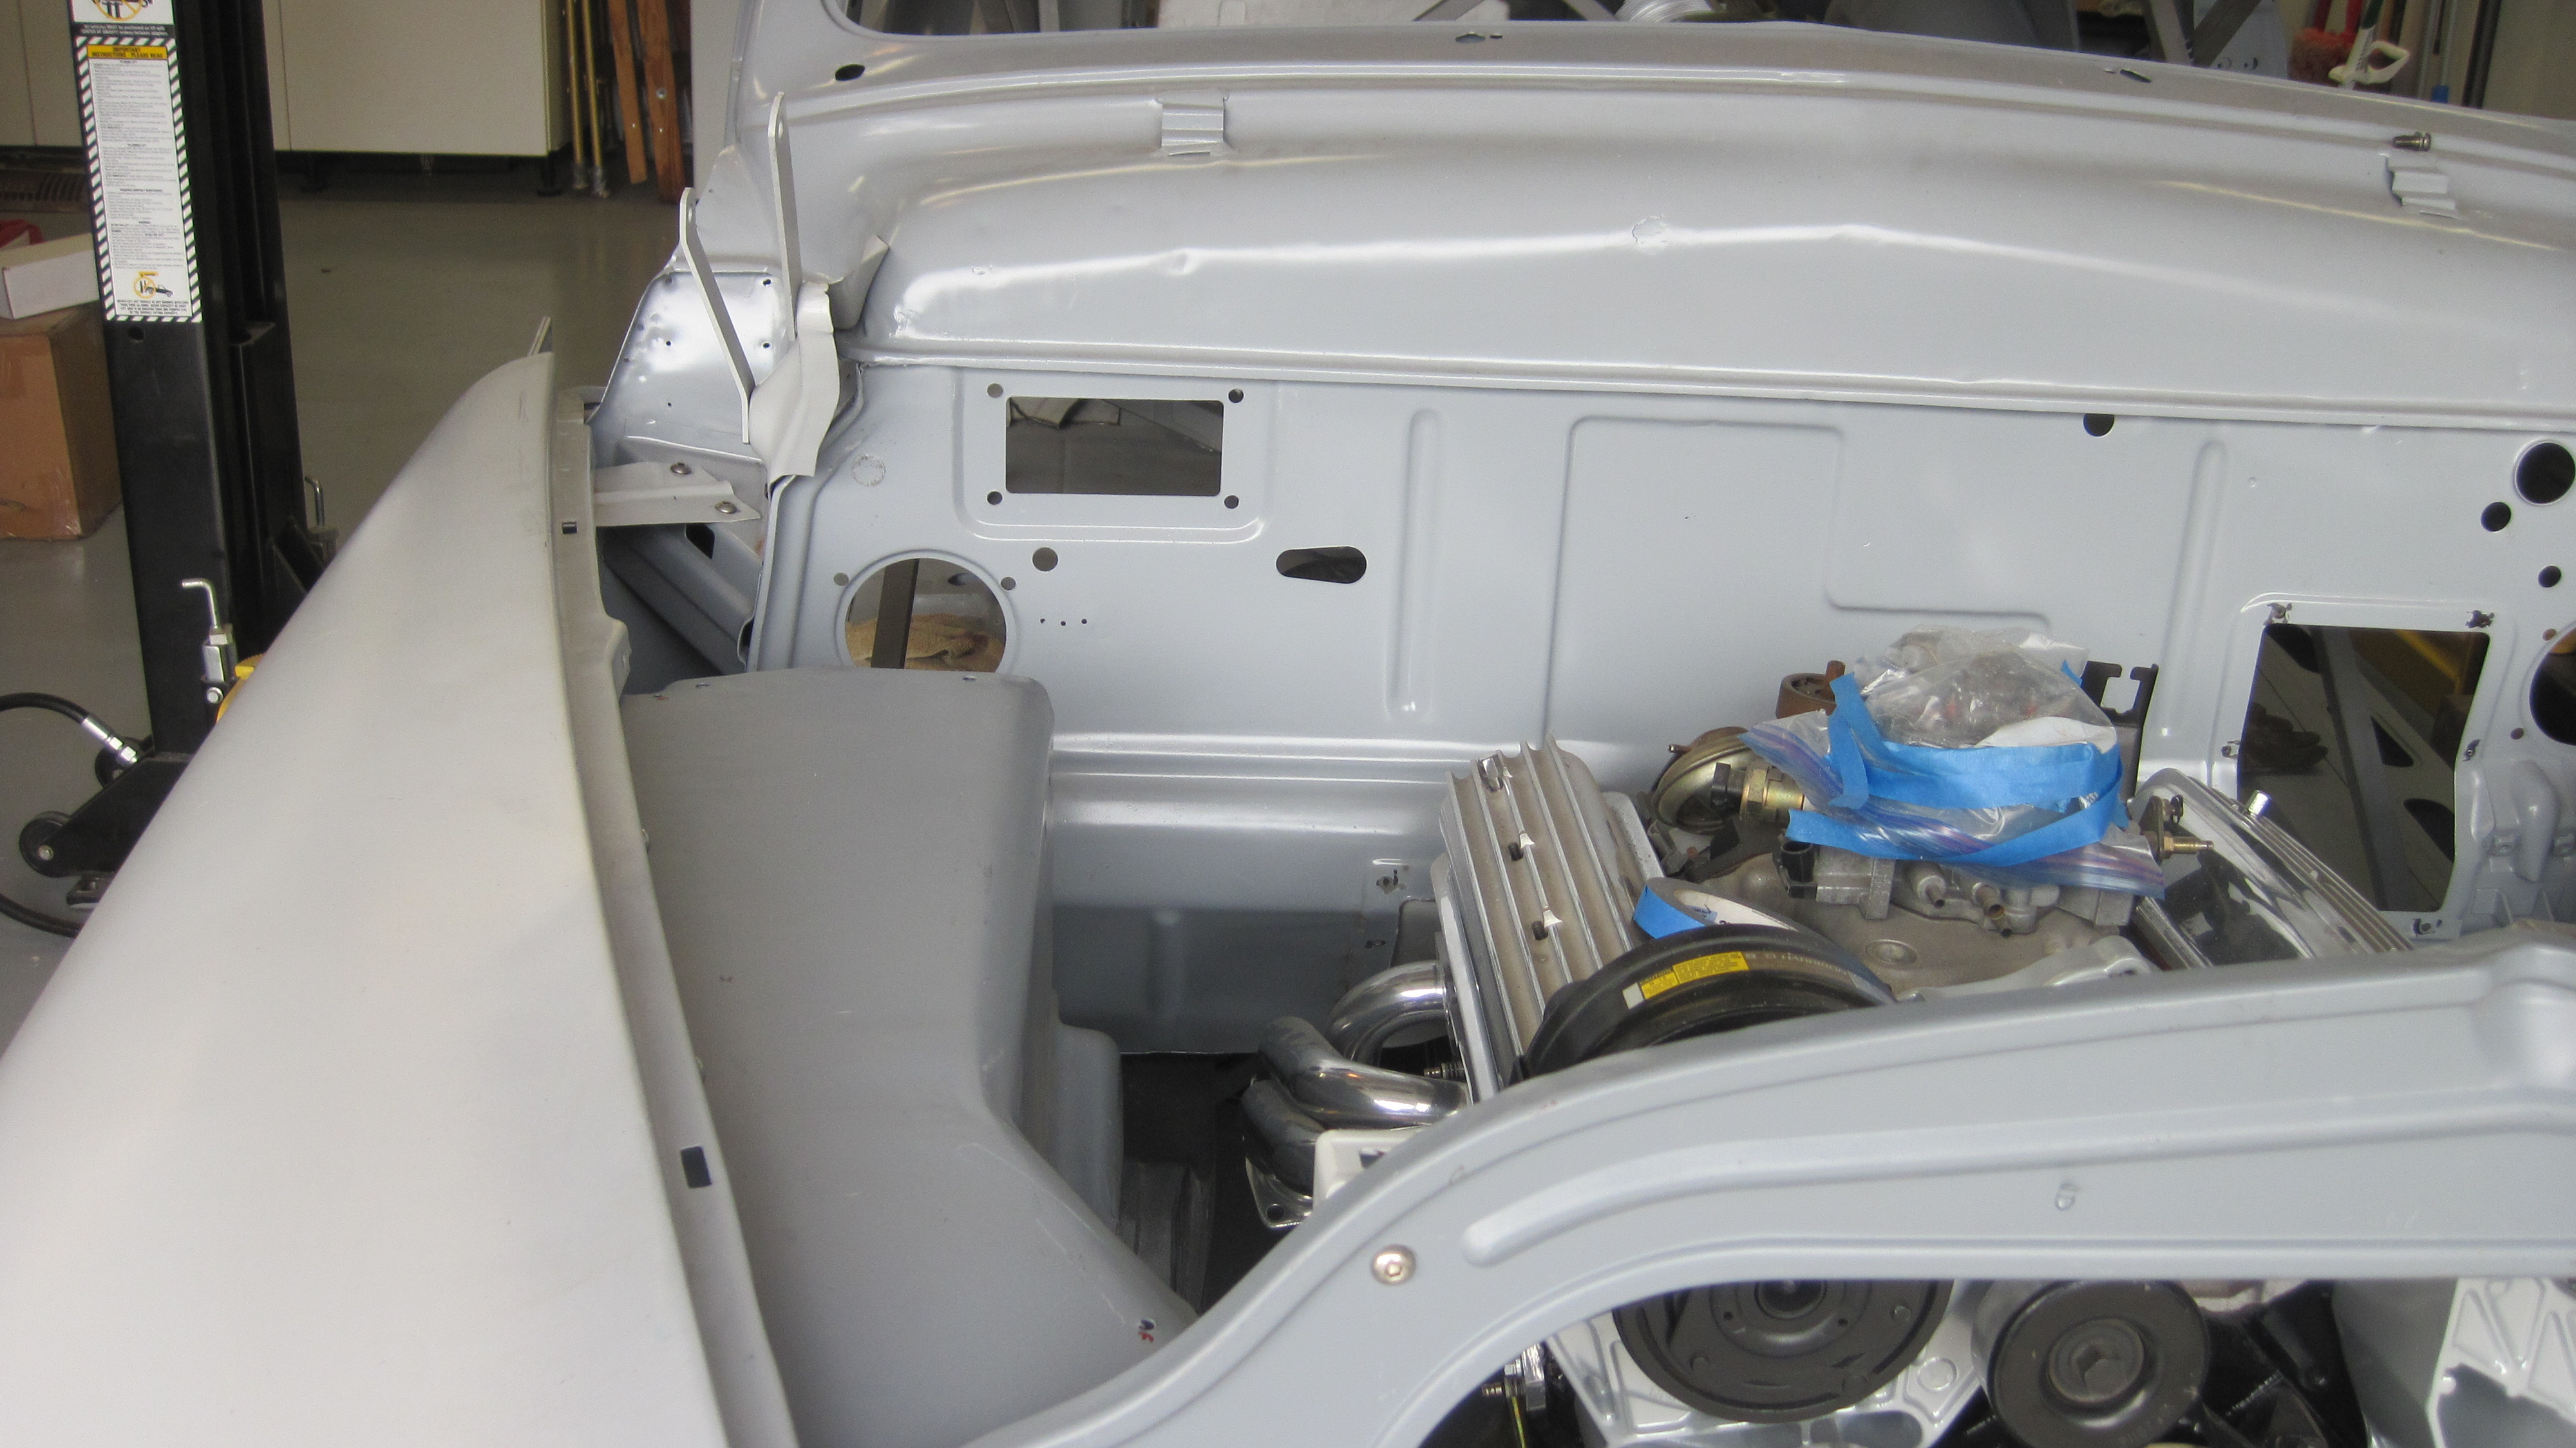
The next major task was to clean up the firewall and use welded-in patch panels to get rid of all of the holes.
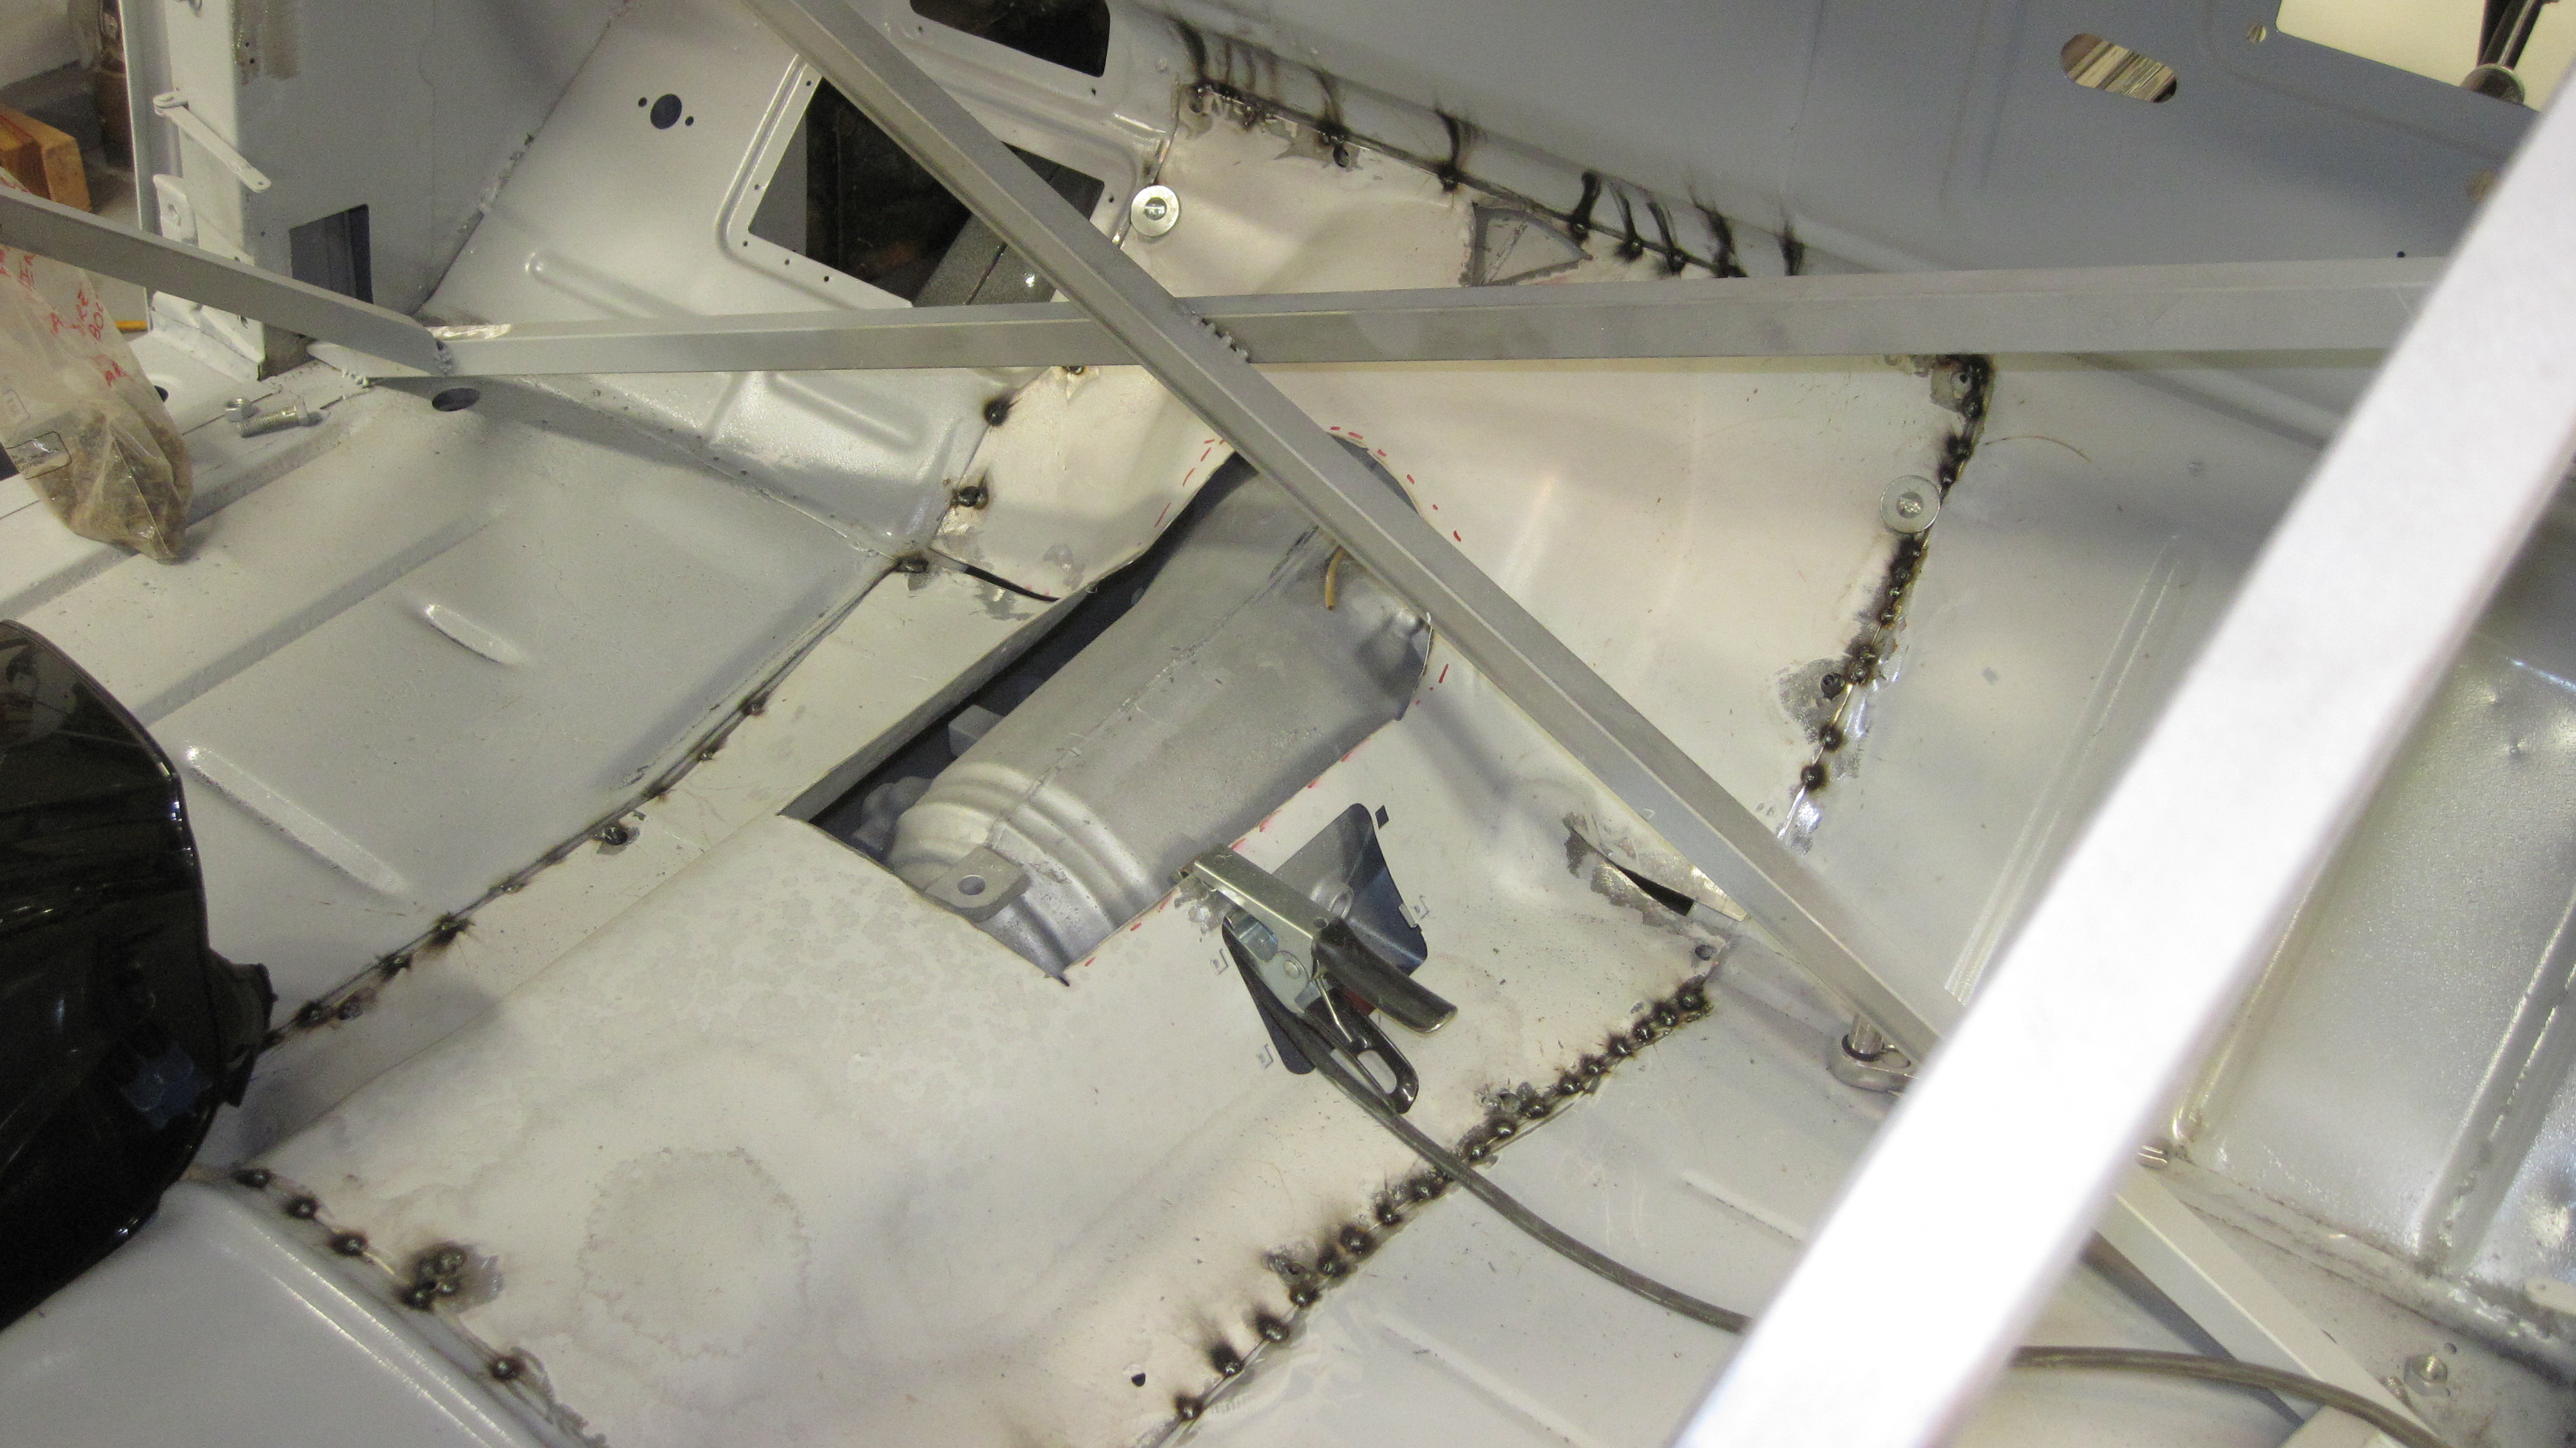
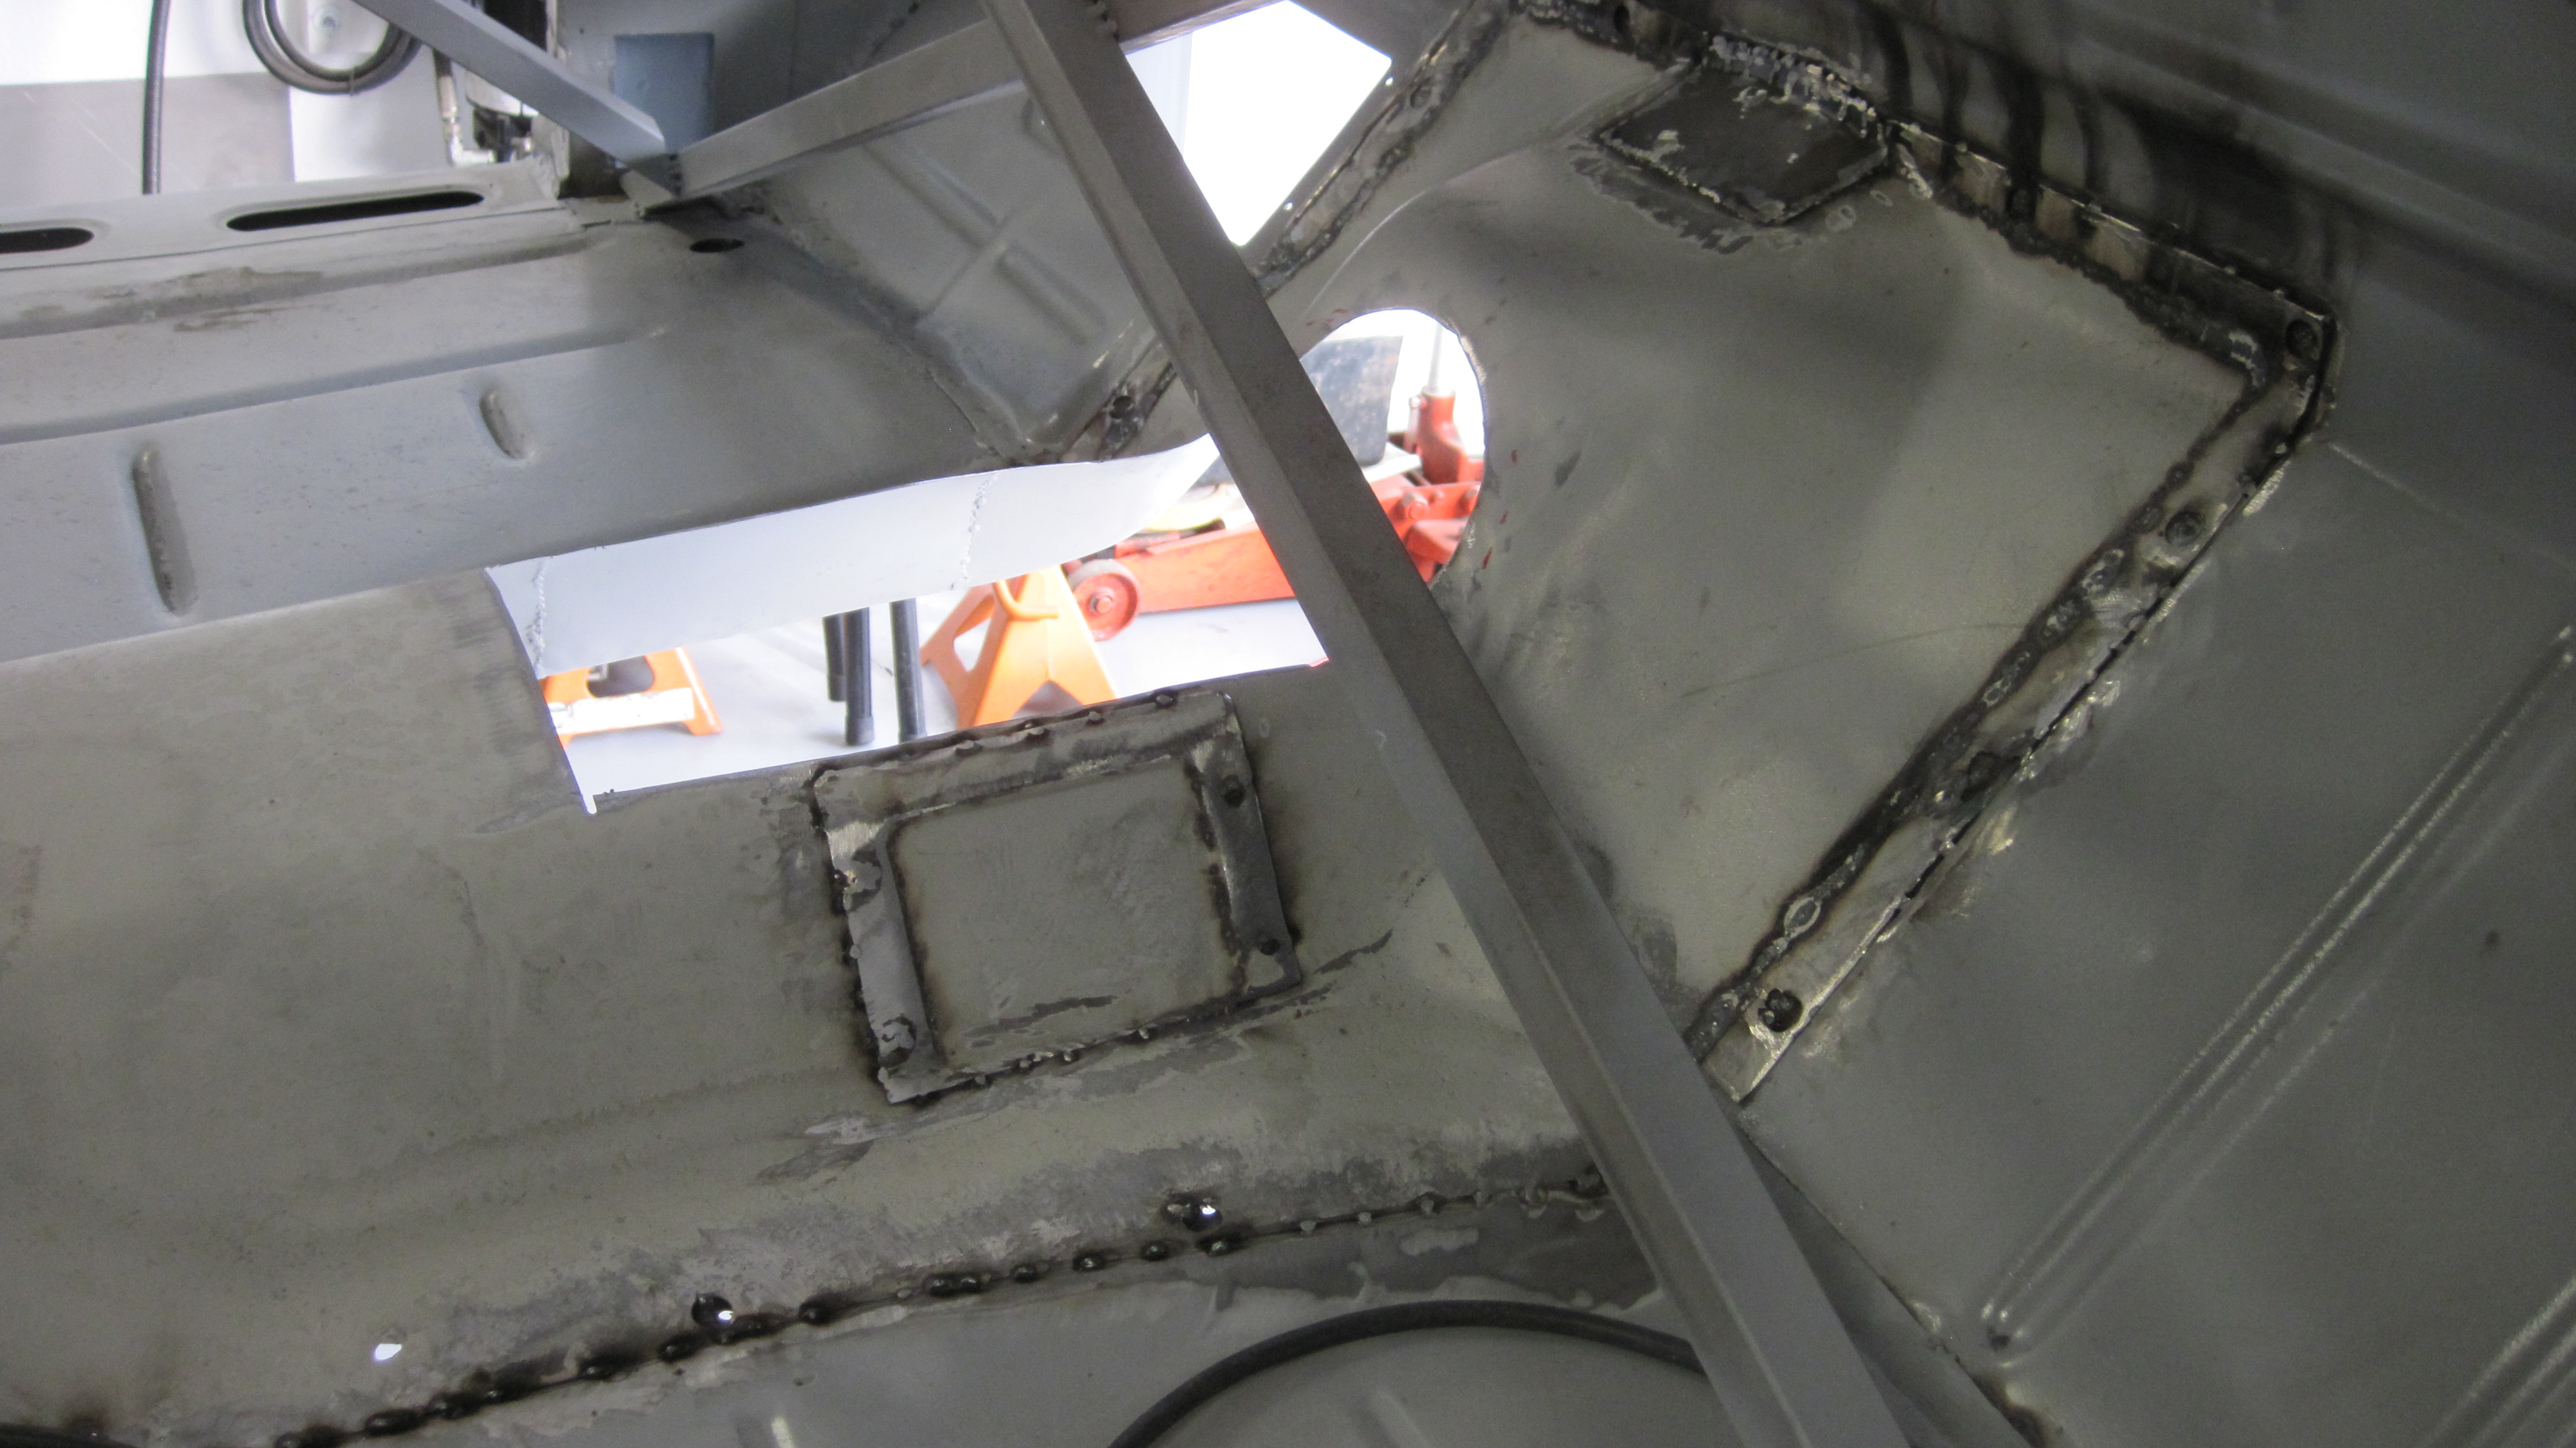
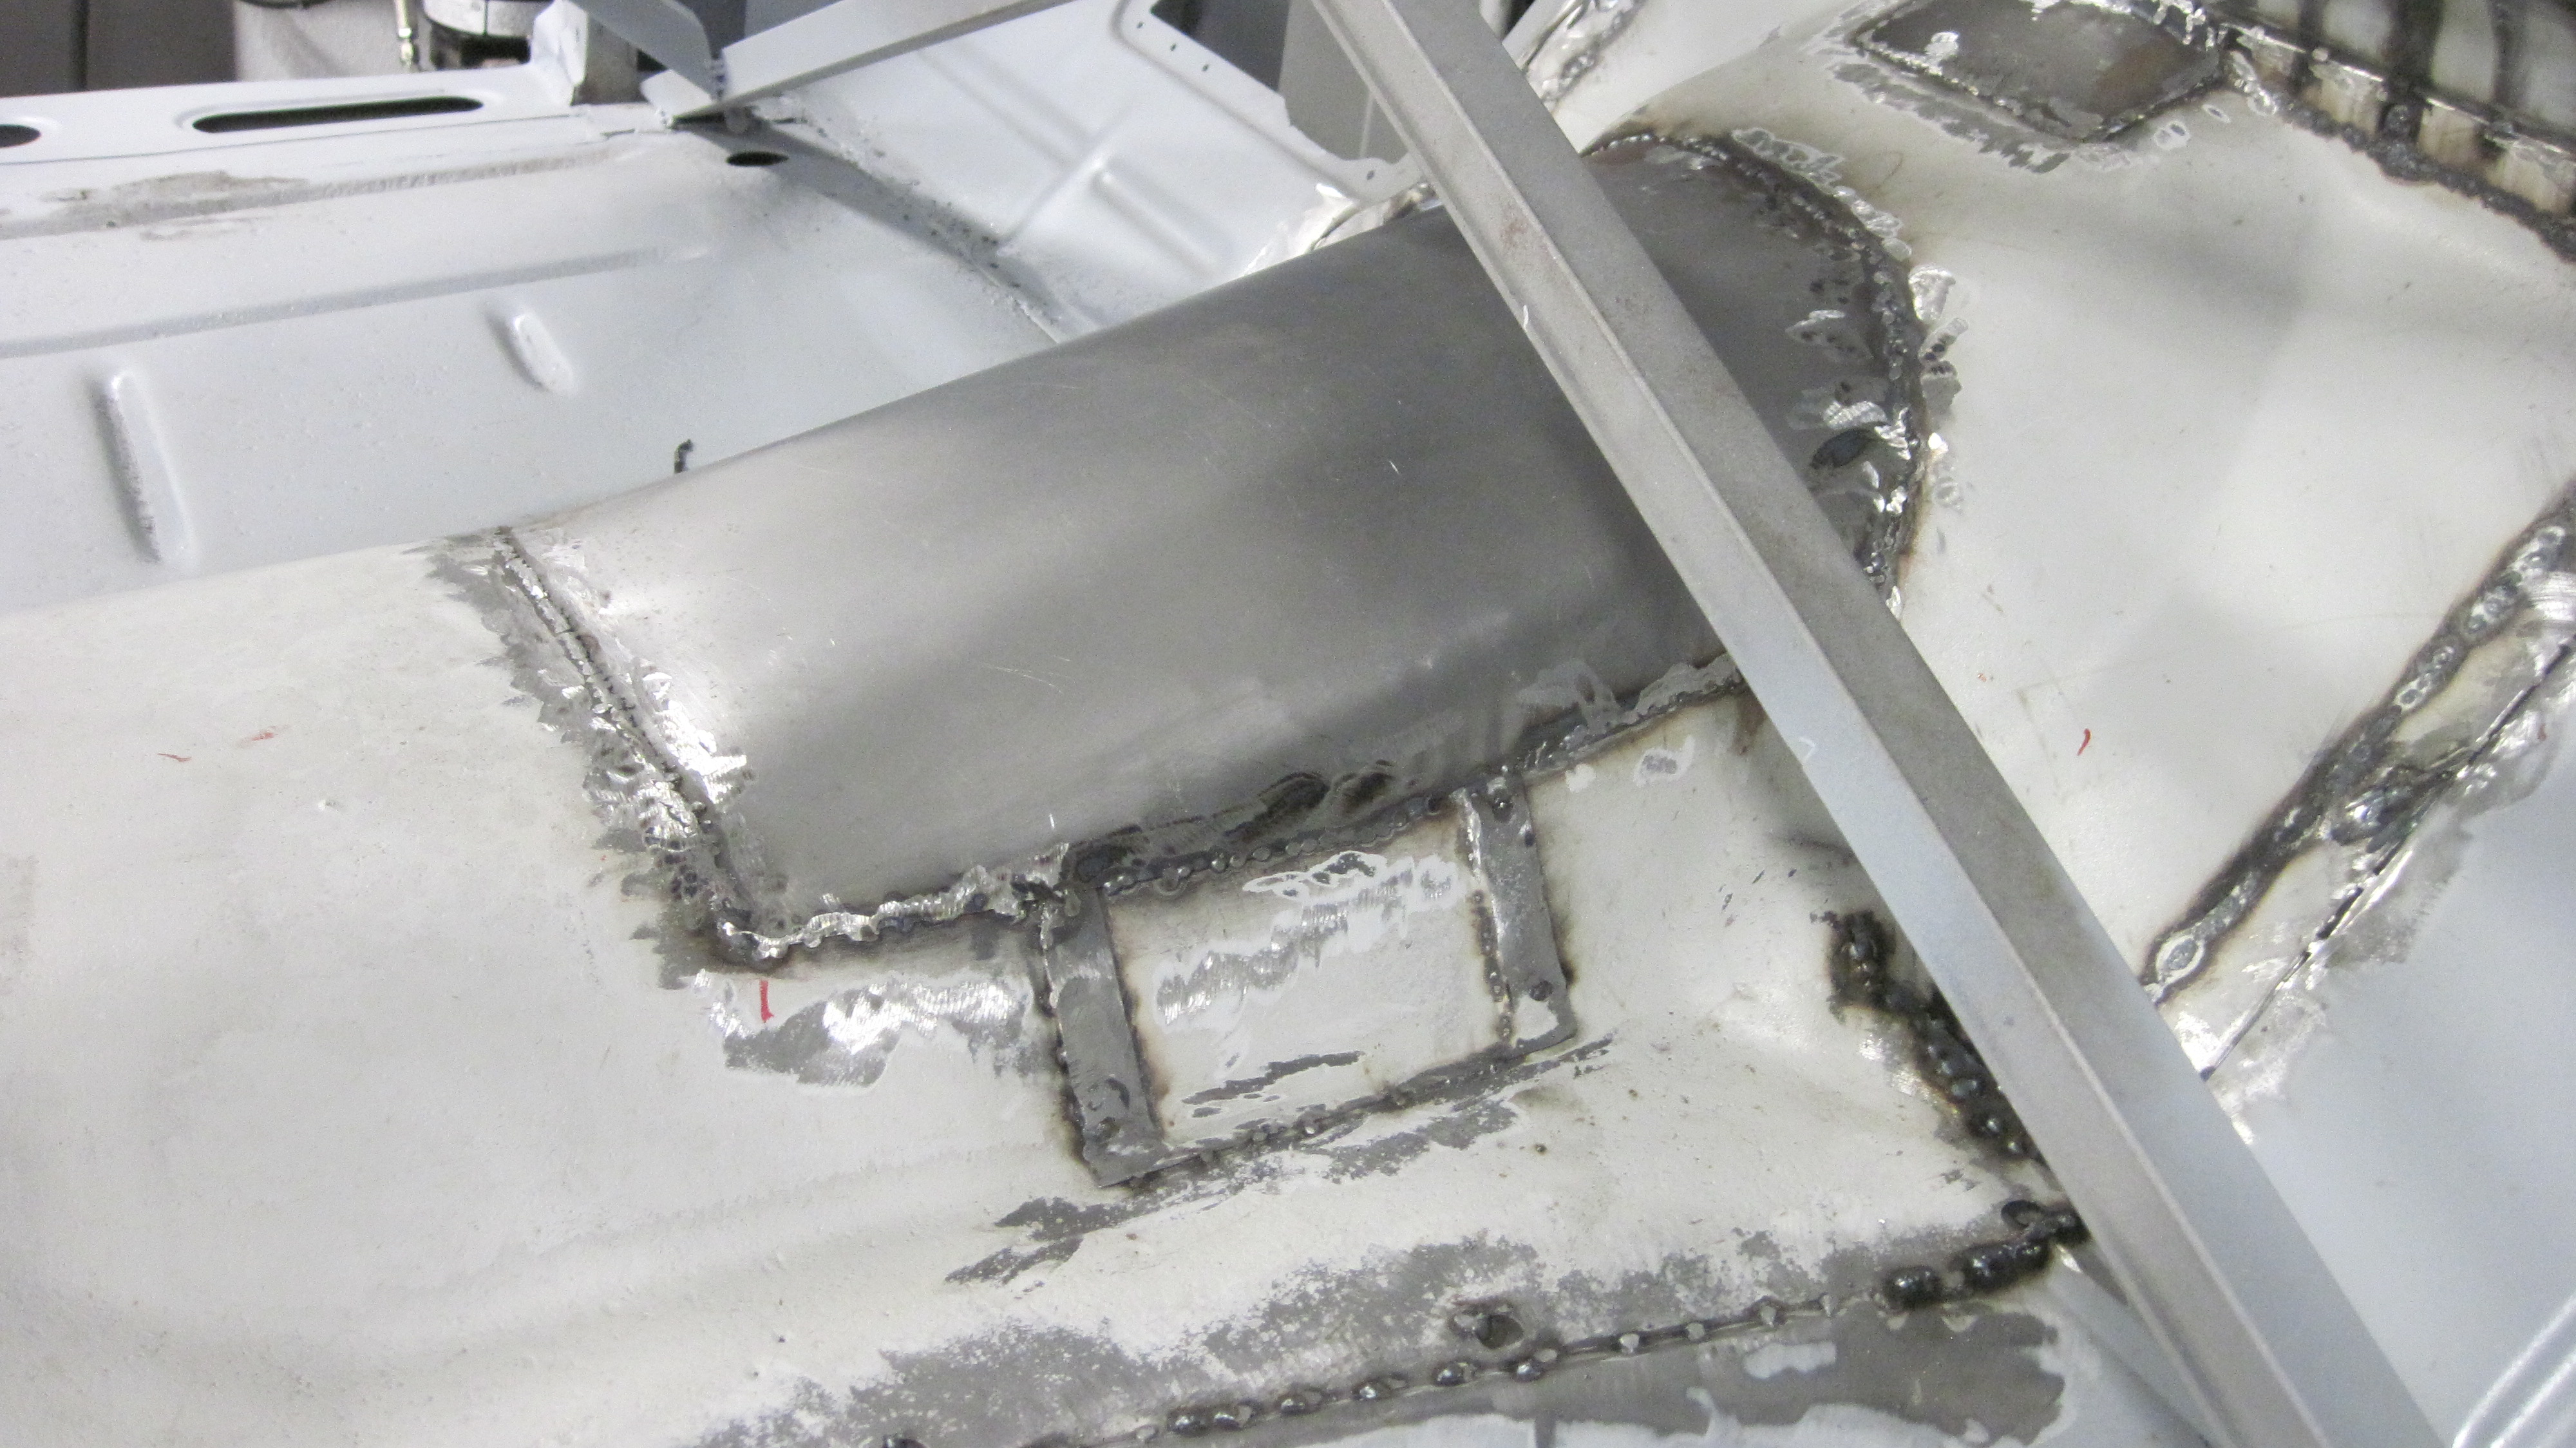
I also had to fabricate and weld in a raised section of the transmission tunnel for clearance with the 700R4. They didn't need room for those new-fangled automatic transmissions back in those days!
After all of the welding was done I went around all of the seams with seam sealer just to be safe.
The trans tunnel took a LOT of time and a lot of welding.
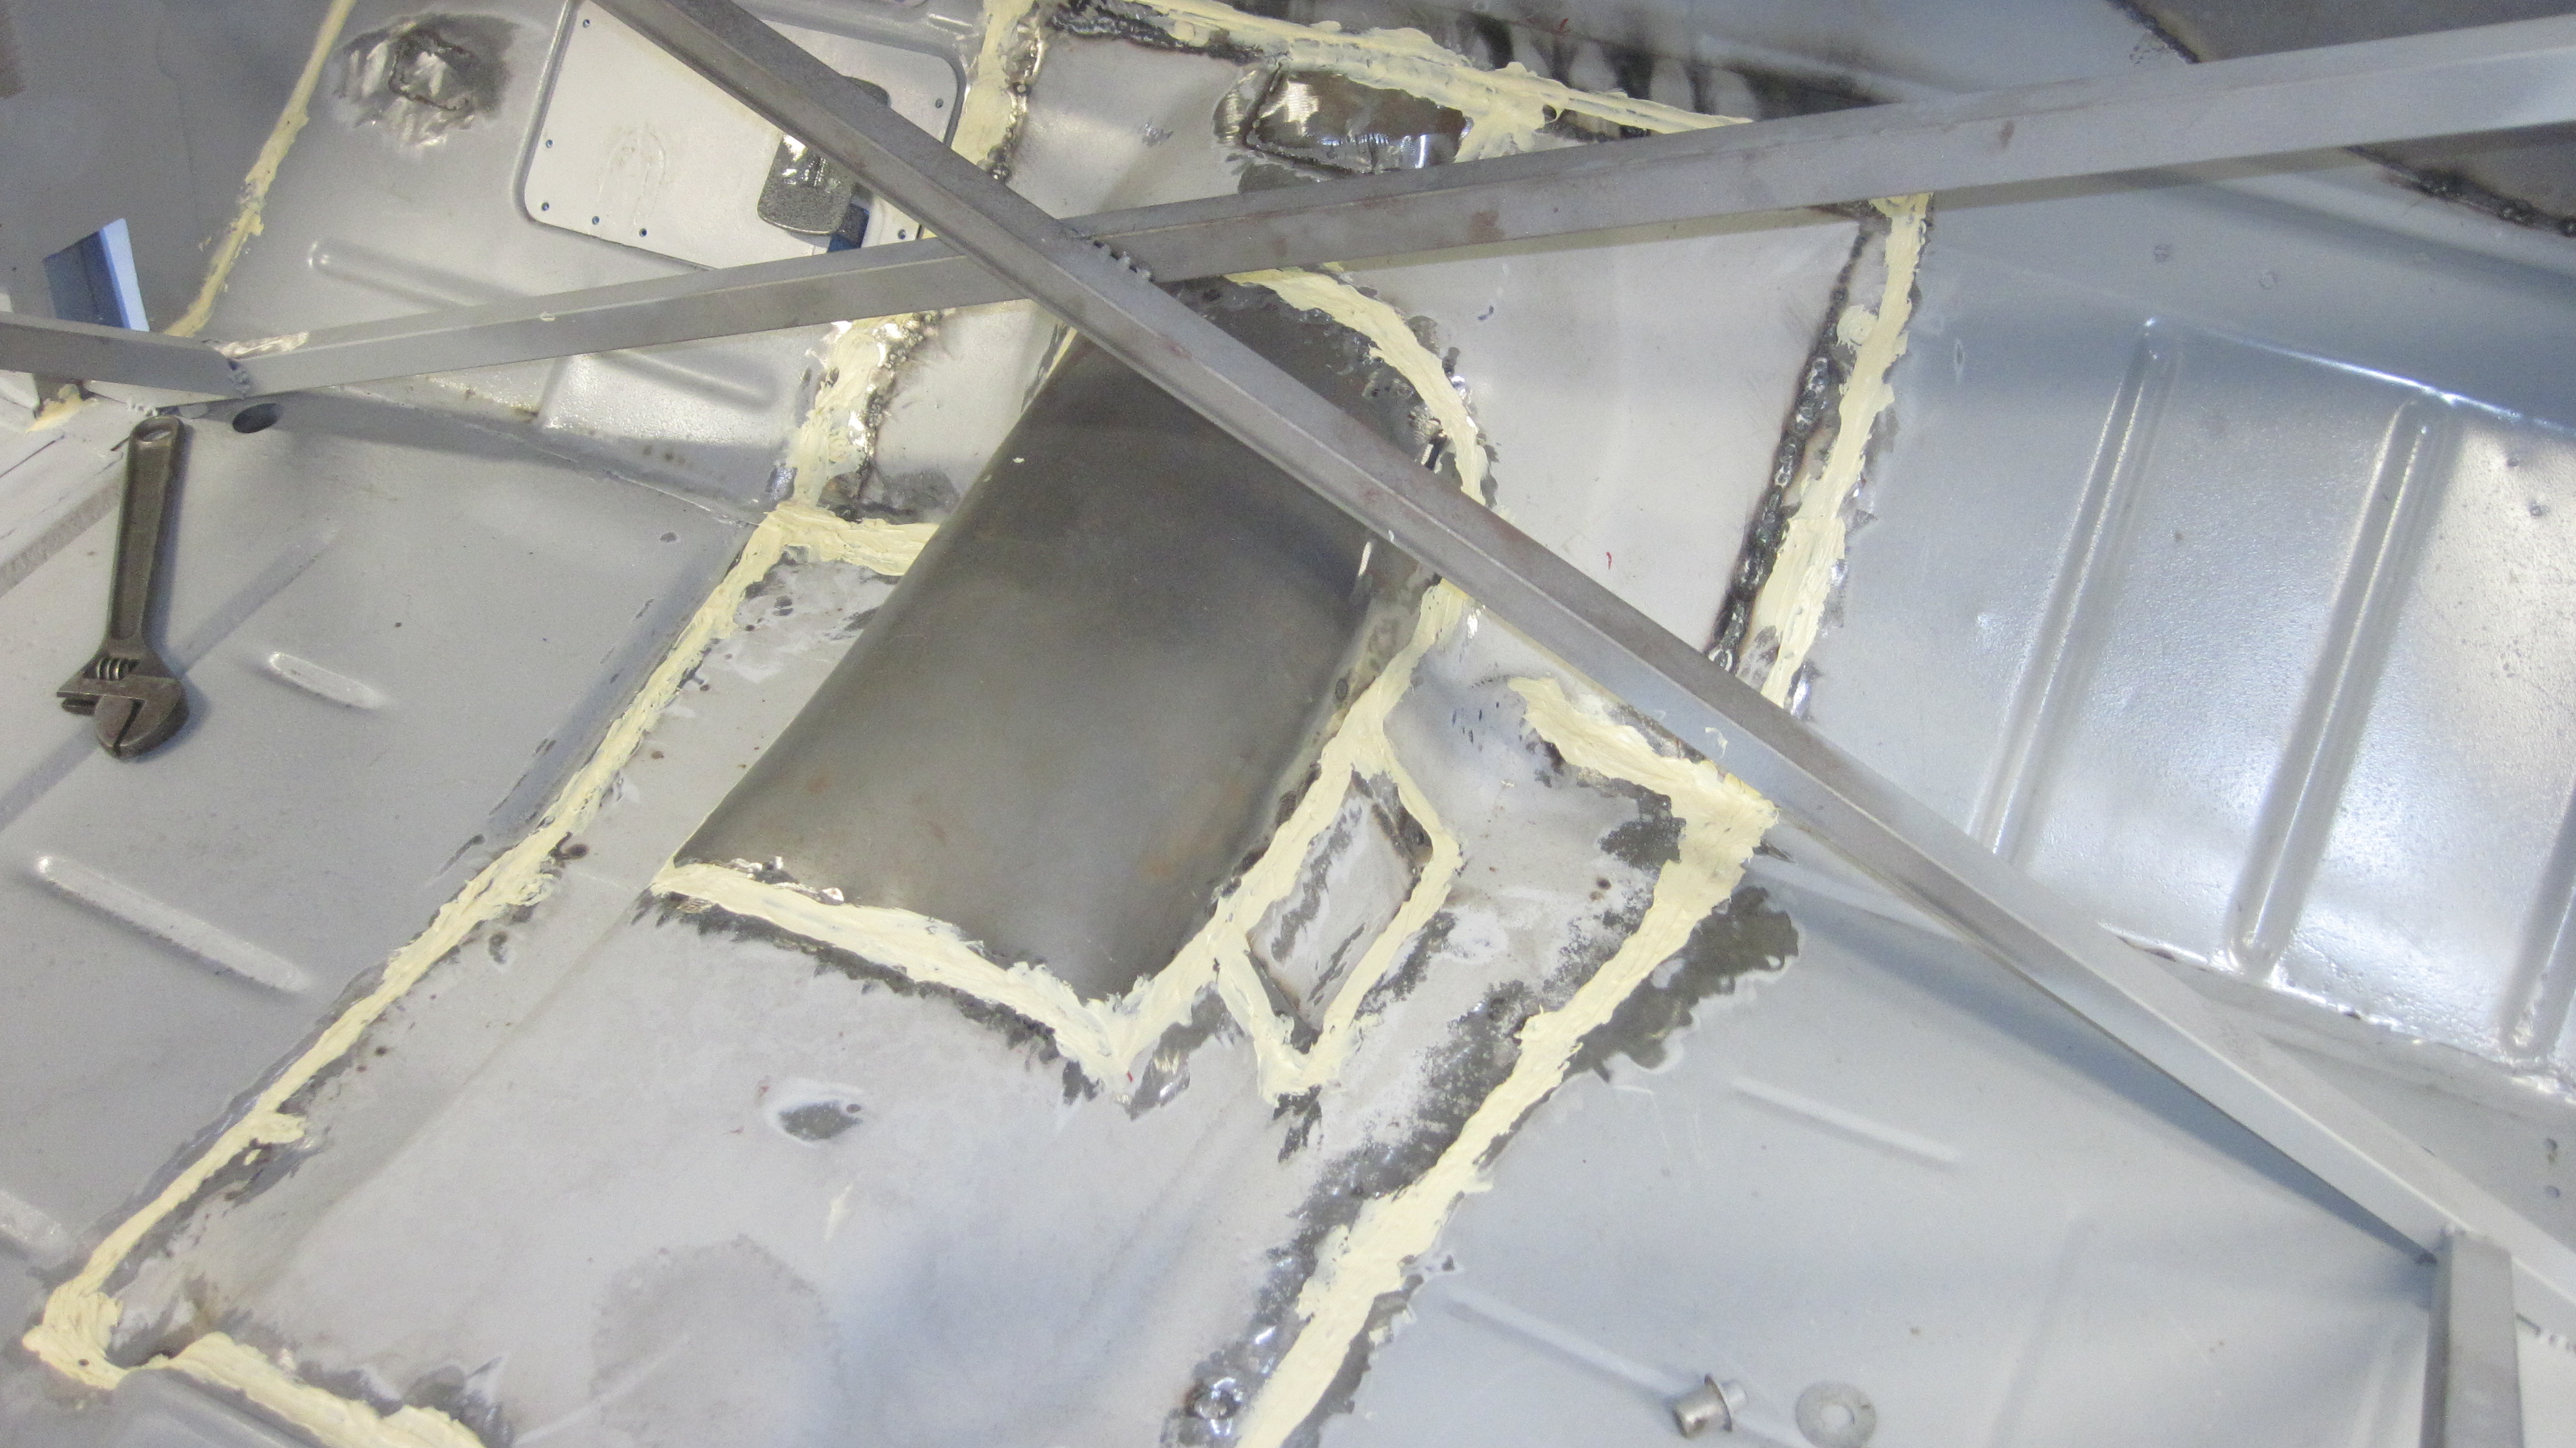
And I kept working on the firewall.
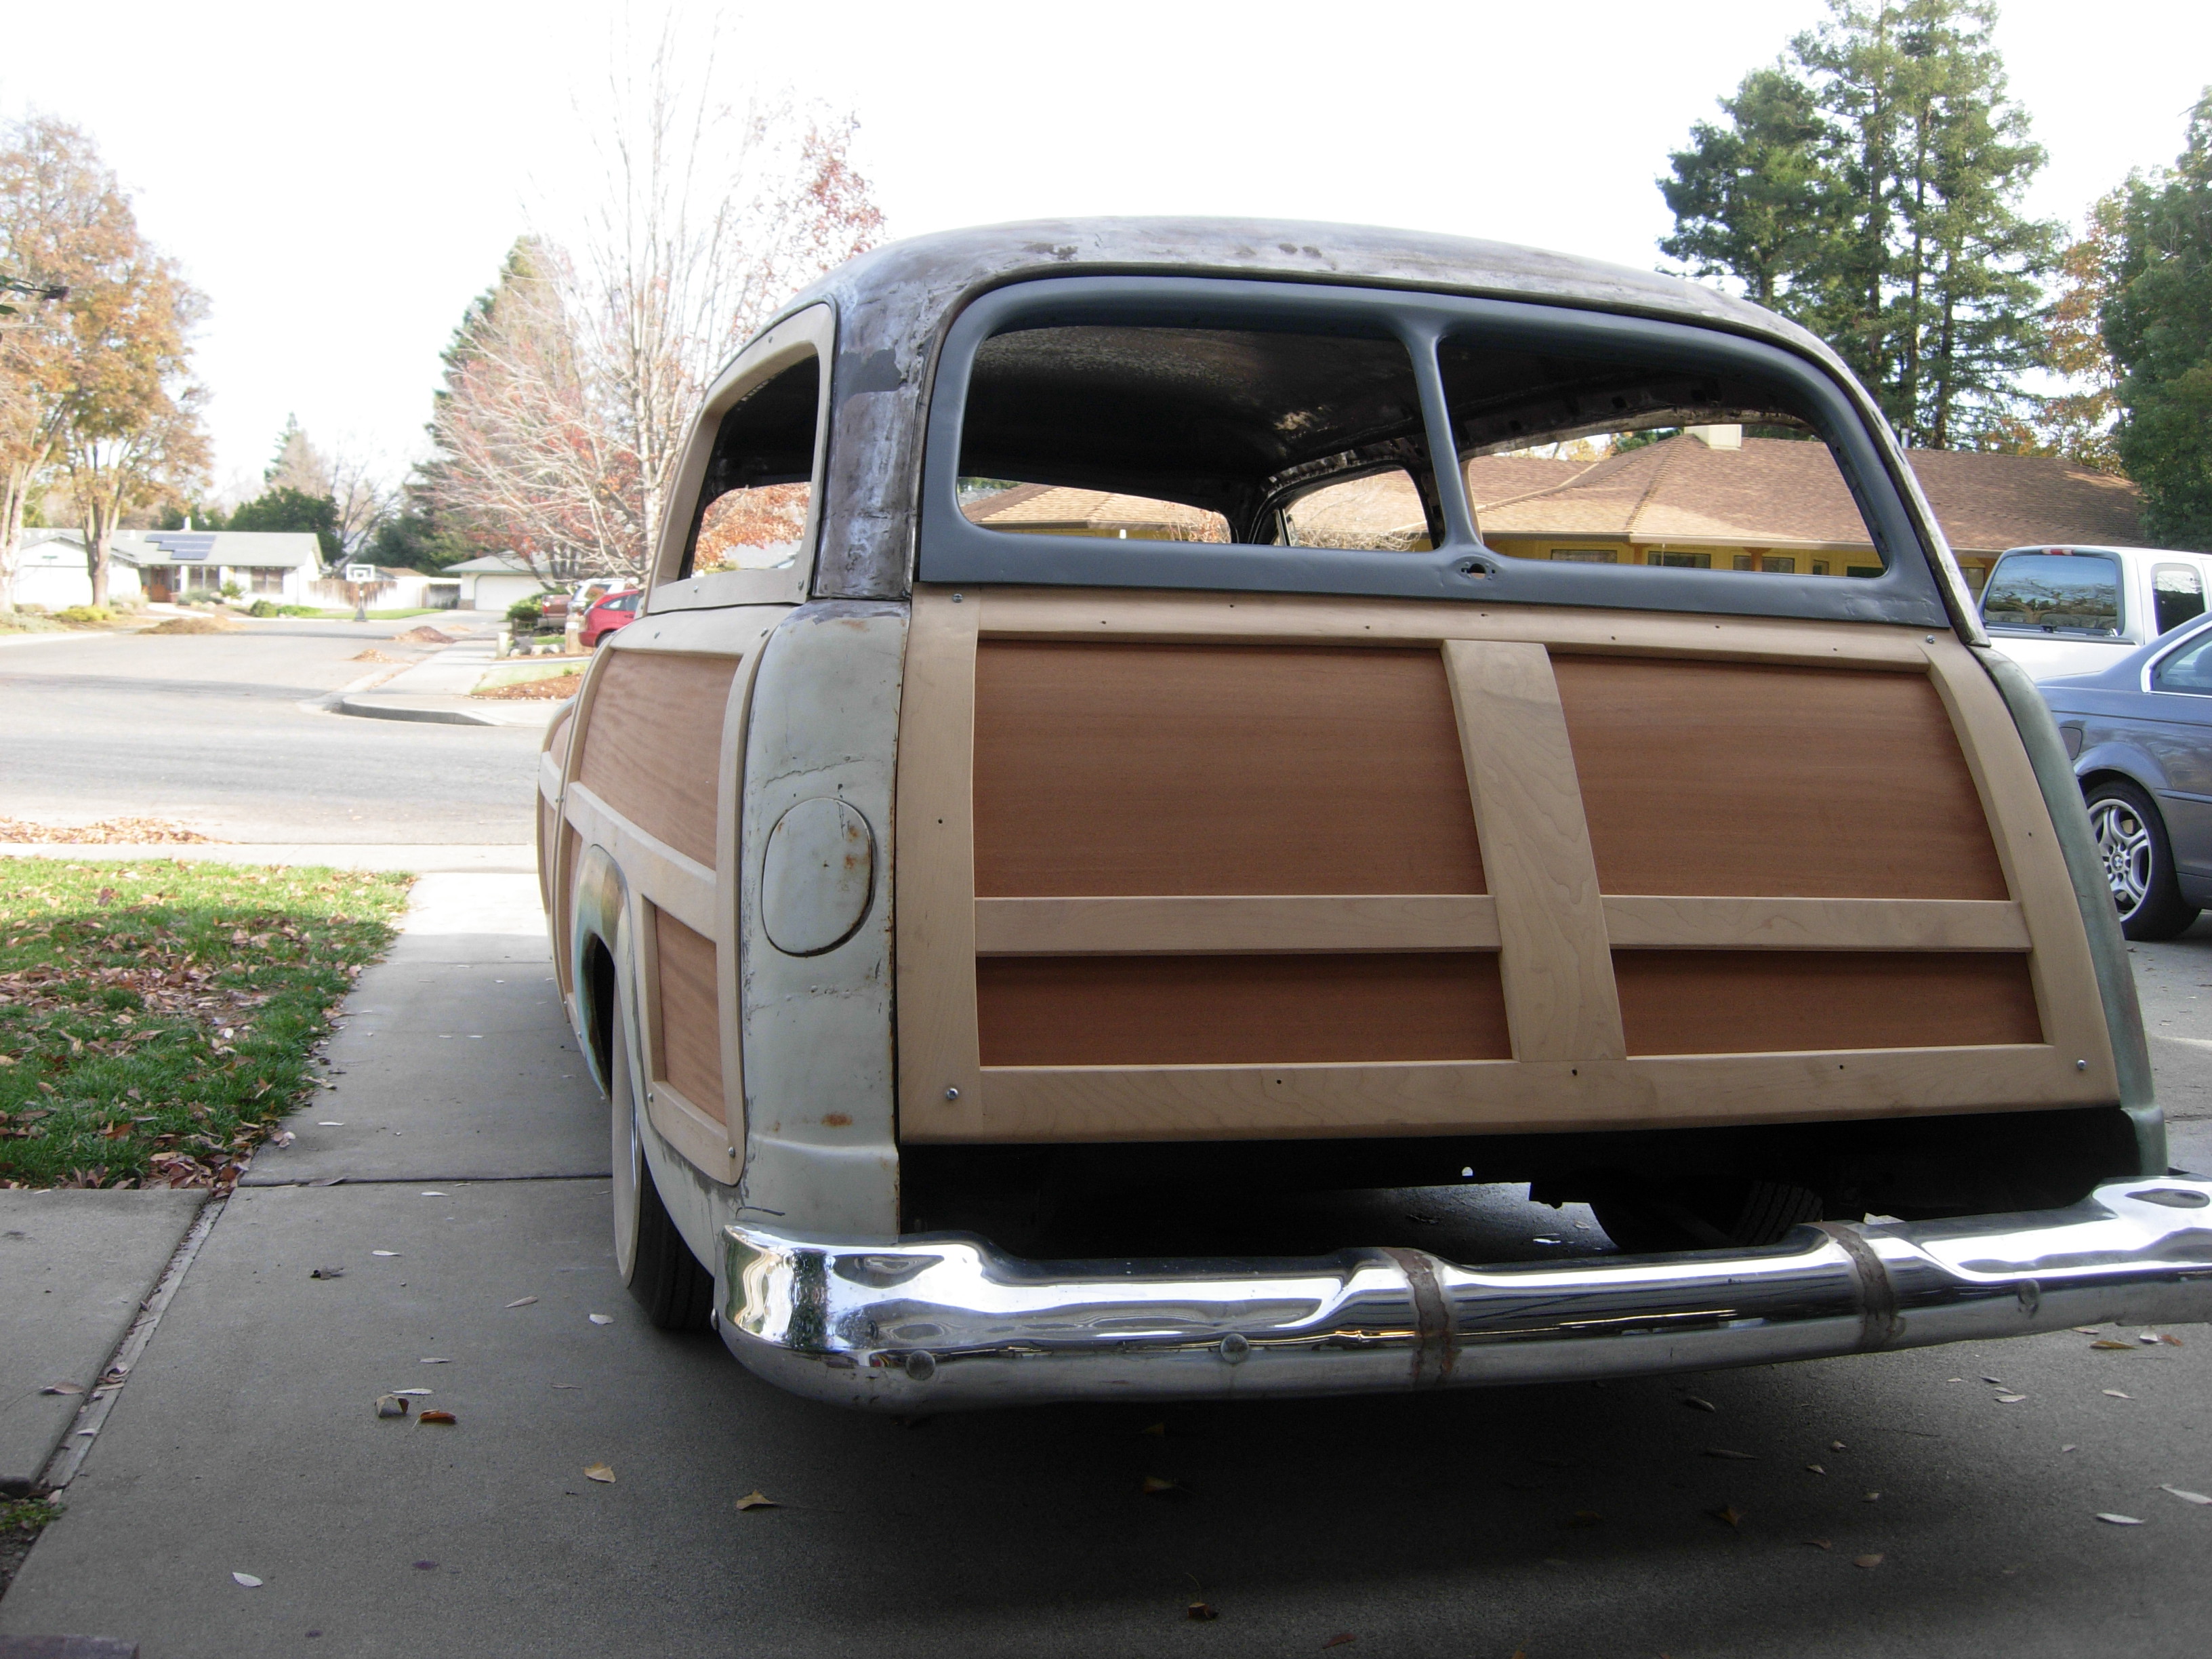
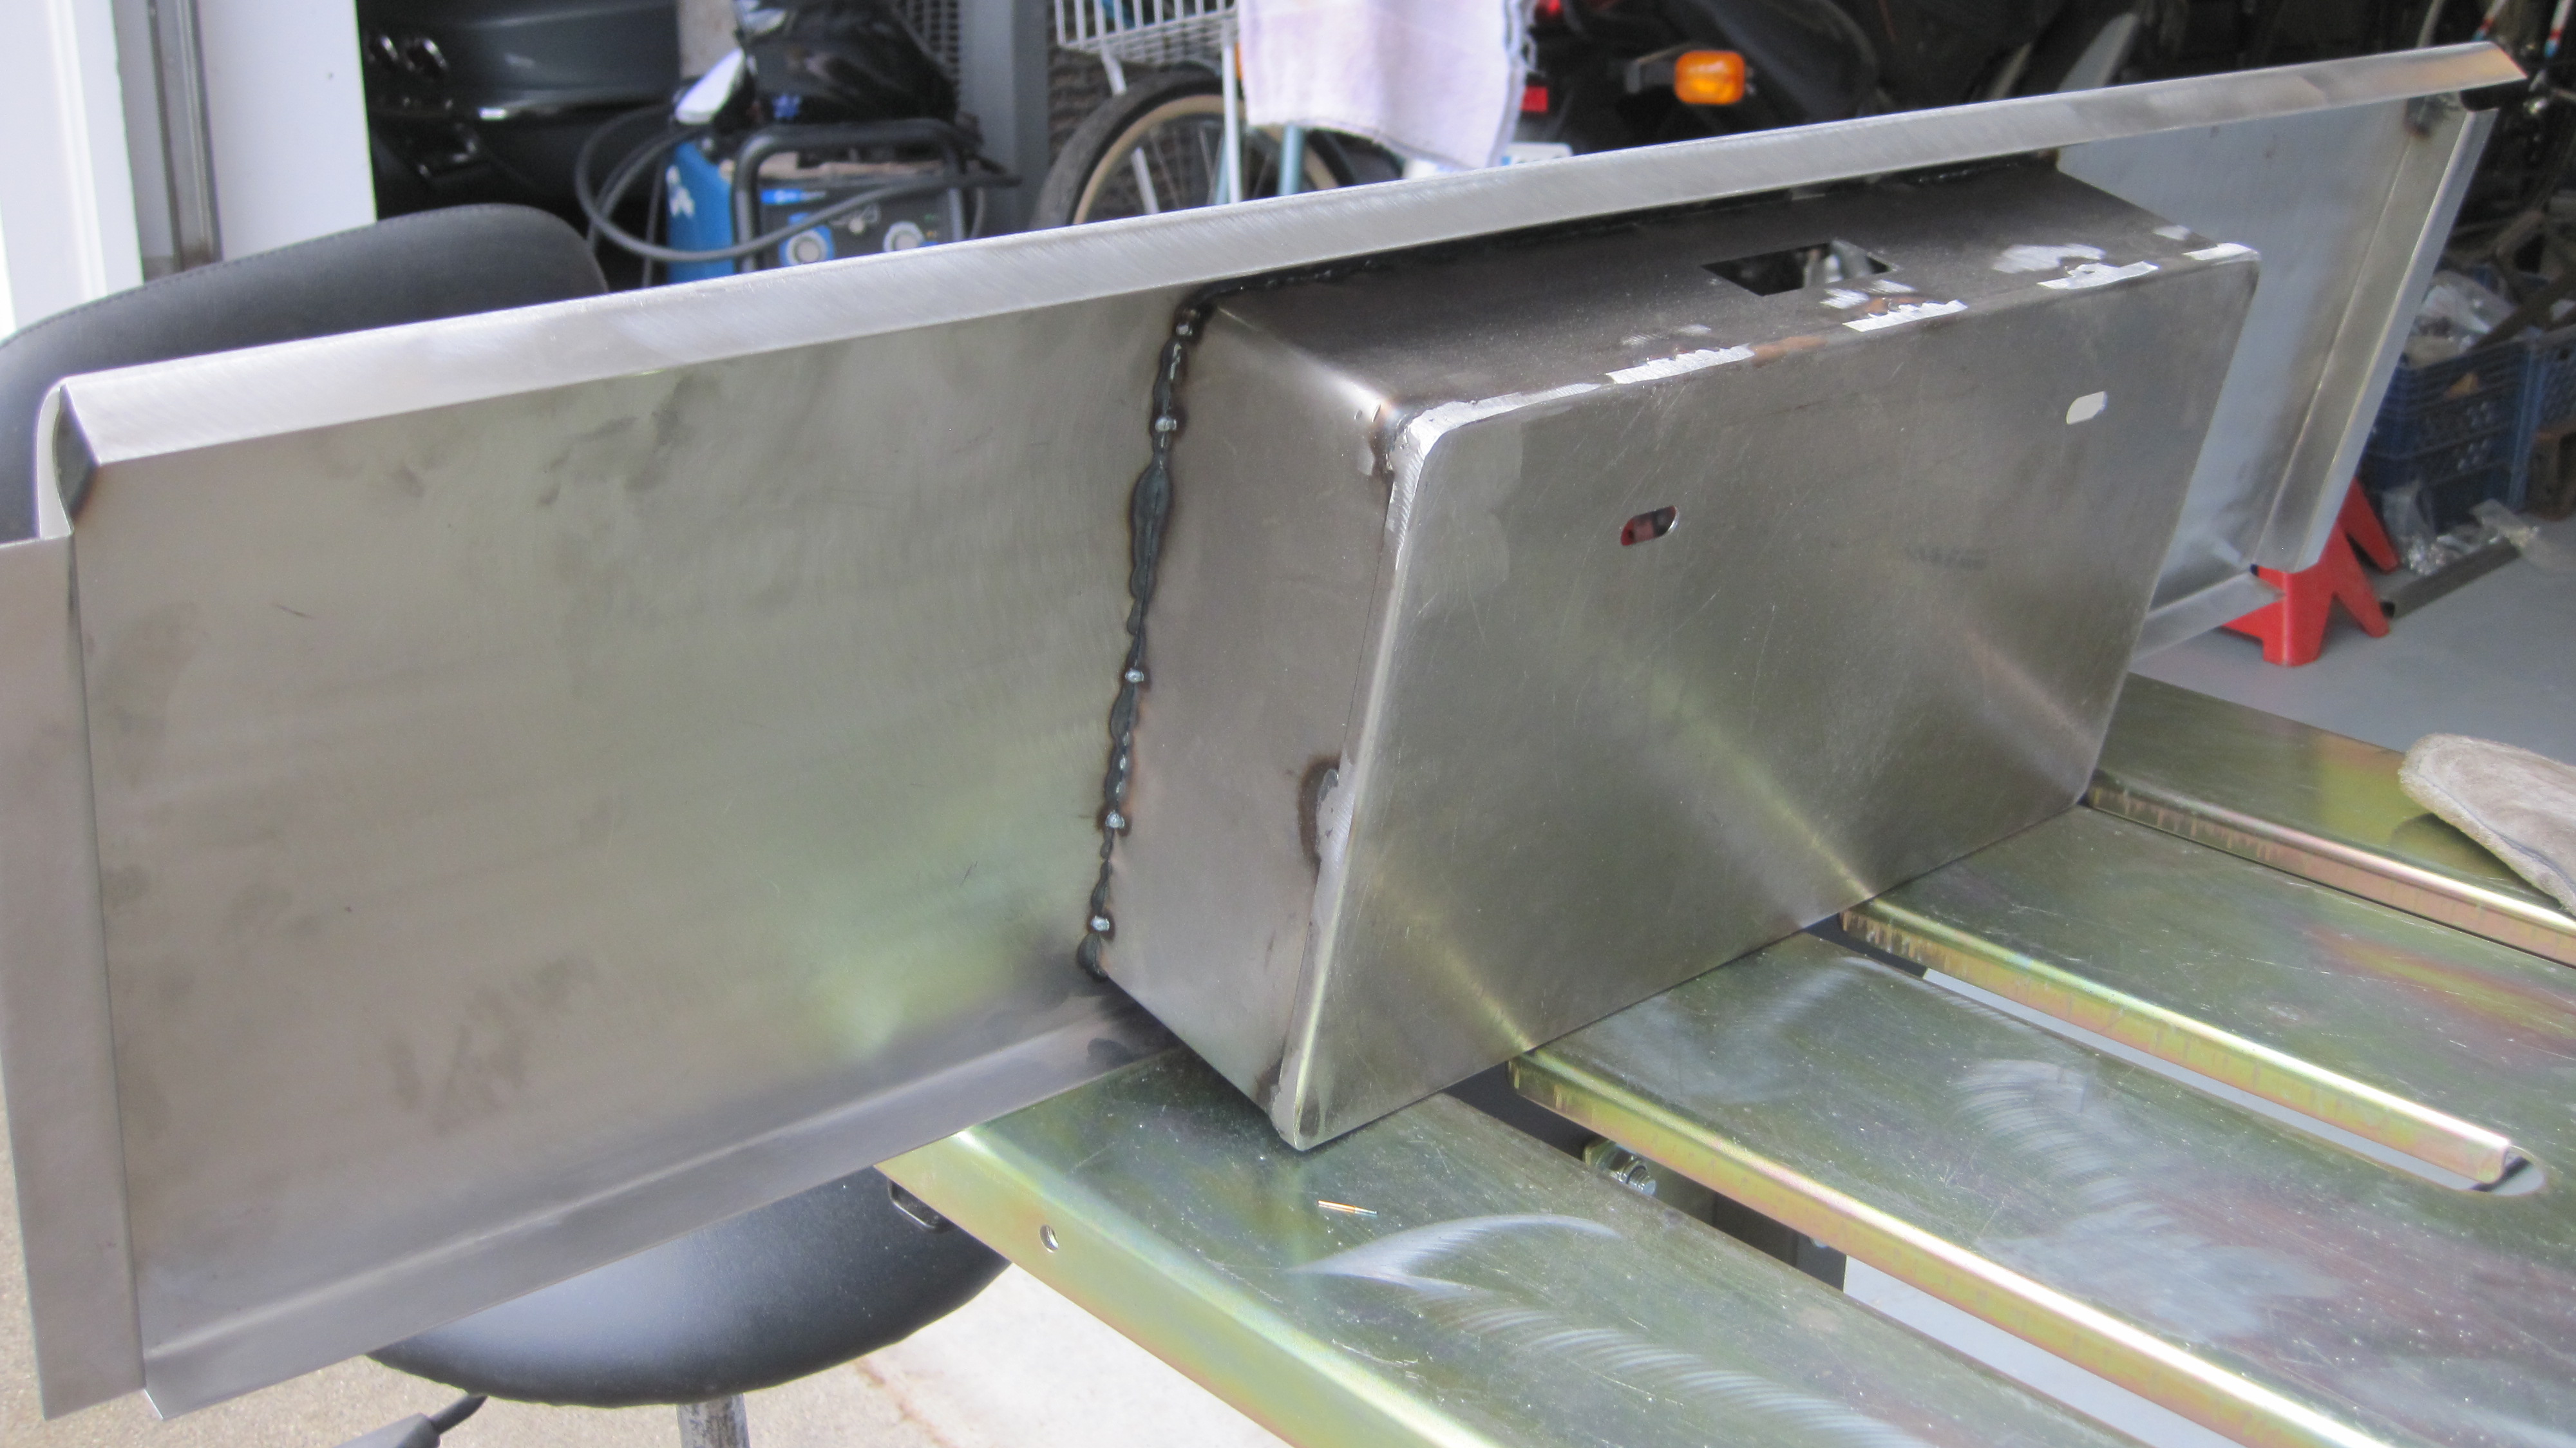
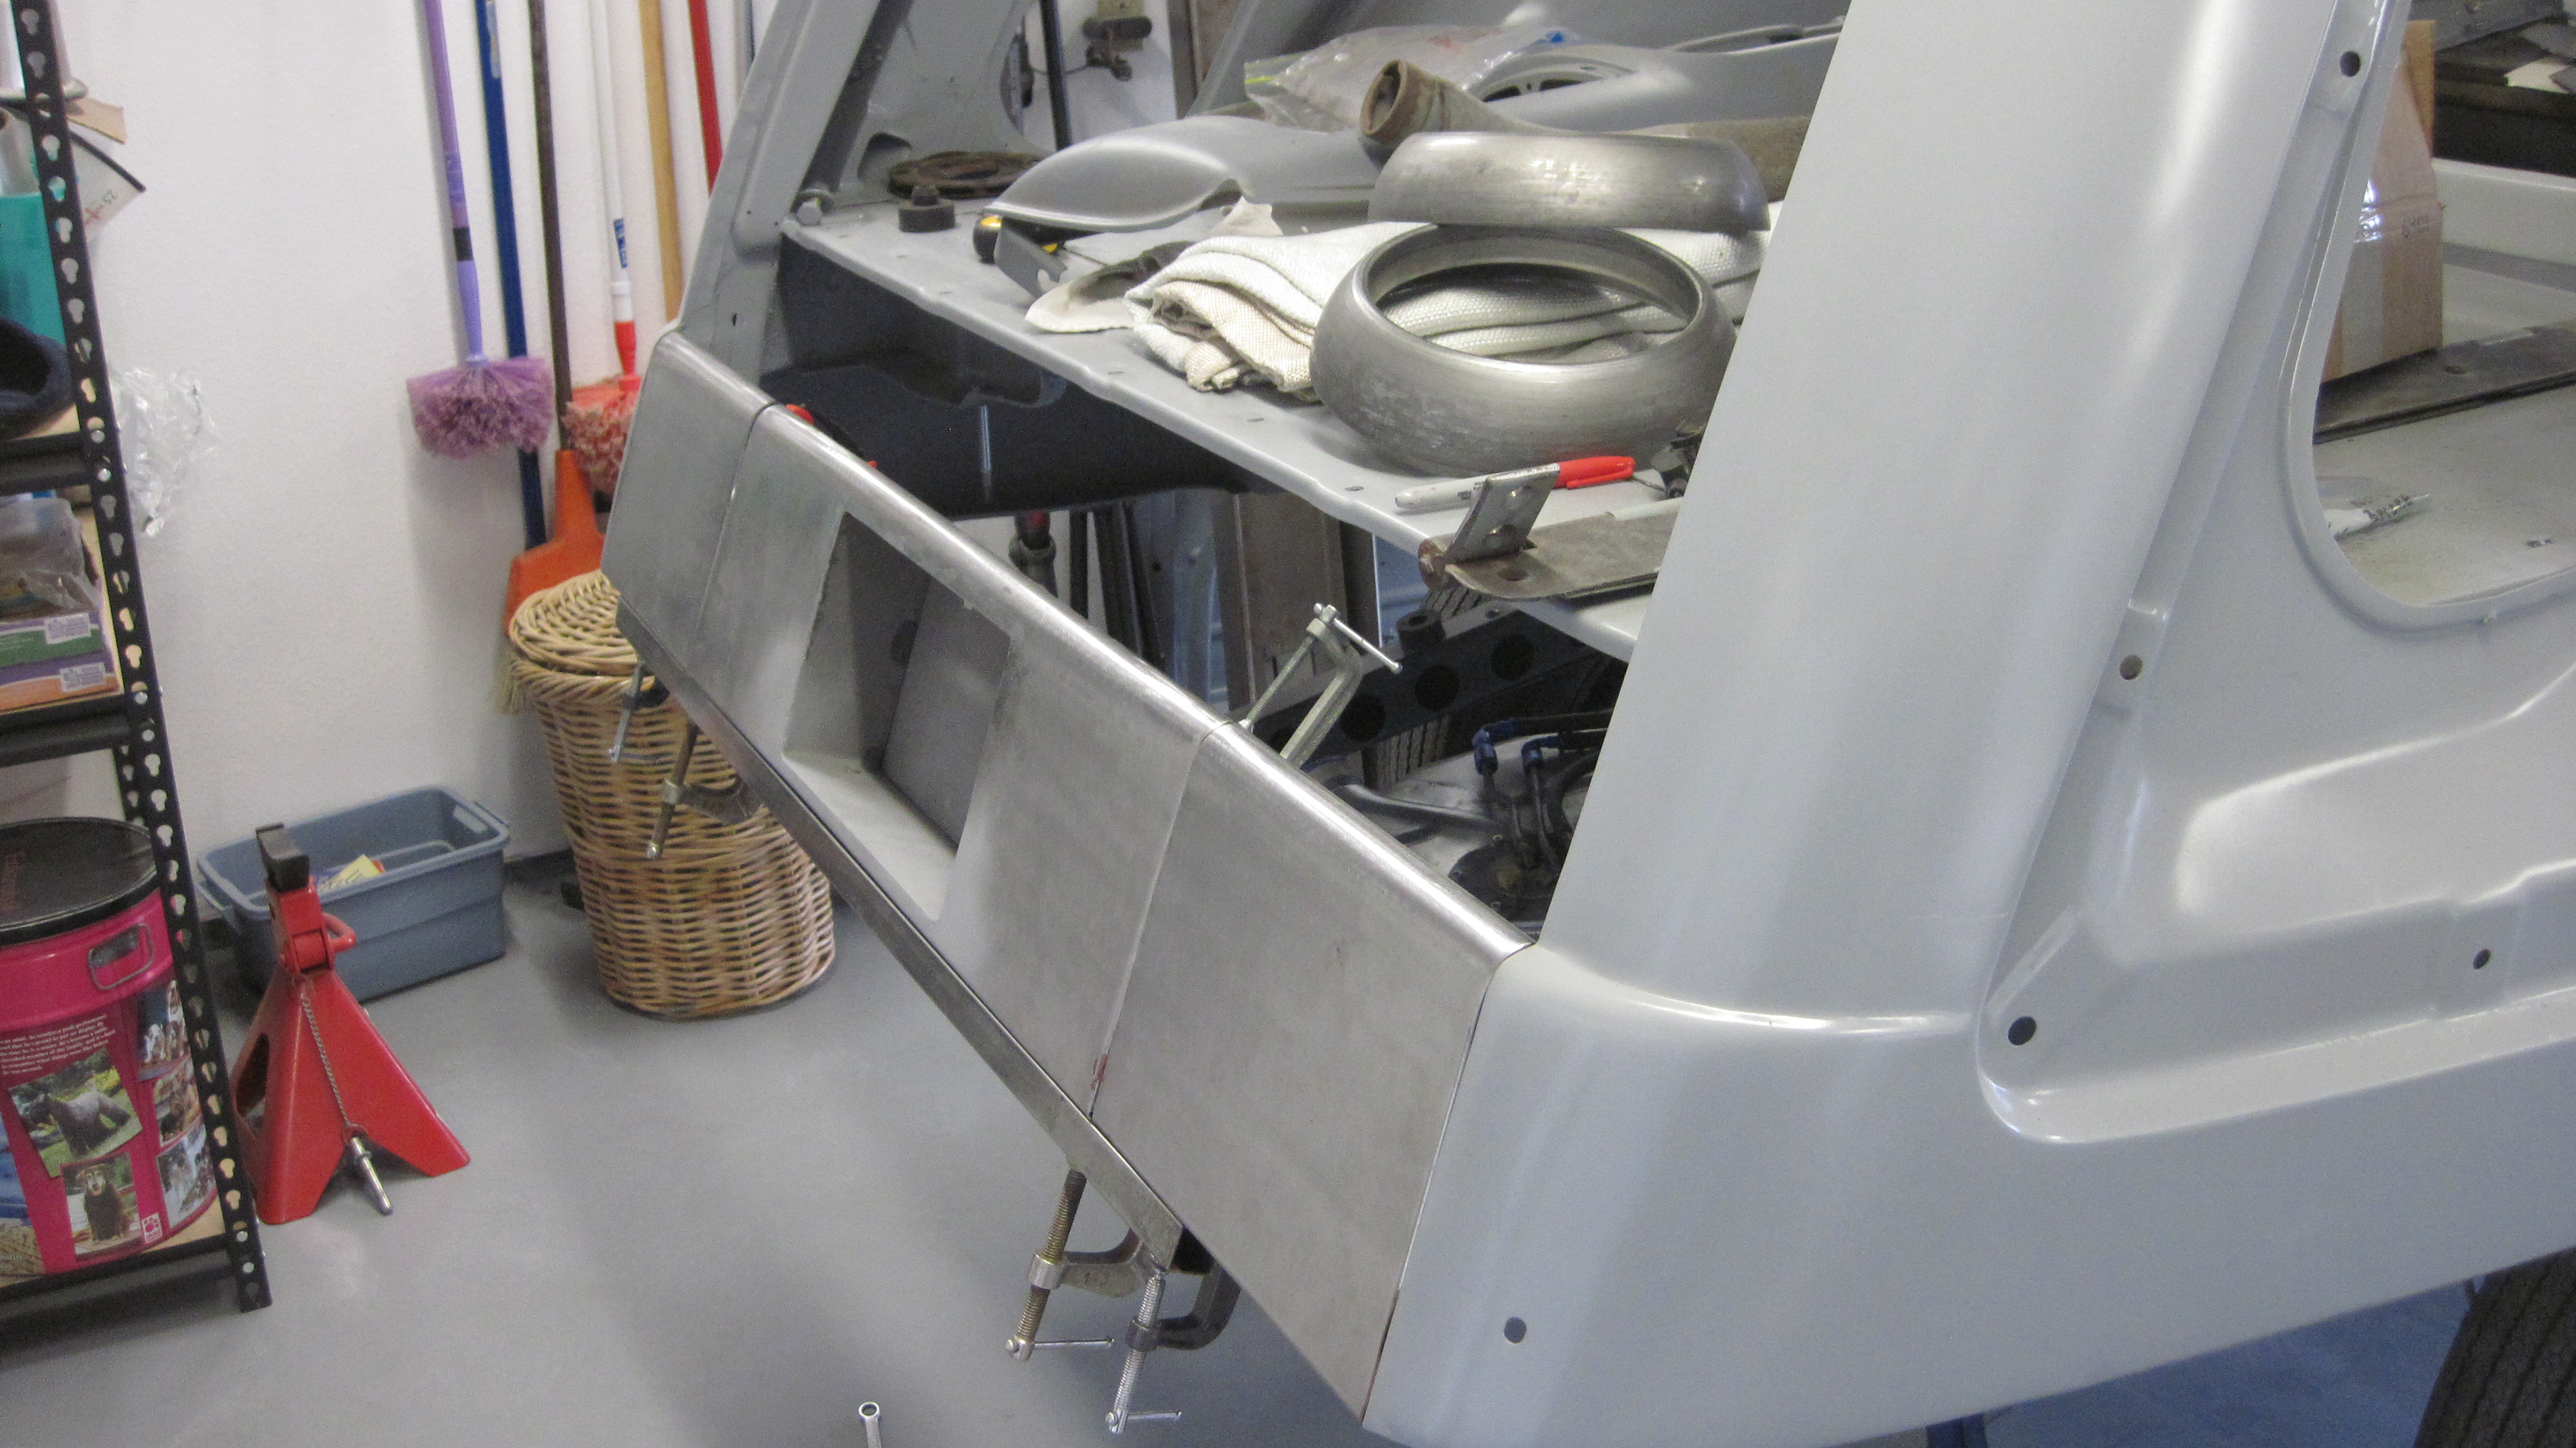
I also started working on the rear valence panel that goes under the tailgate. Using a pre-fabbed kit I welded in a frenched license area.
Including the panels that will cover the brake pedal area and where the steering column will come through the firewall.
The next goal is to get the firewall area painted. Once that's done I'll apply bedliner to the whole bottom of the car. THEN I'll be able to put the body on the chassis for good and ony take up one garage space while I start to actually build the car.

I'll have to REALLY line up the panels and clamp in place before I start welding.
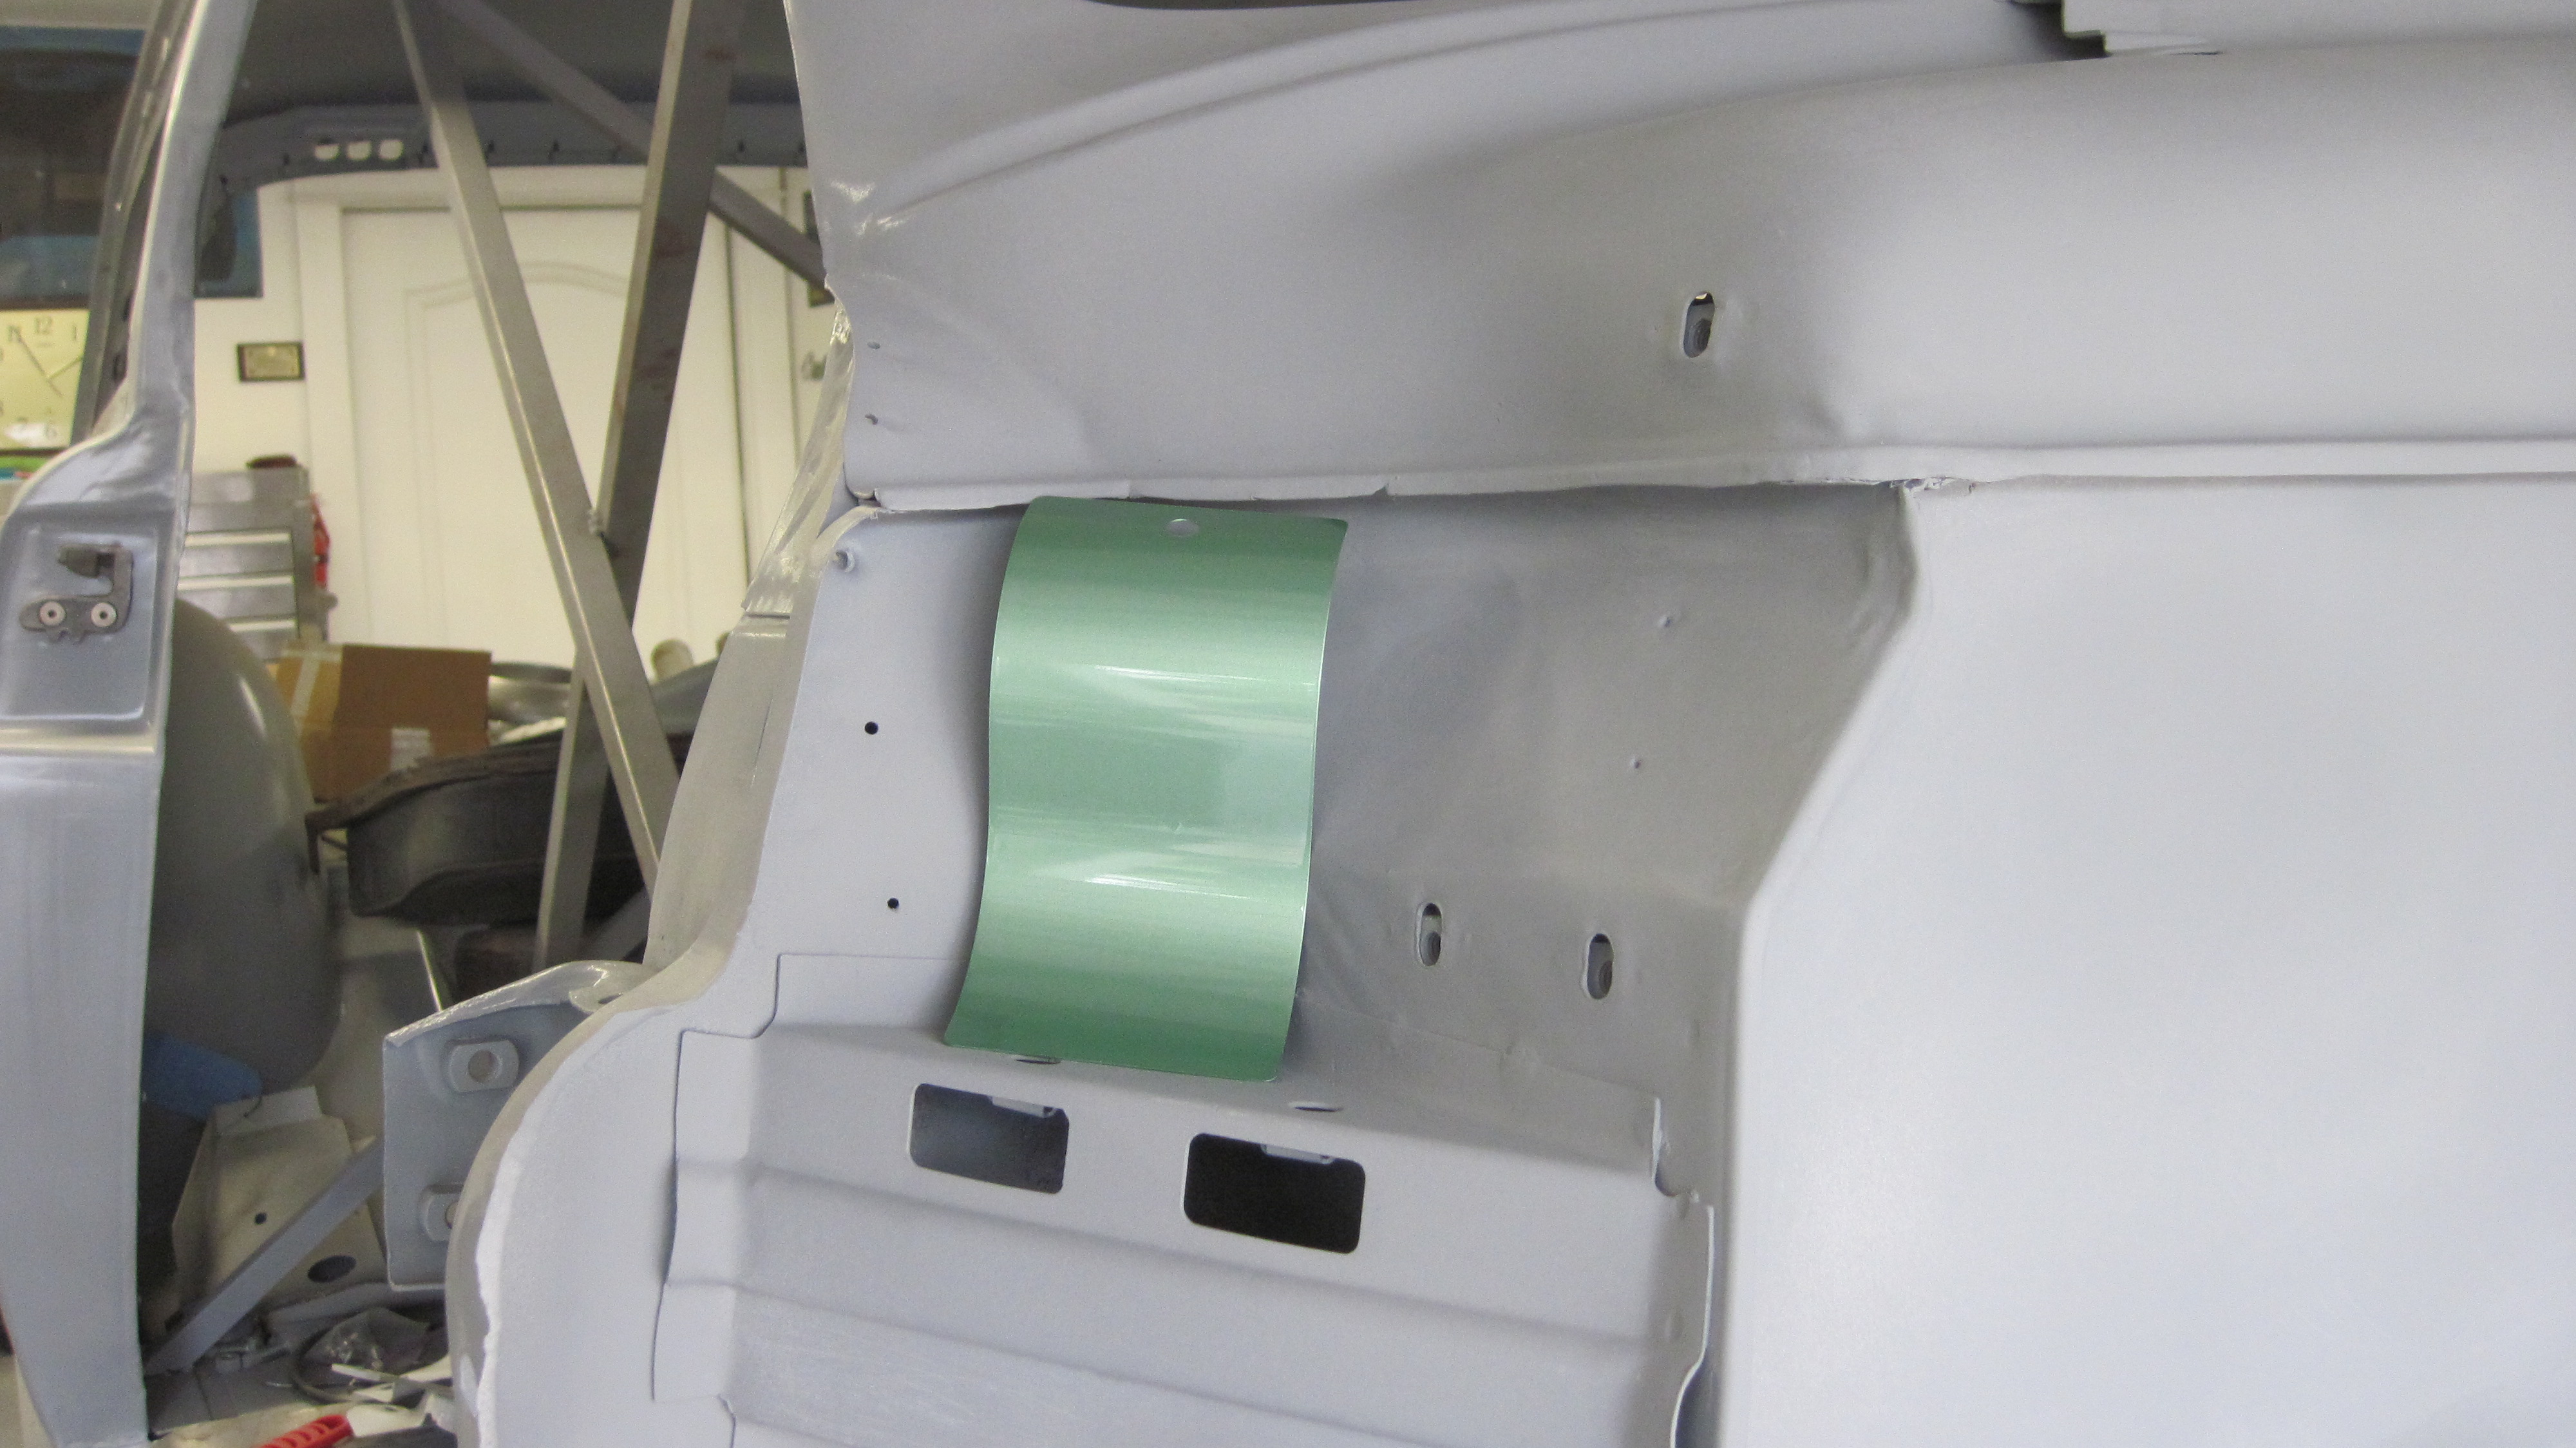
I think this green will work beautifully with the wood. I think it's cool that in 1949 Mercury had a color that was very similar in color, but it lacked the metallic content of modern base coat/clear coat paints.
I'm planning to paint the car in an Aston Martin color called Apple Tree Green metallic.

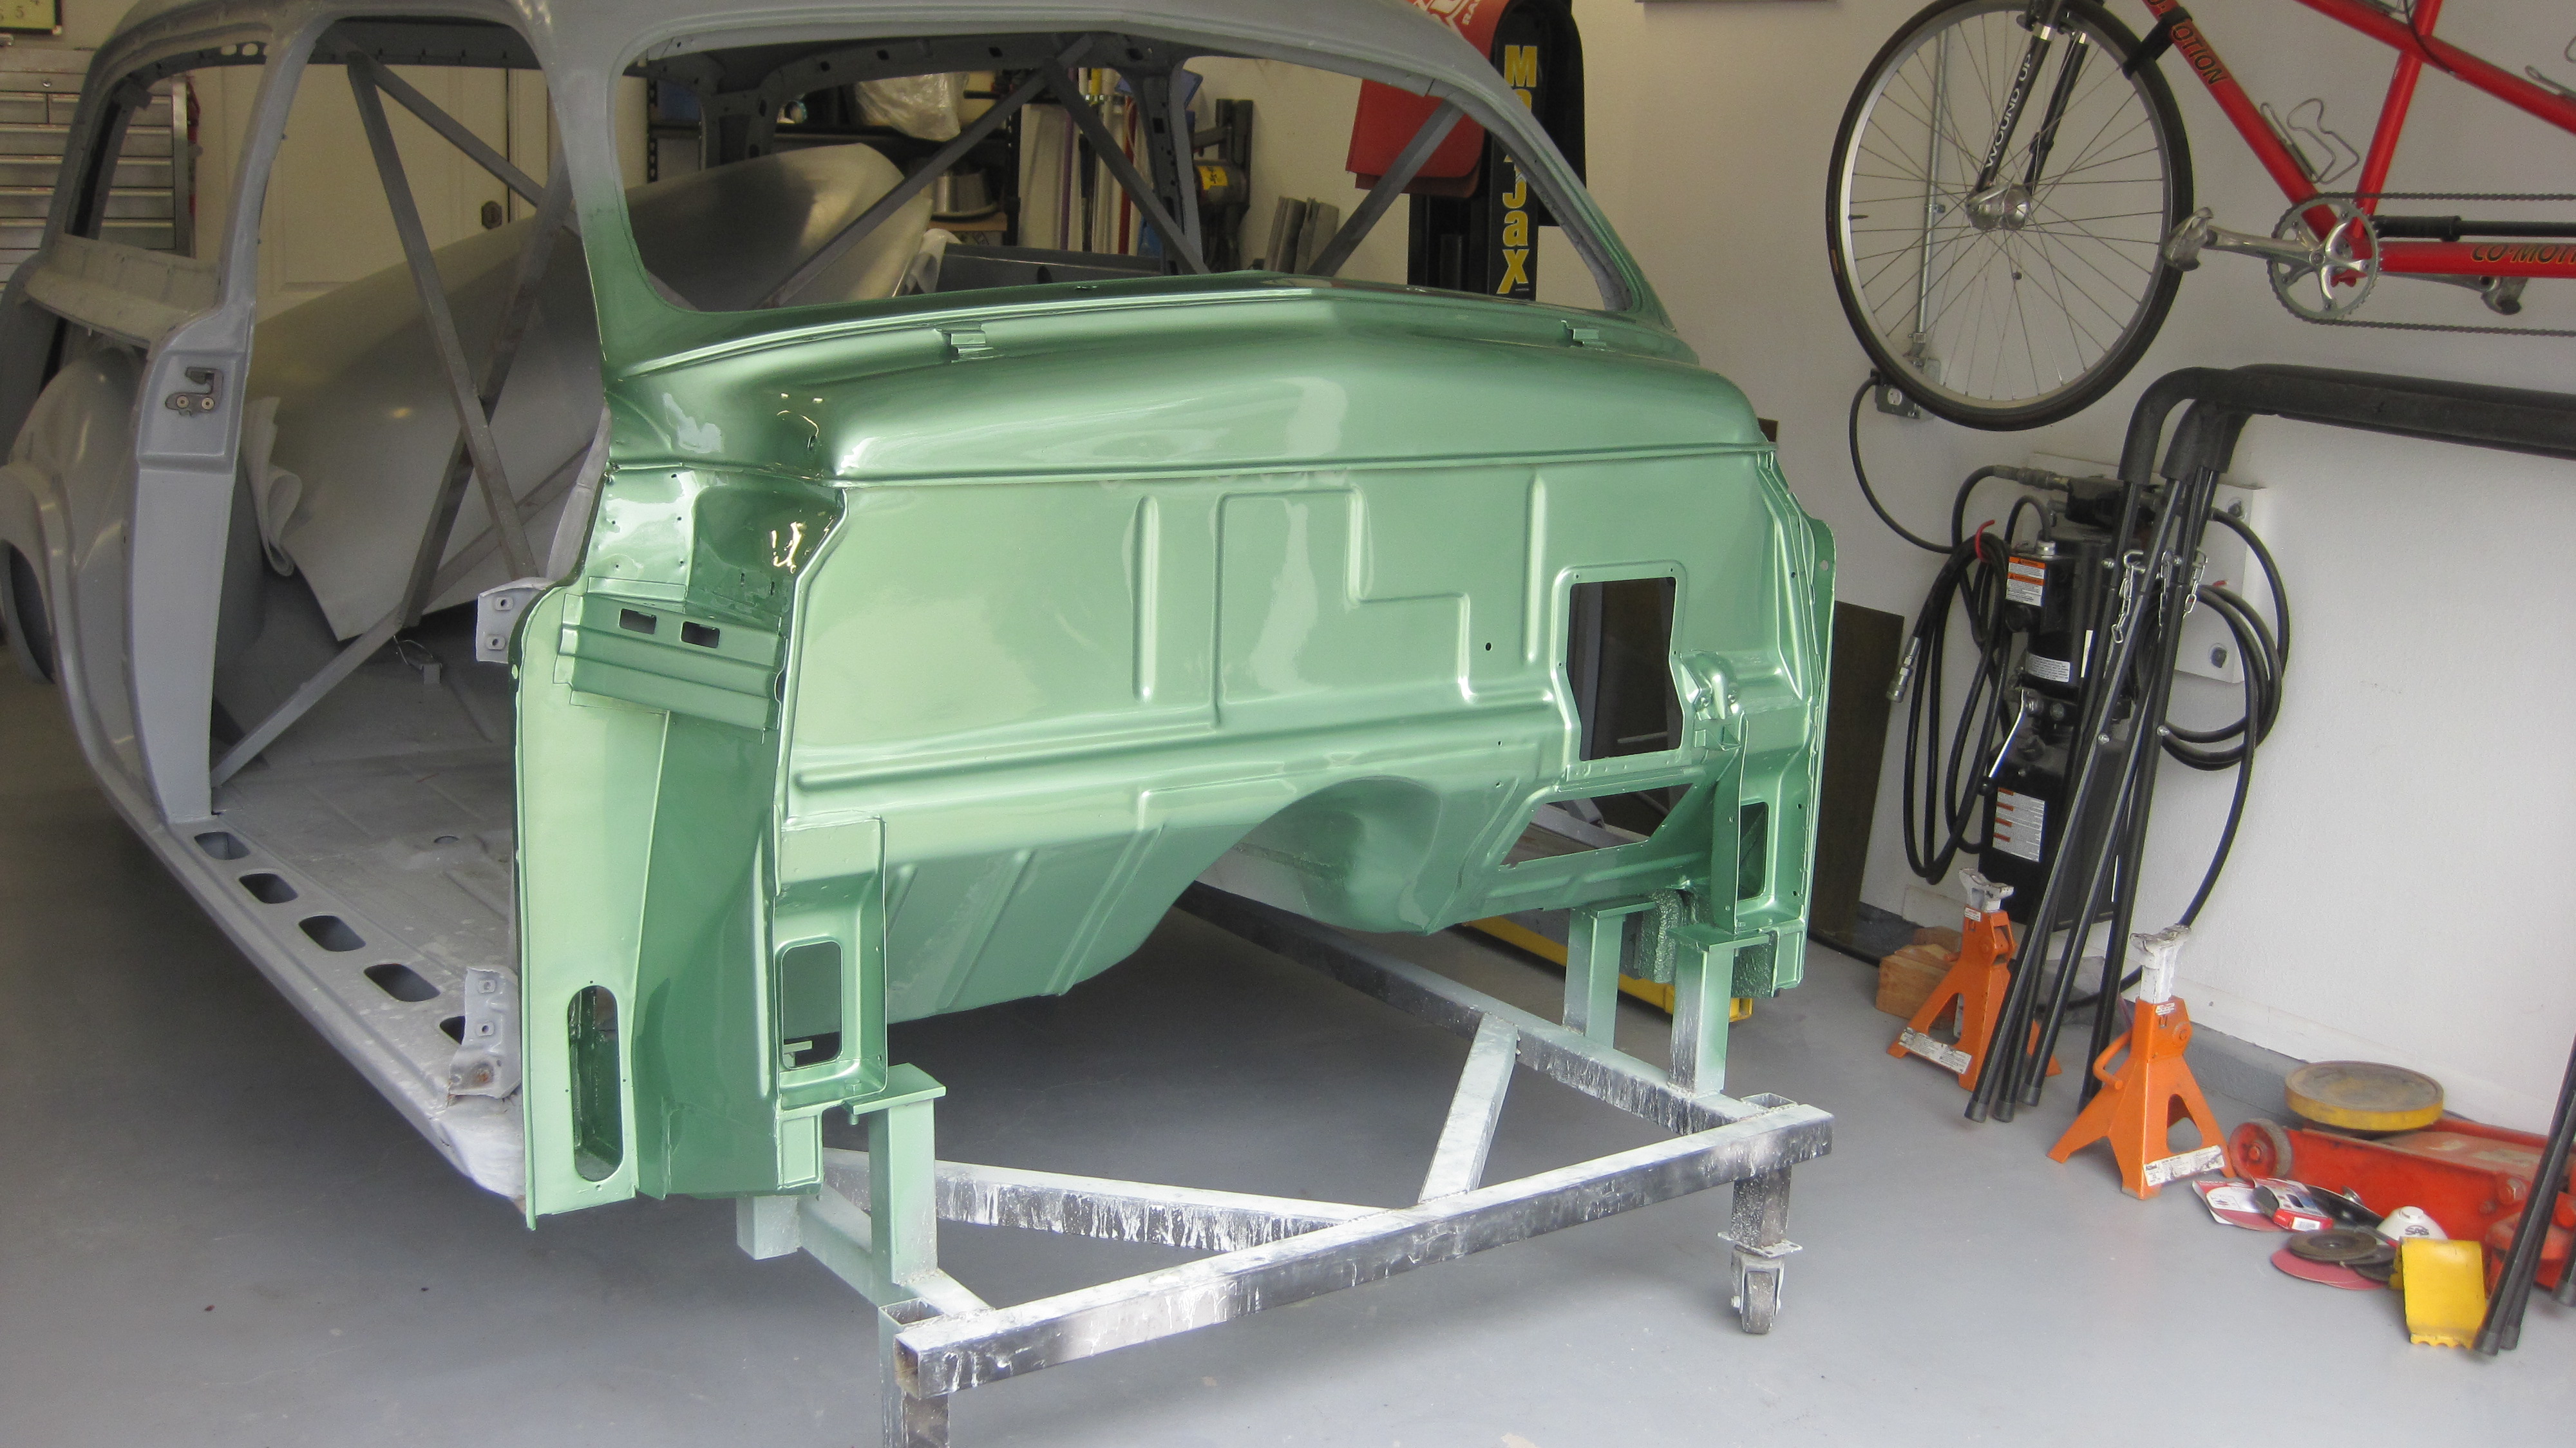
Got the car back from having the firewall painted in March 2019.
I'm planning to use wheels that will look like this. I'm hoping the bronze wheels with the light green and the wood are really gonna "pop" together.
Continued on next page (at top)......
