Chico house (June 2017)
THE PETS
Chevelles
1965 Corvette
Motorcycles and Track Days
The Corvette Build- Drivetrain and Interior
The Corvette Build- Wiring and Final Assembly (Phase 1)
The Corvette Buildup (Phase 2) chassis conversion
More Corvette Phase 2 progress
Corvette Phase 3 Final Assembly and Glamour pictures
1949 Mercury Woody Wagon project- Part 1
Chico house
Mercury Woody Project- Part 2
Mercury Woody Project- Part 3
Chico house
The plan was for me to retire and have my dad come live with us, and the house we had in San Jose just wasn't big enough. We wanted to stay in California, and wanted someplace a little less crowded than the Bay area. I prefer northern California, like the vibe and energy of college towns, and Lisa and I both have relatives there, so we picked Chico. We found a really nice place for half of what we'd end up selling the house in San Jose for. 2,100 square foot house on a third of an acre. WAY more space than we had in the bay area!

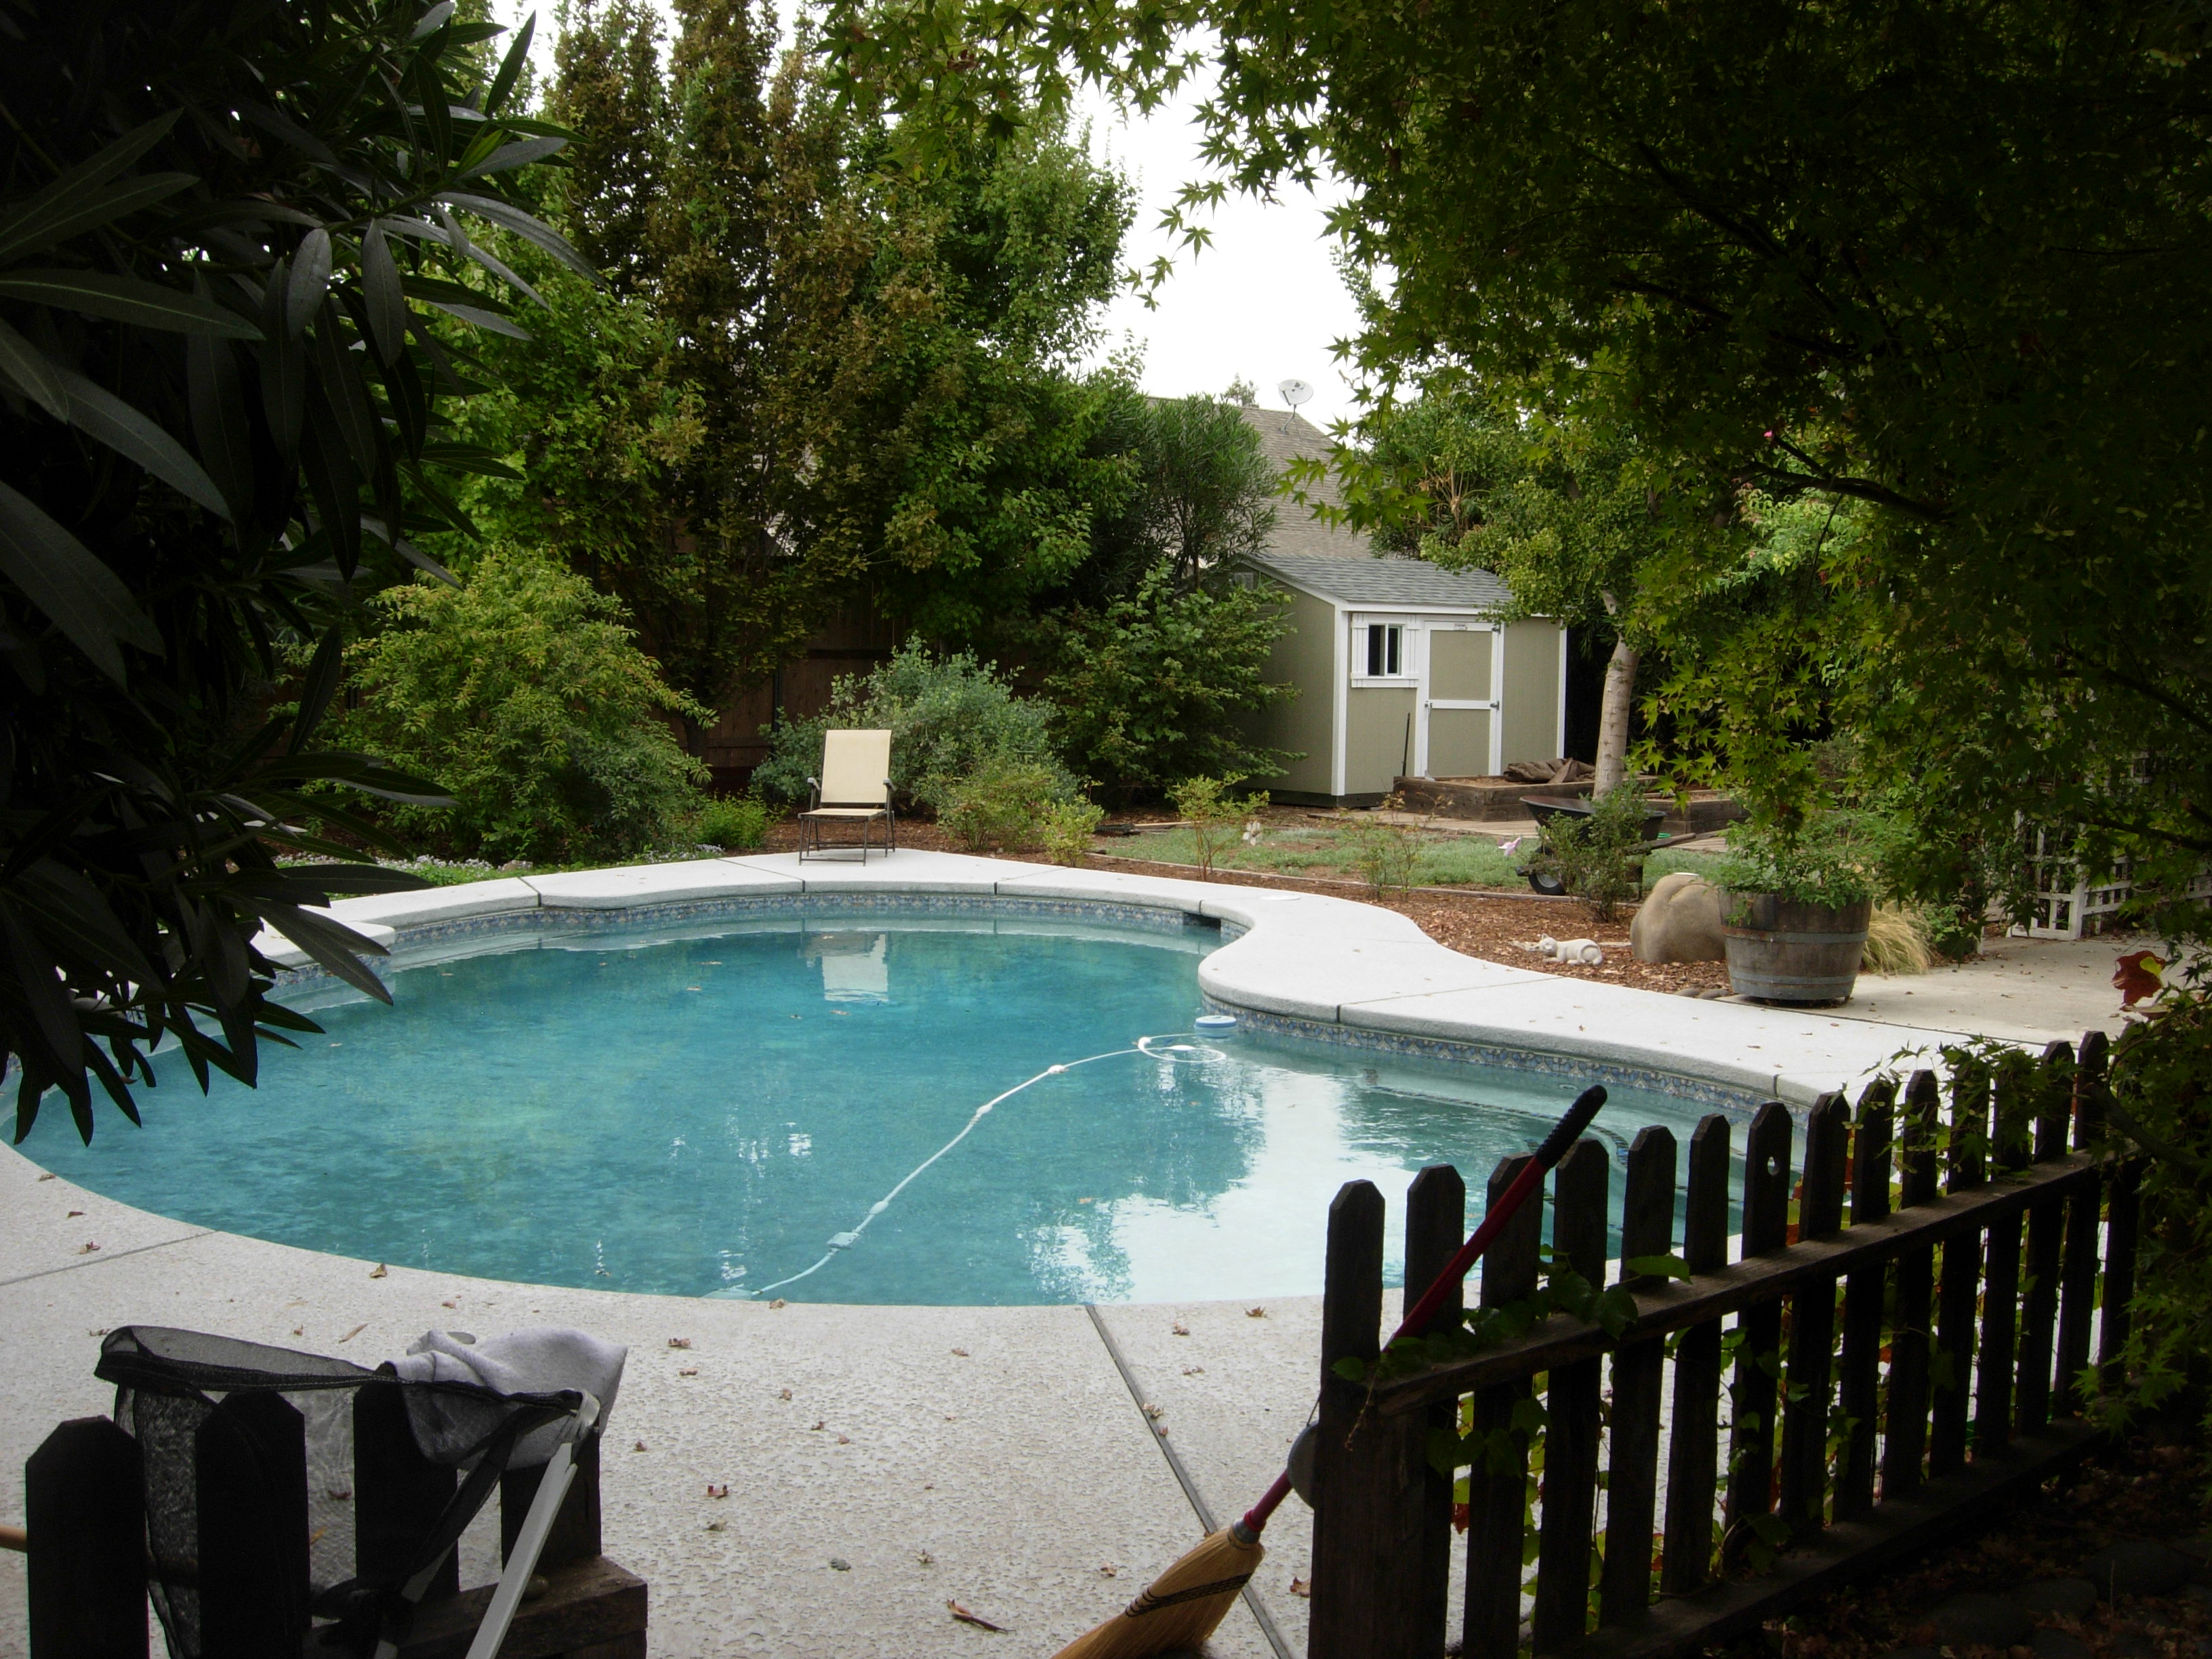
It gets stupid-hot in Chico in July and August. So, Lisa's only hard requirement was a pool.
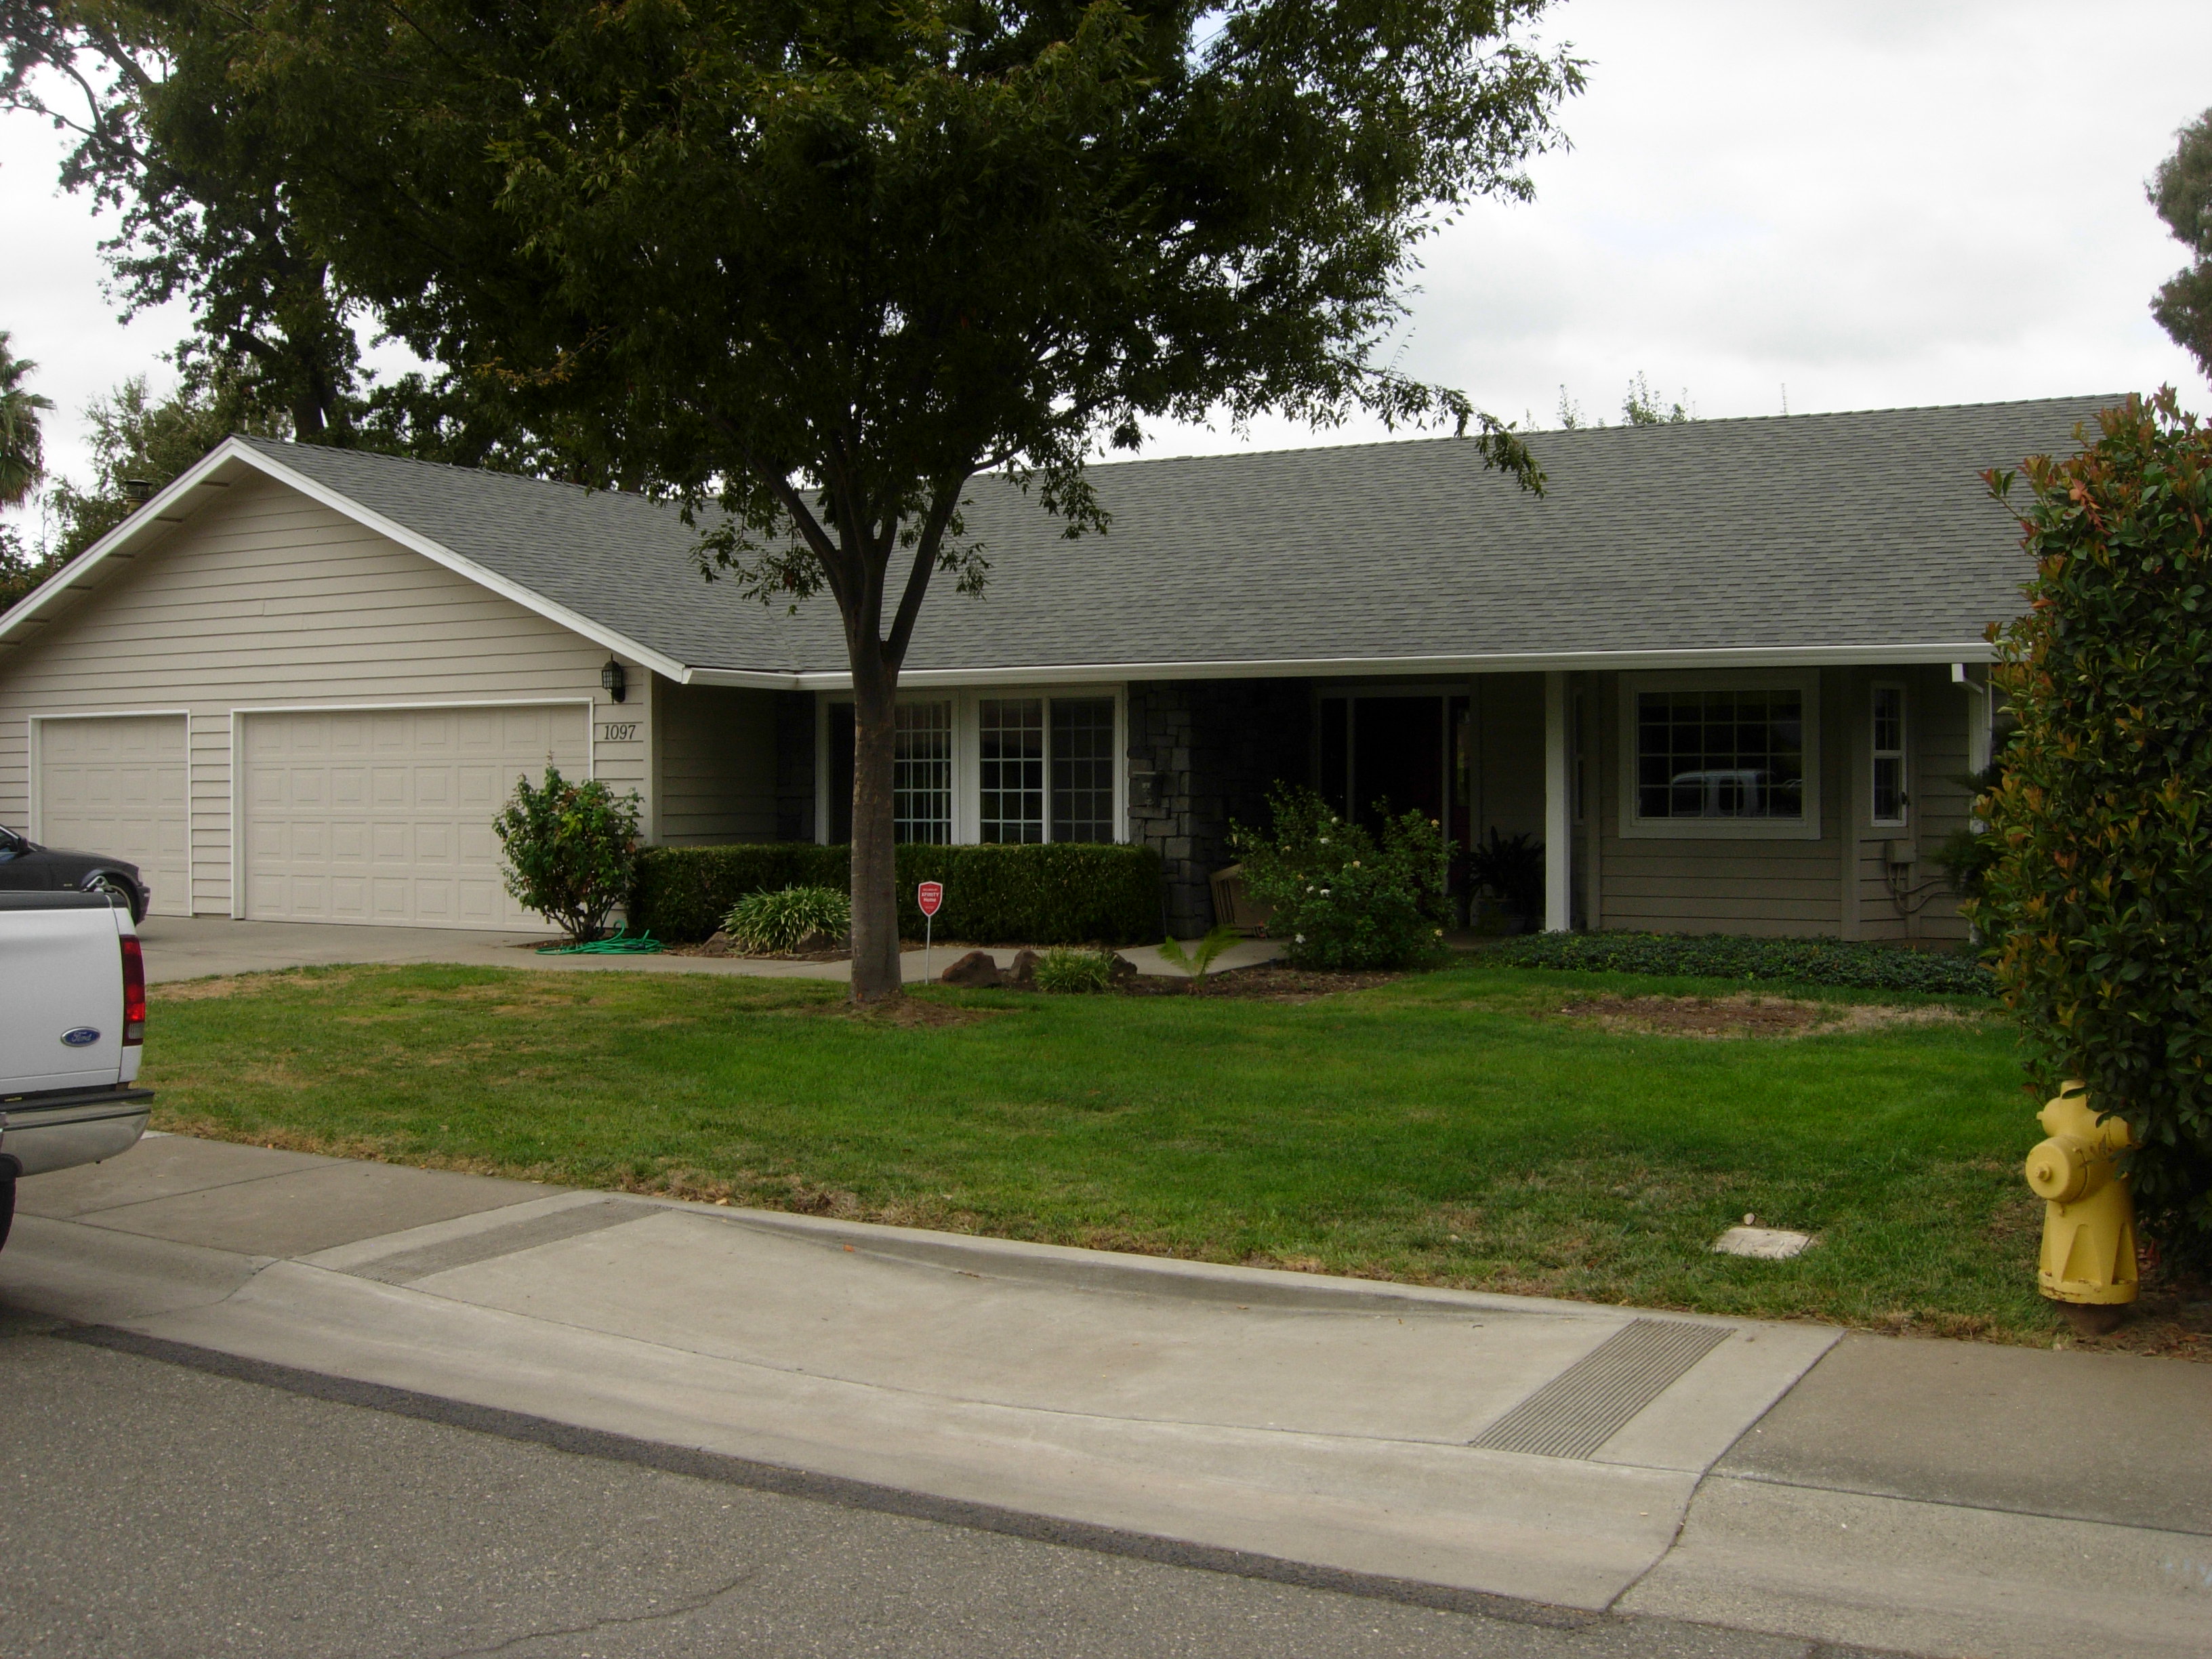
And my "must have" was a three-car garage.
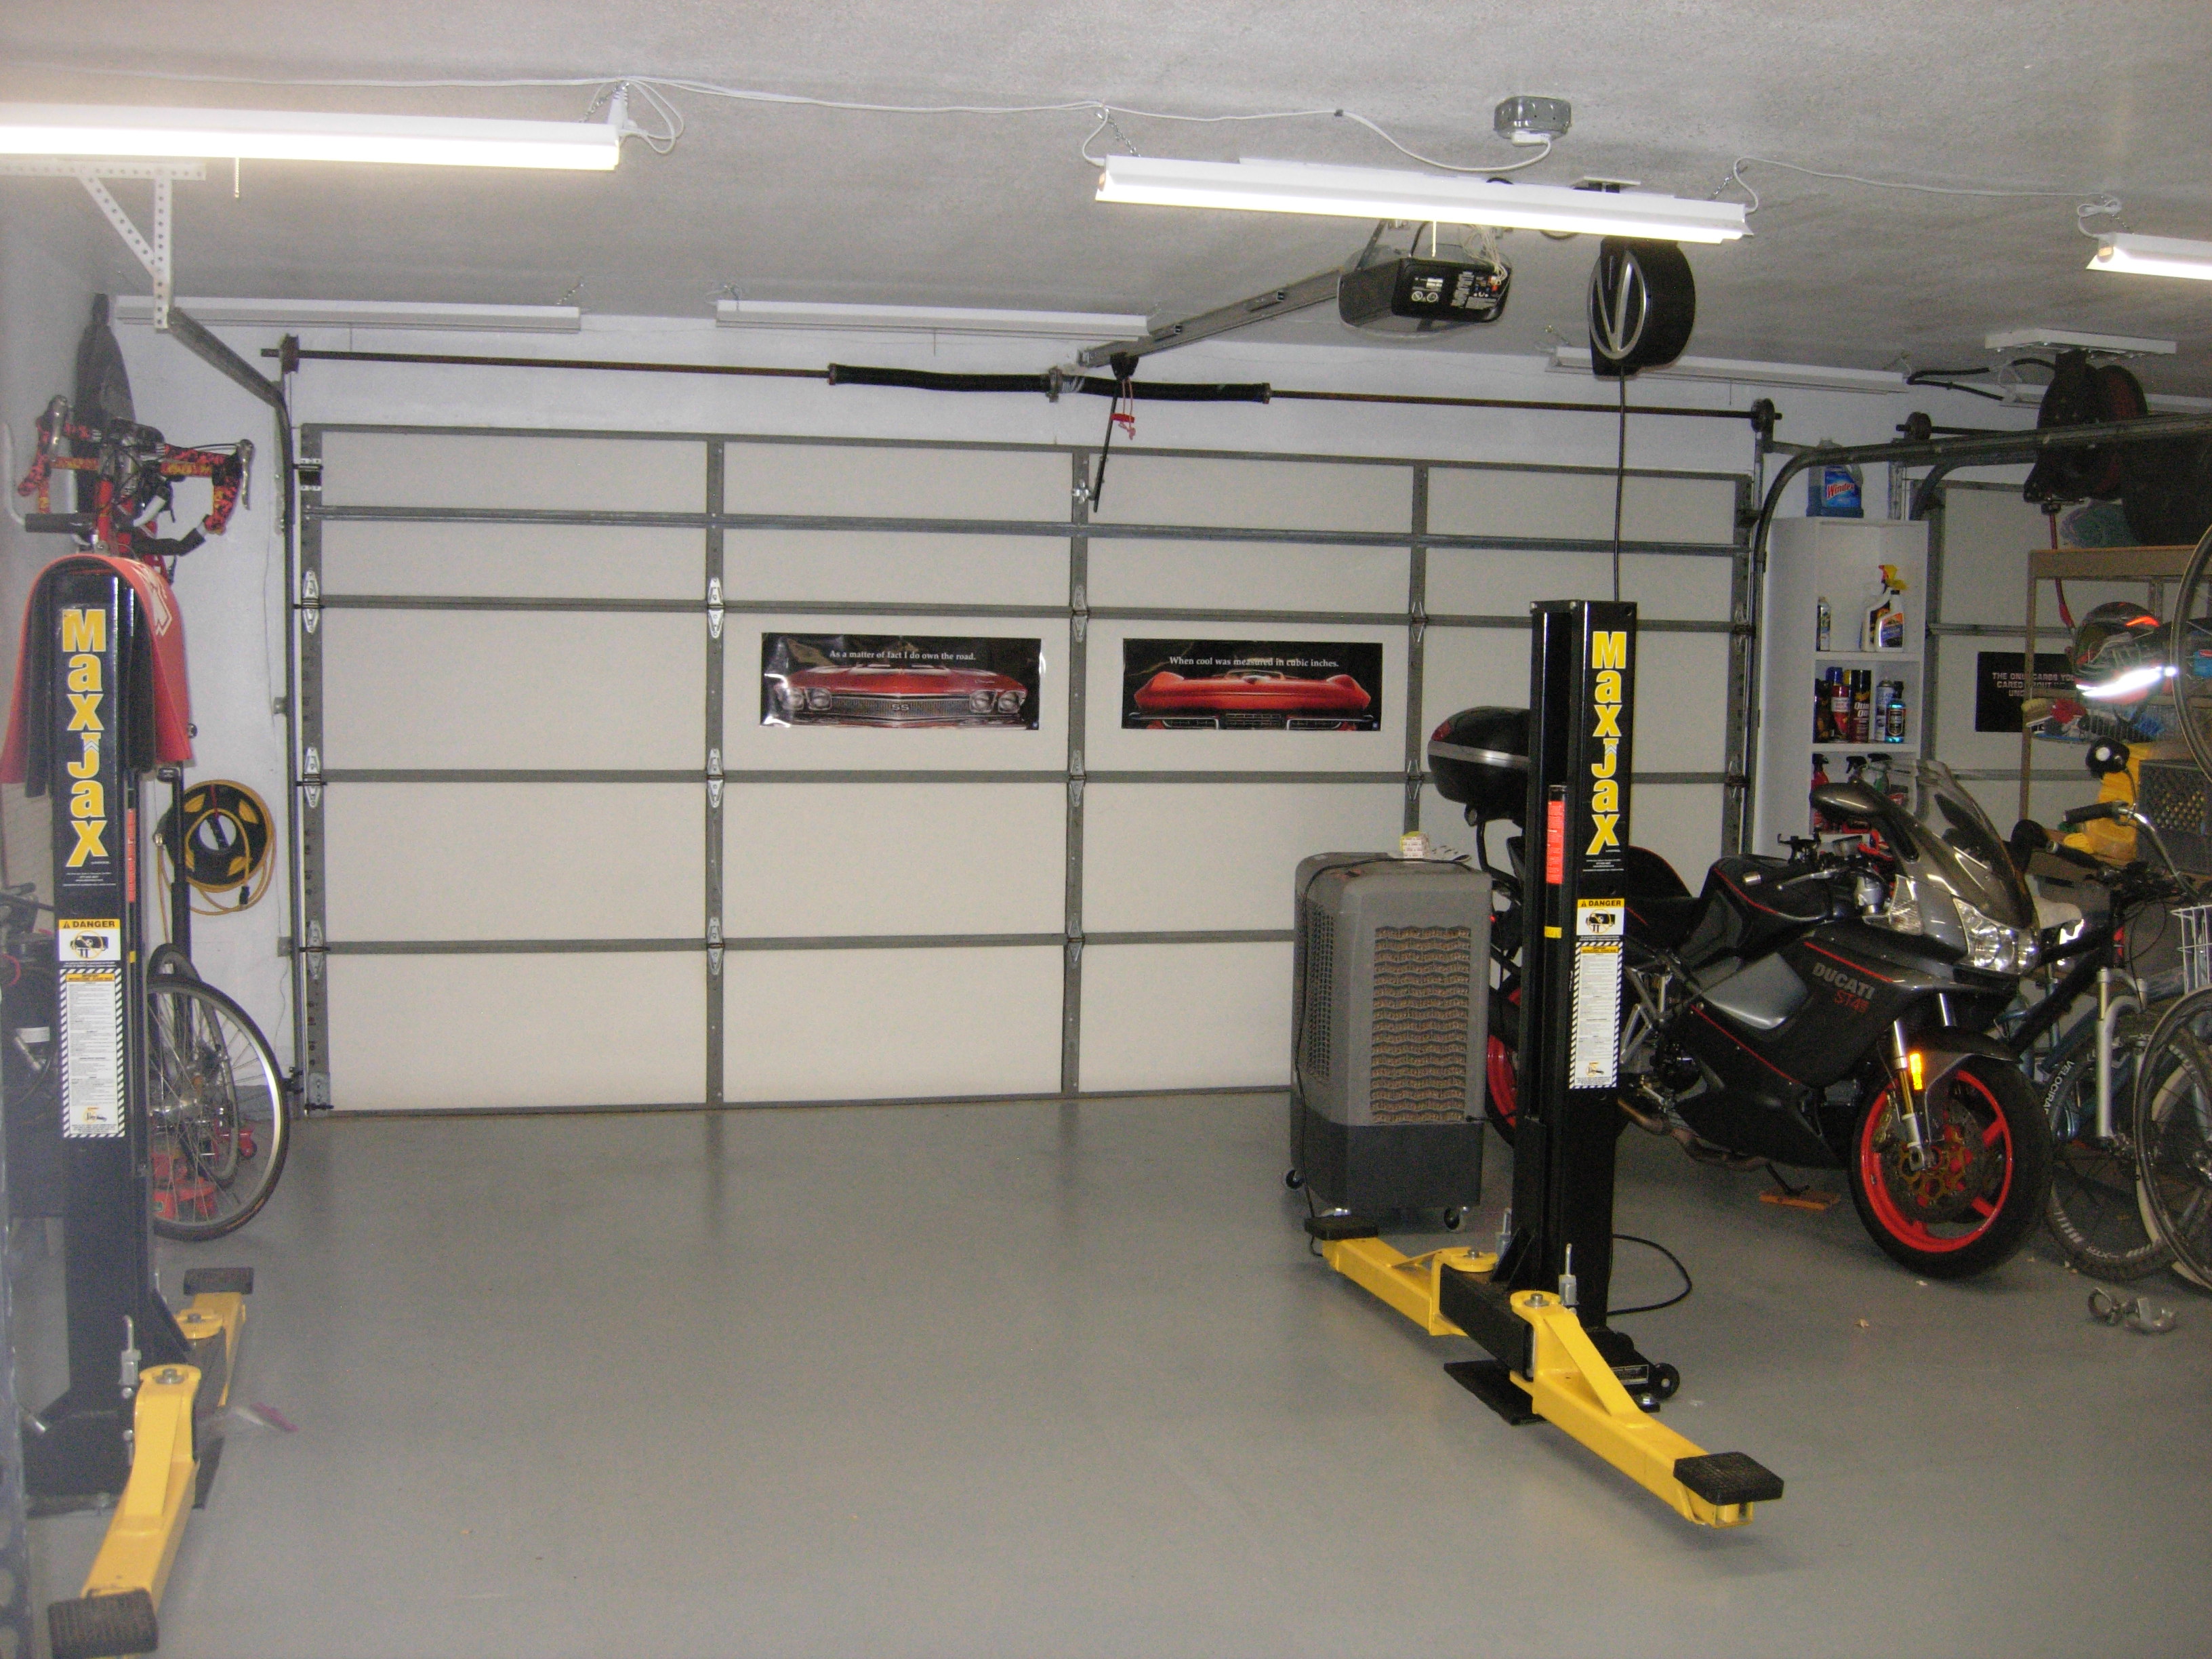
In order to install the car lift, I had to have the garage floor reinforced. I was able to get that done before we moved in.
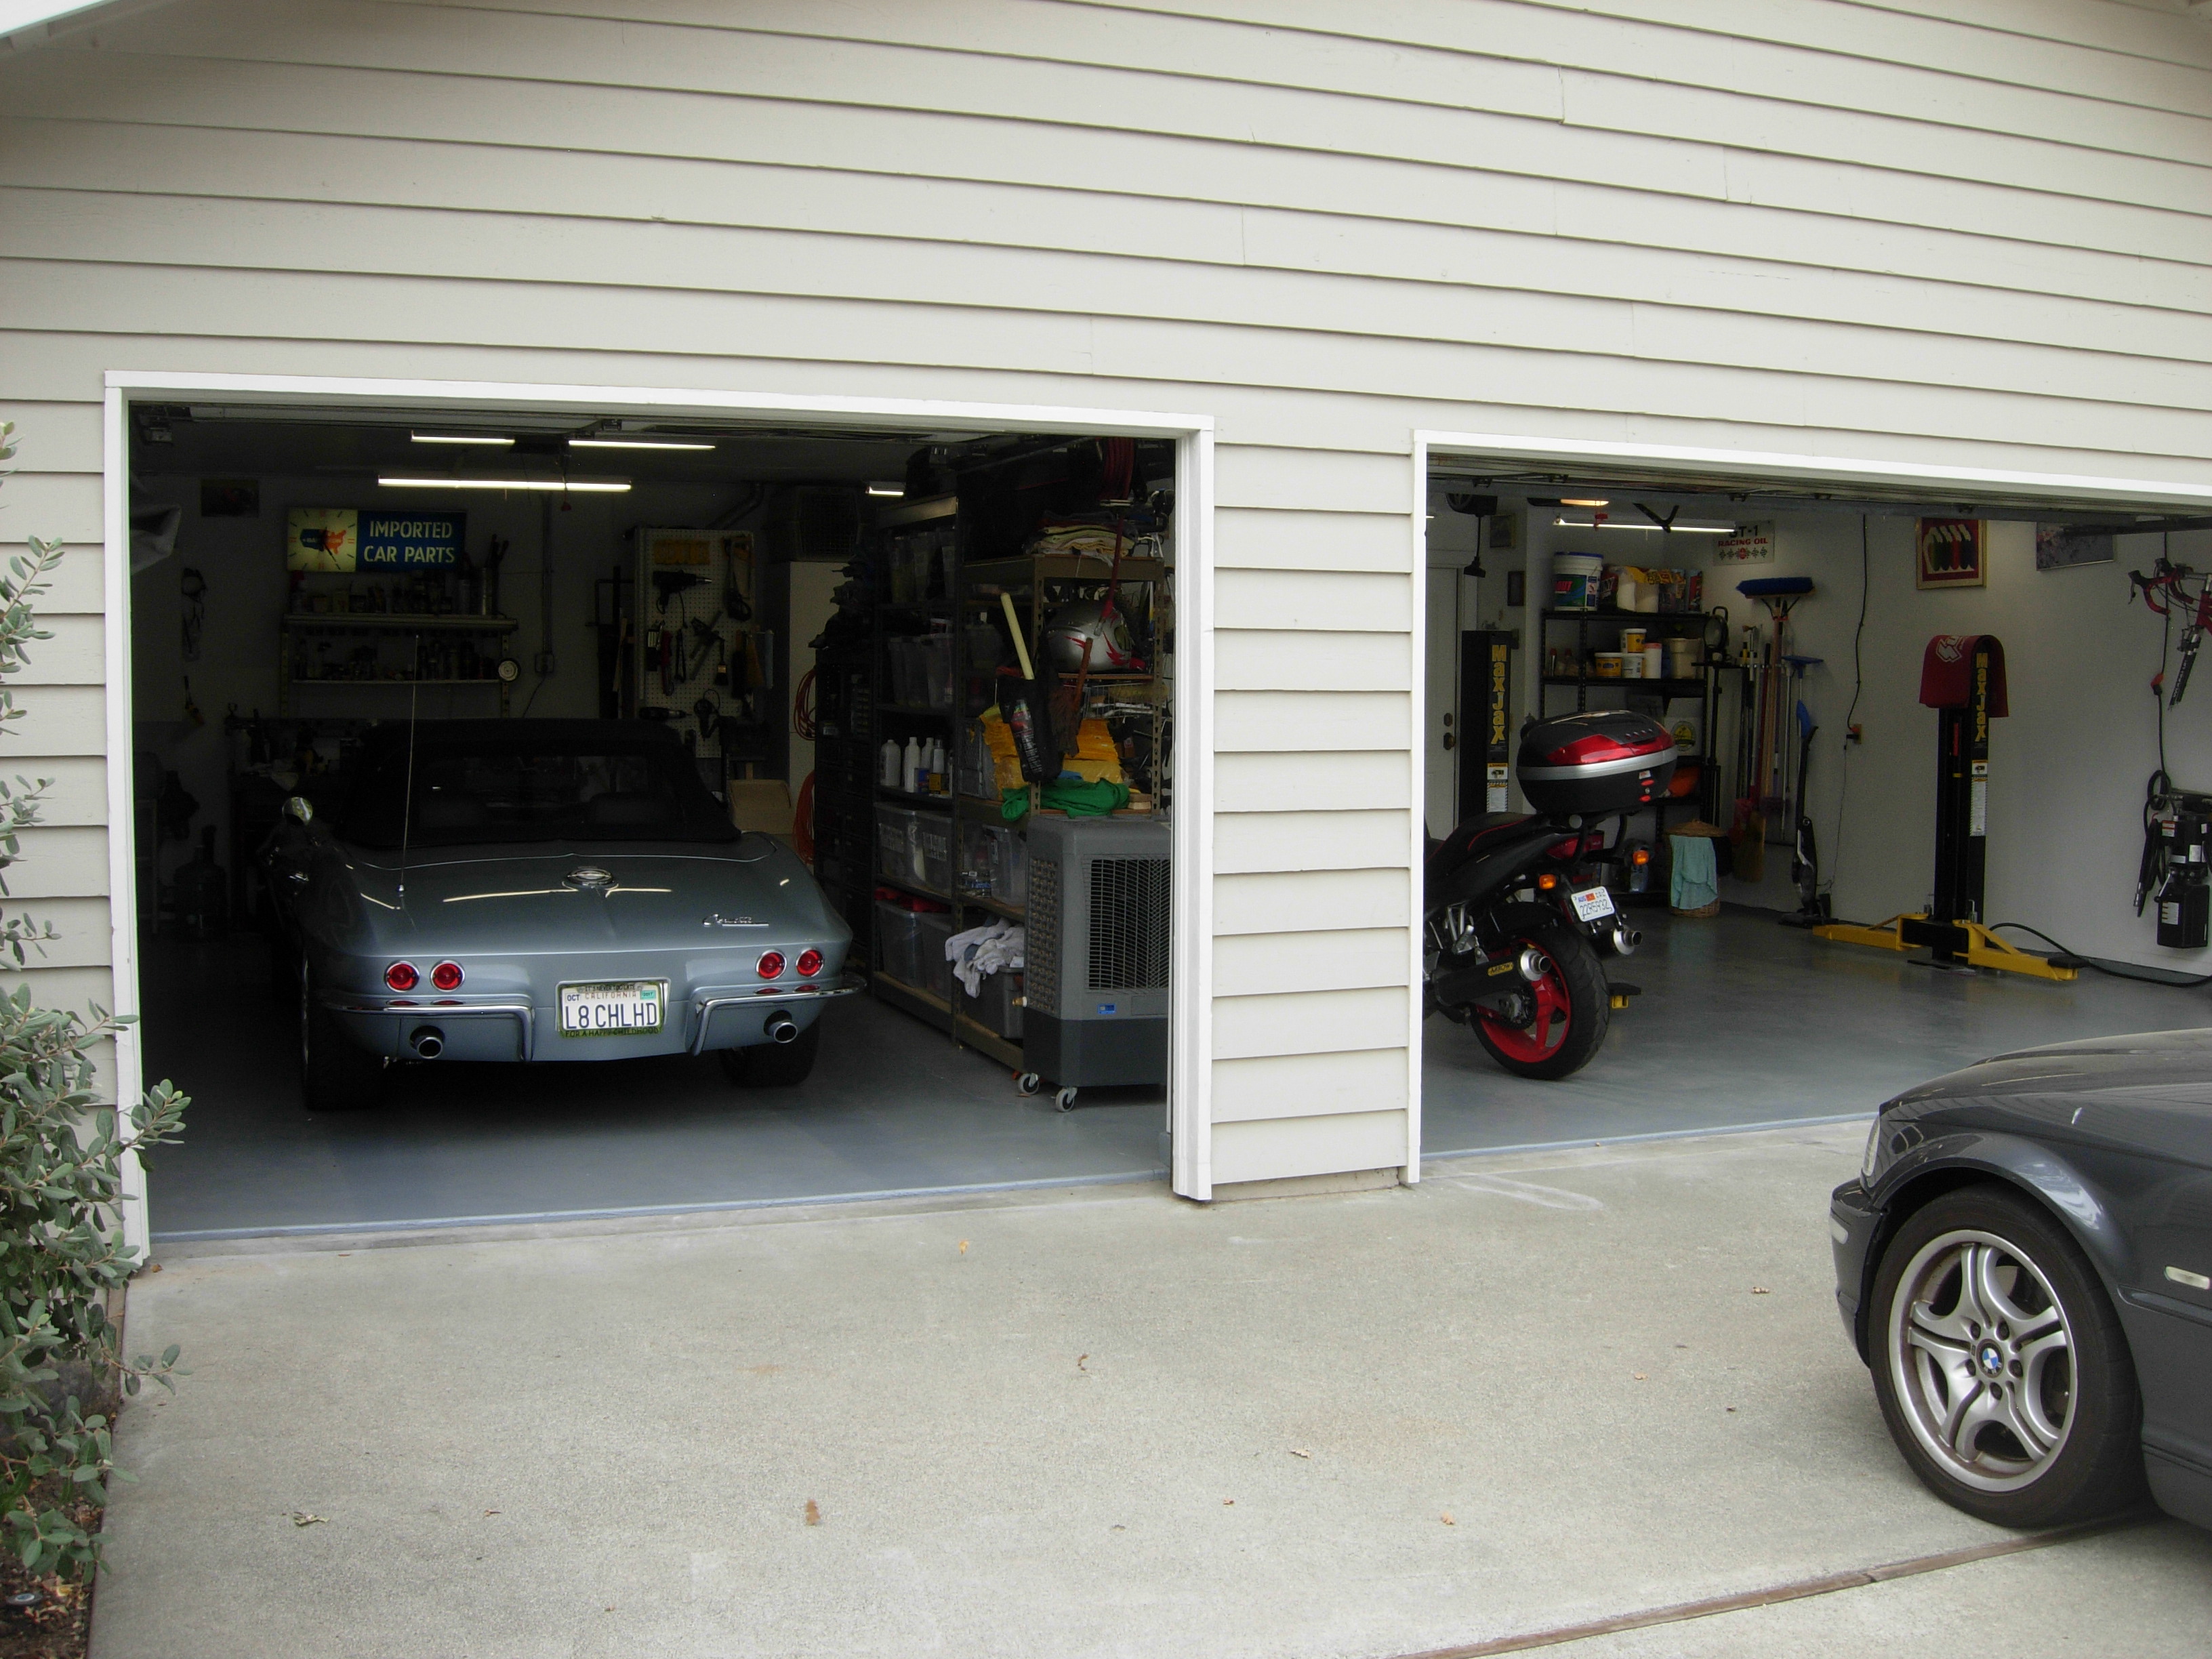
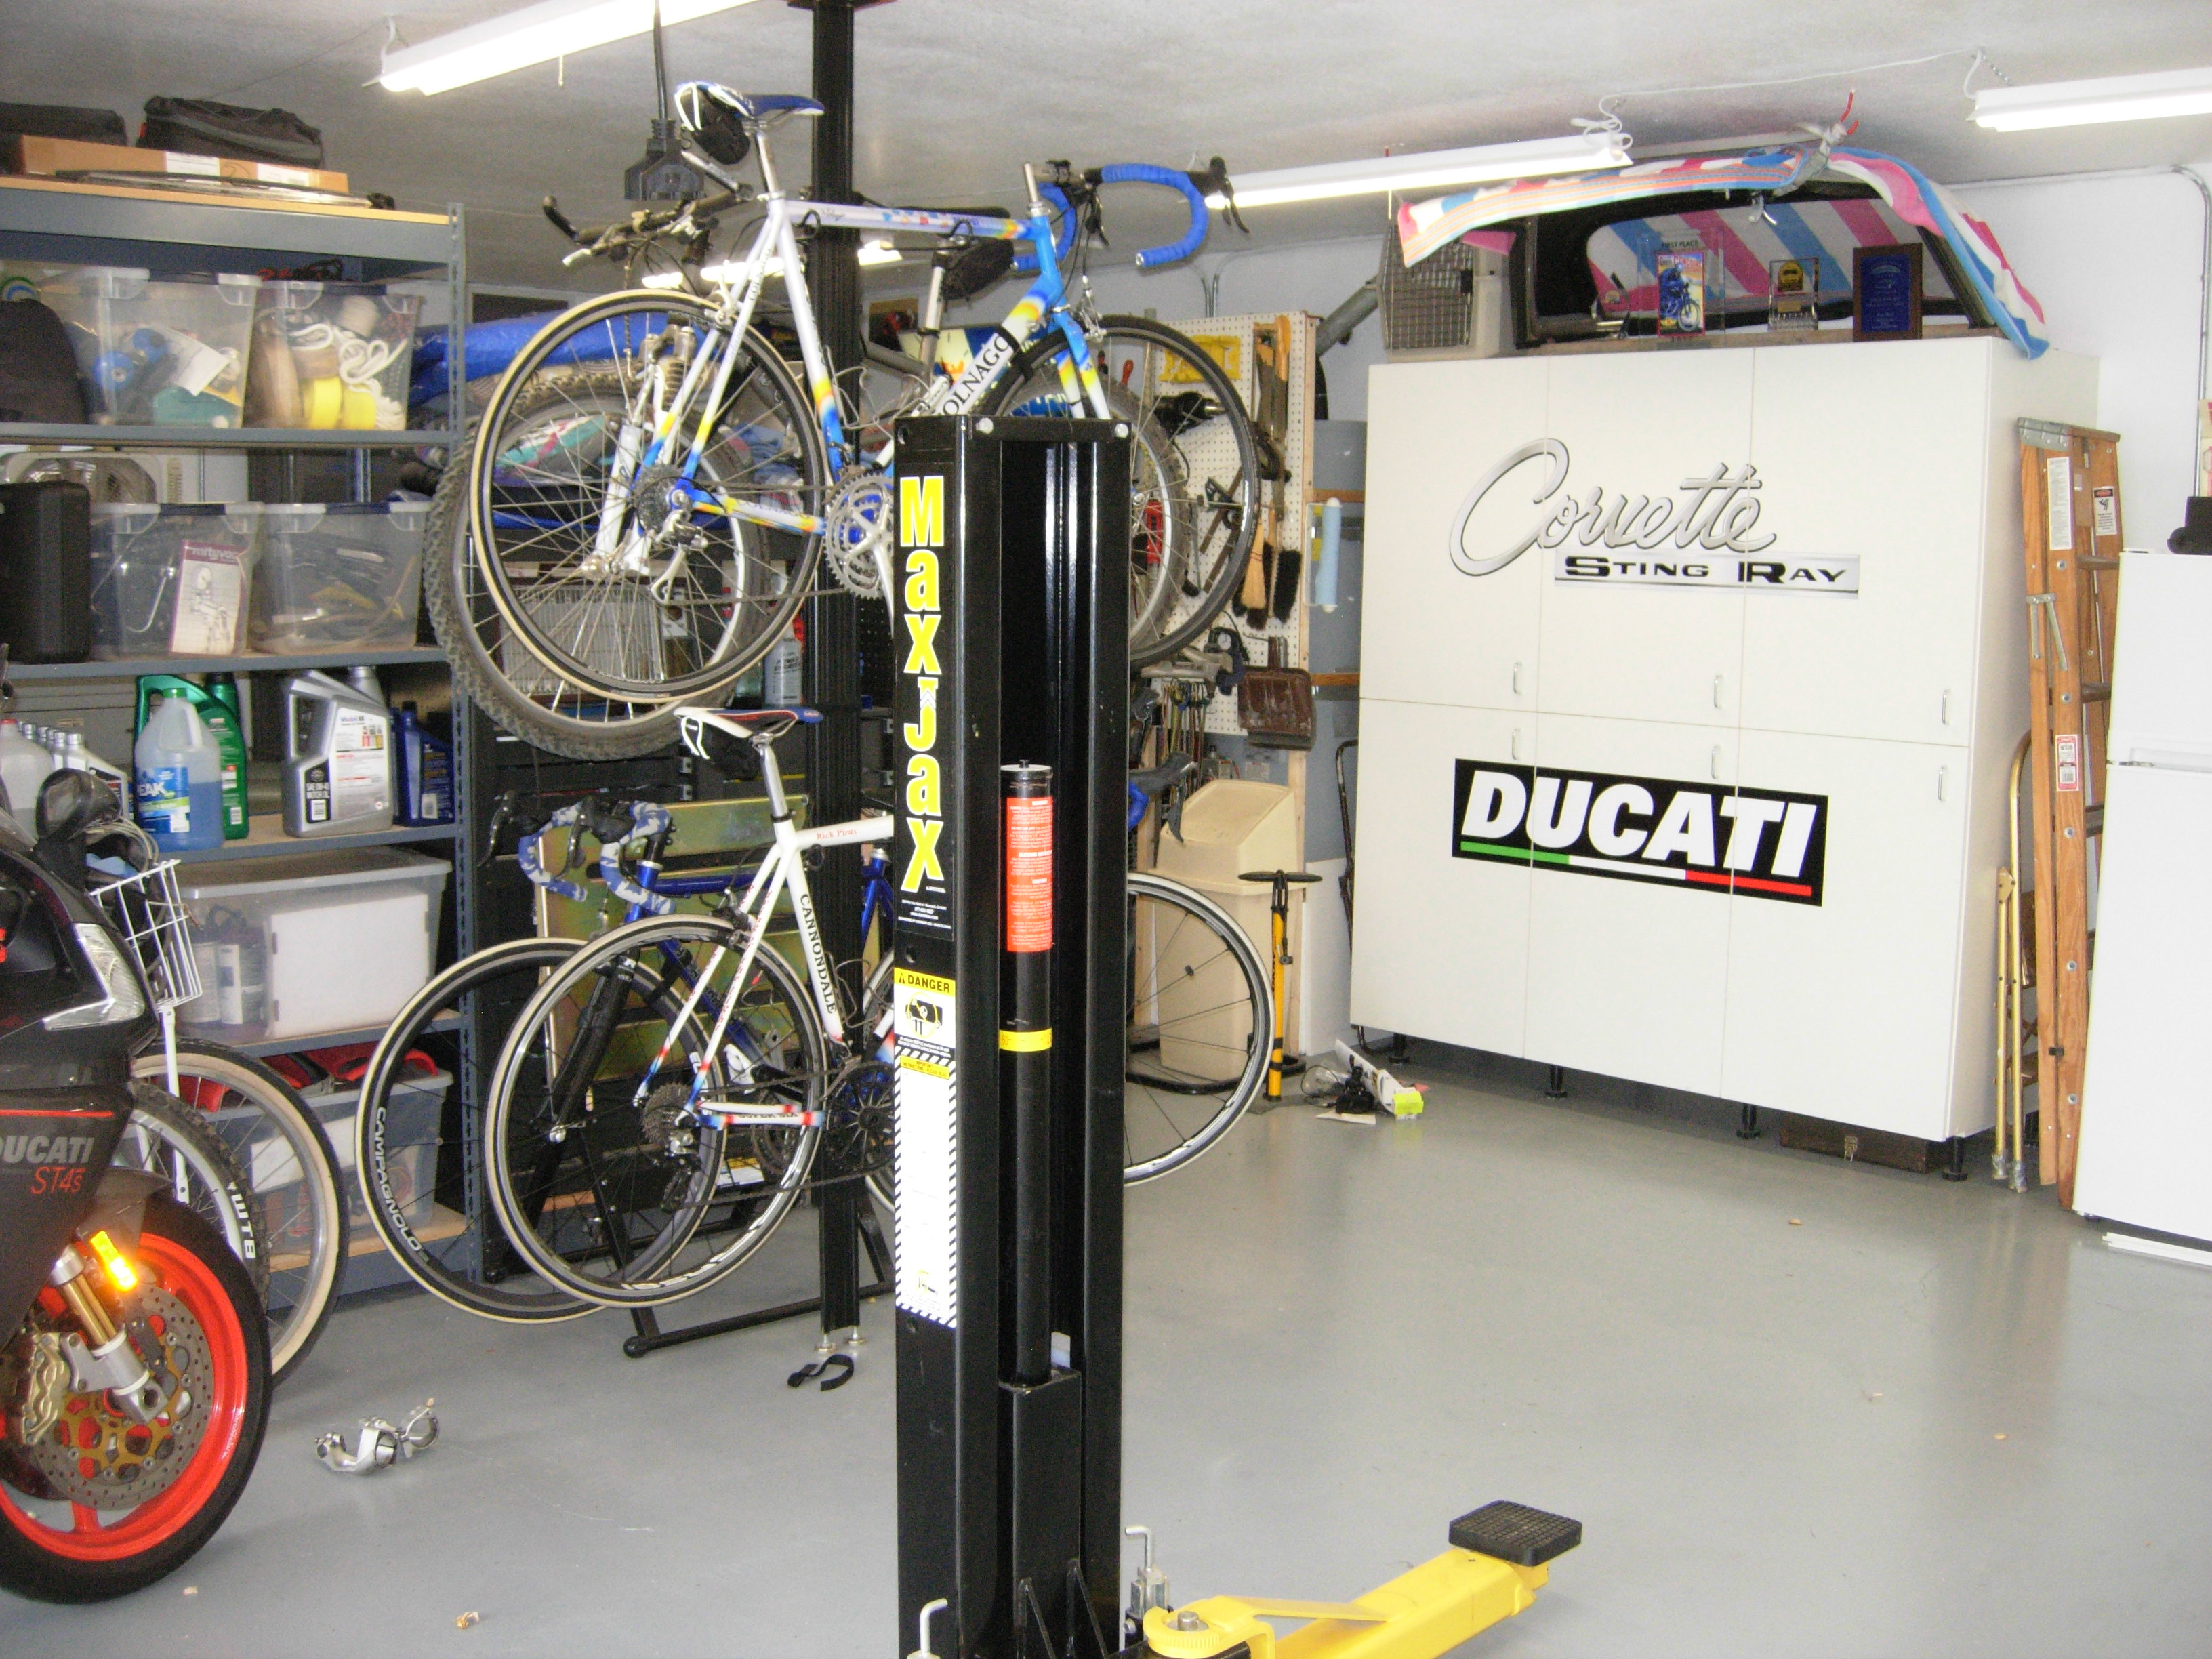
Some guys ideal garage is a "mancave" with TV's, chairs, etc. My ideal is a clean, organized garage where it's comfortable to work on cars, bikes, motorcycles, etc. I physically and chemically etched the floor, then put a two-part epoxy coating on it.
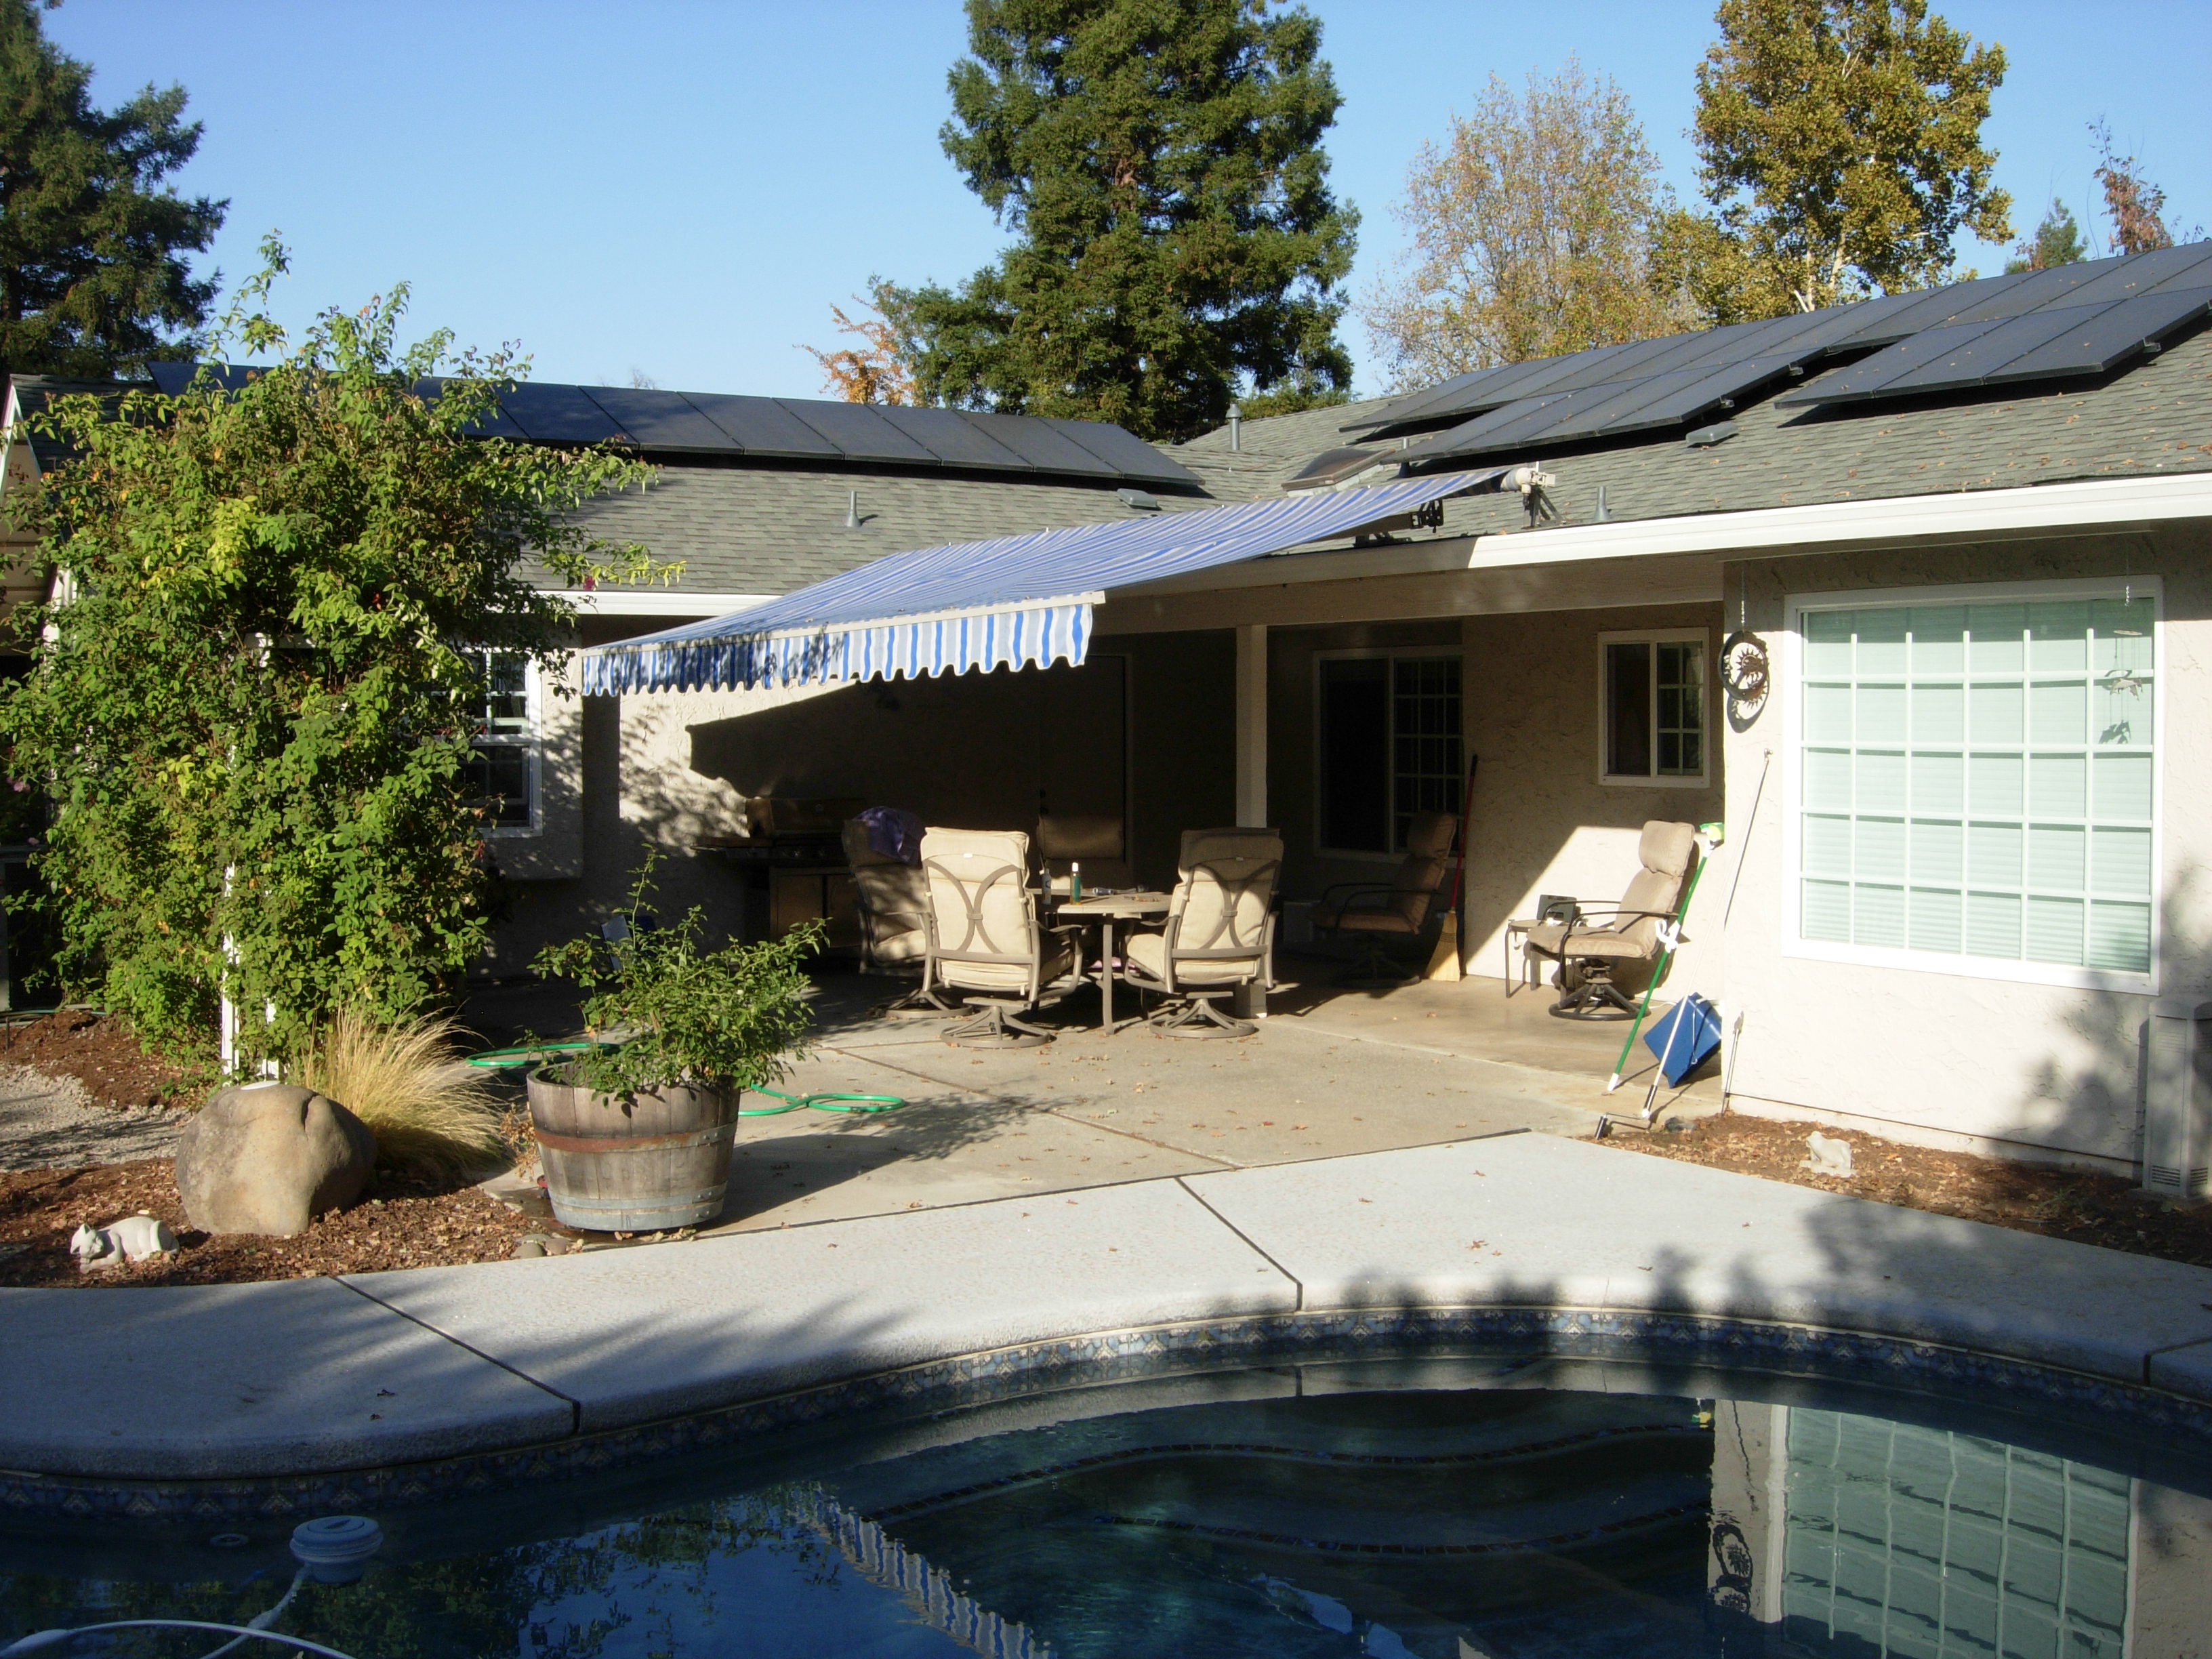
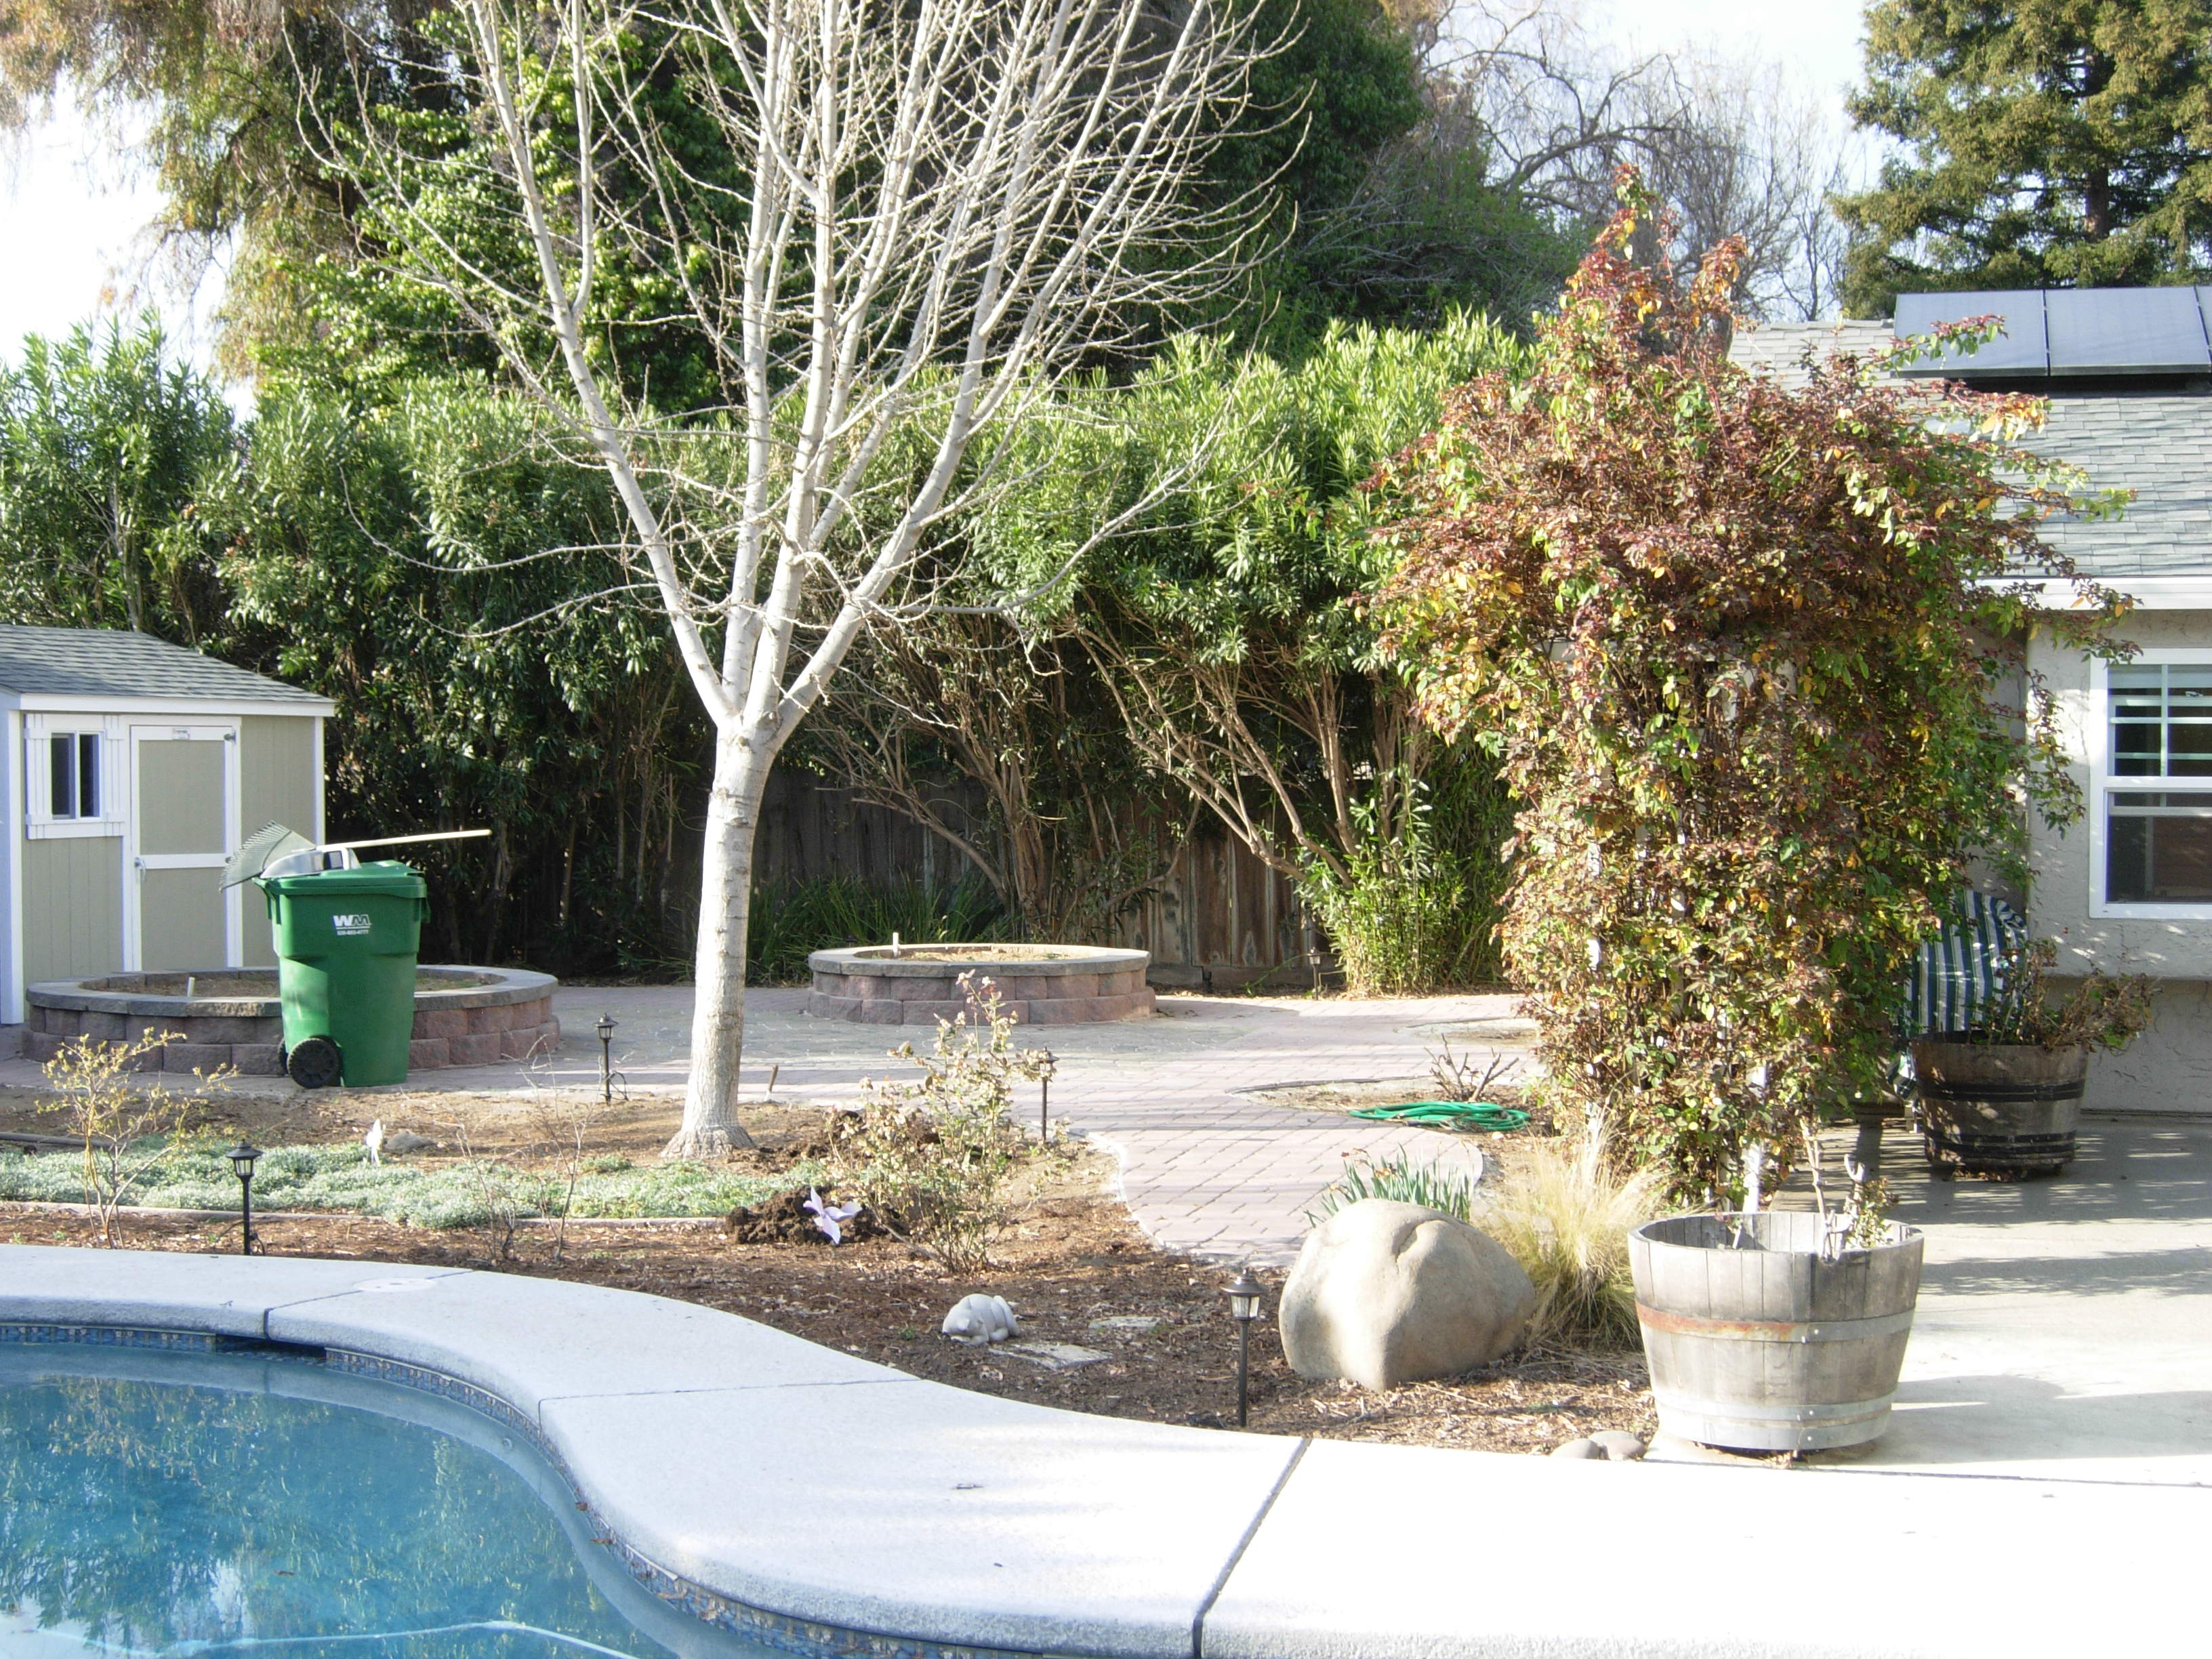
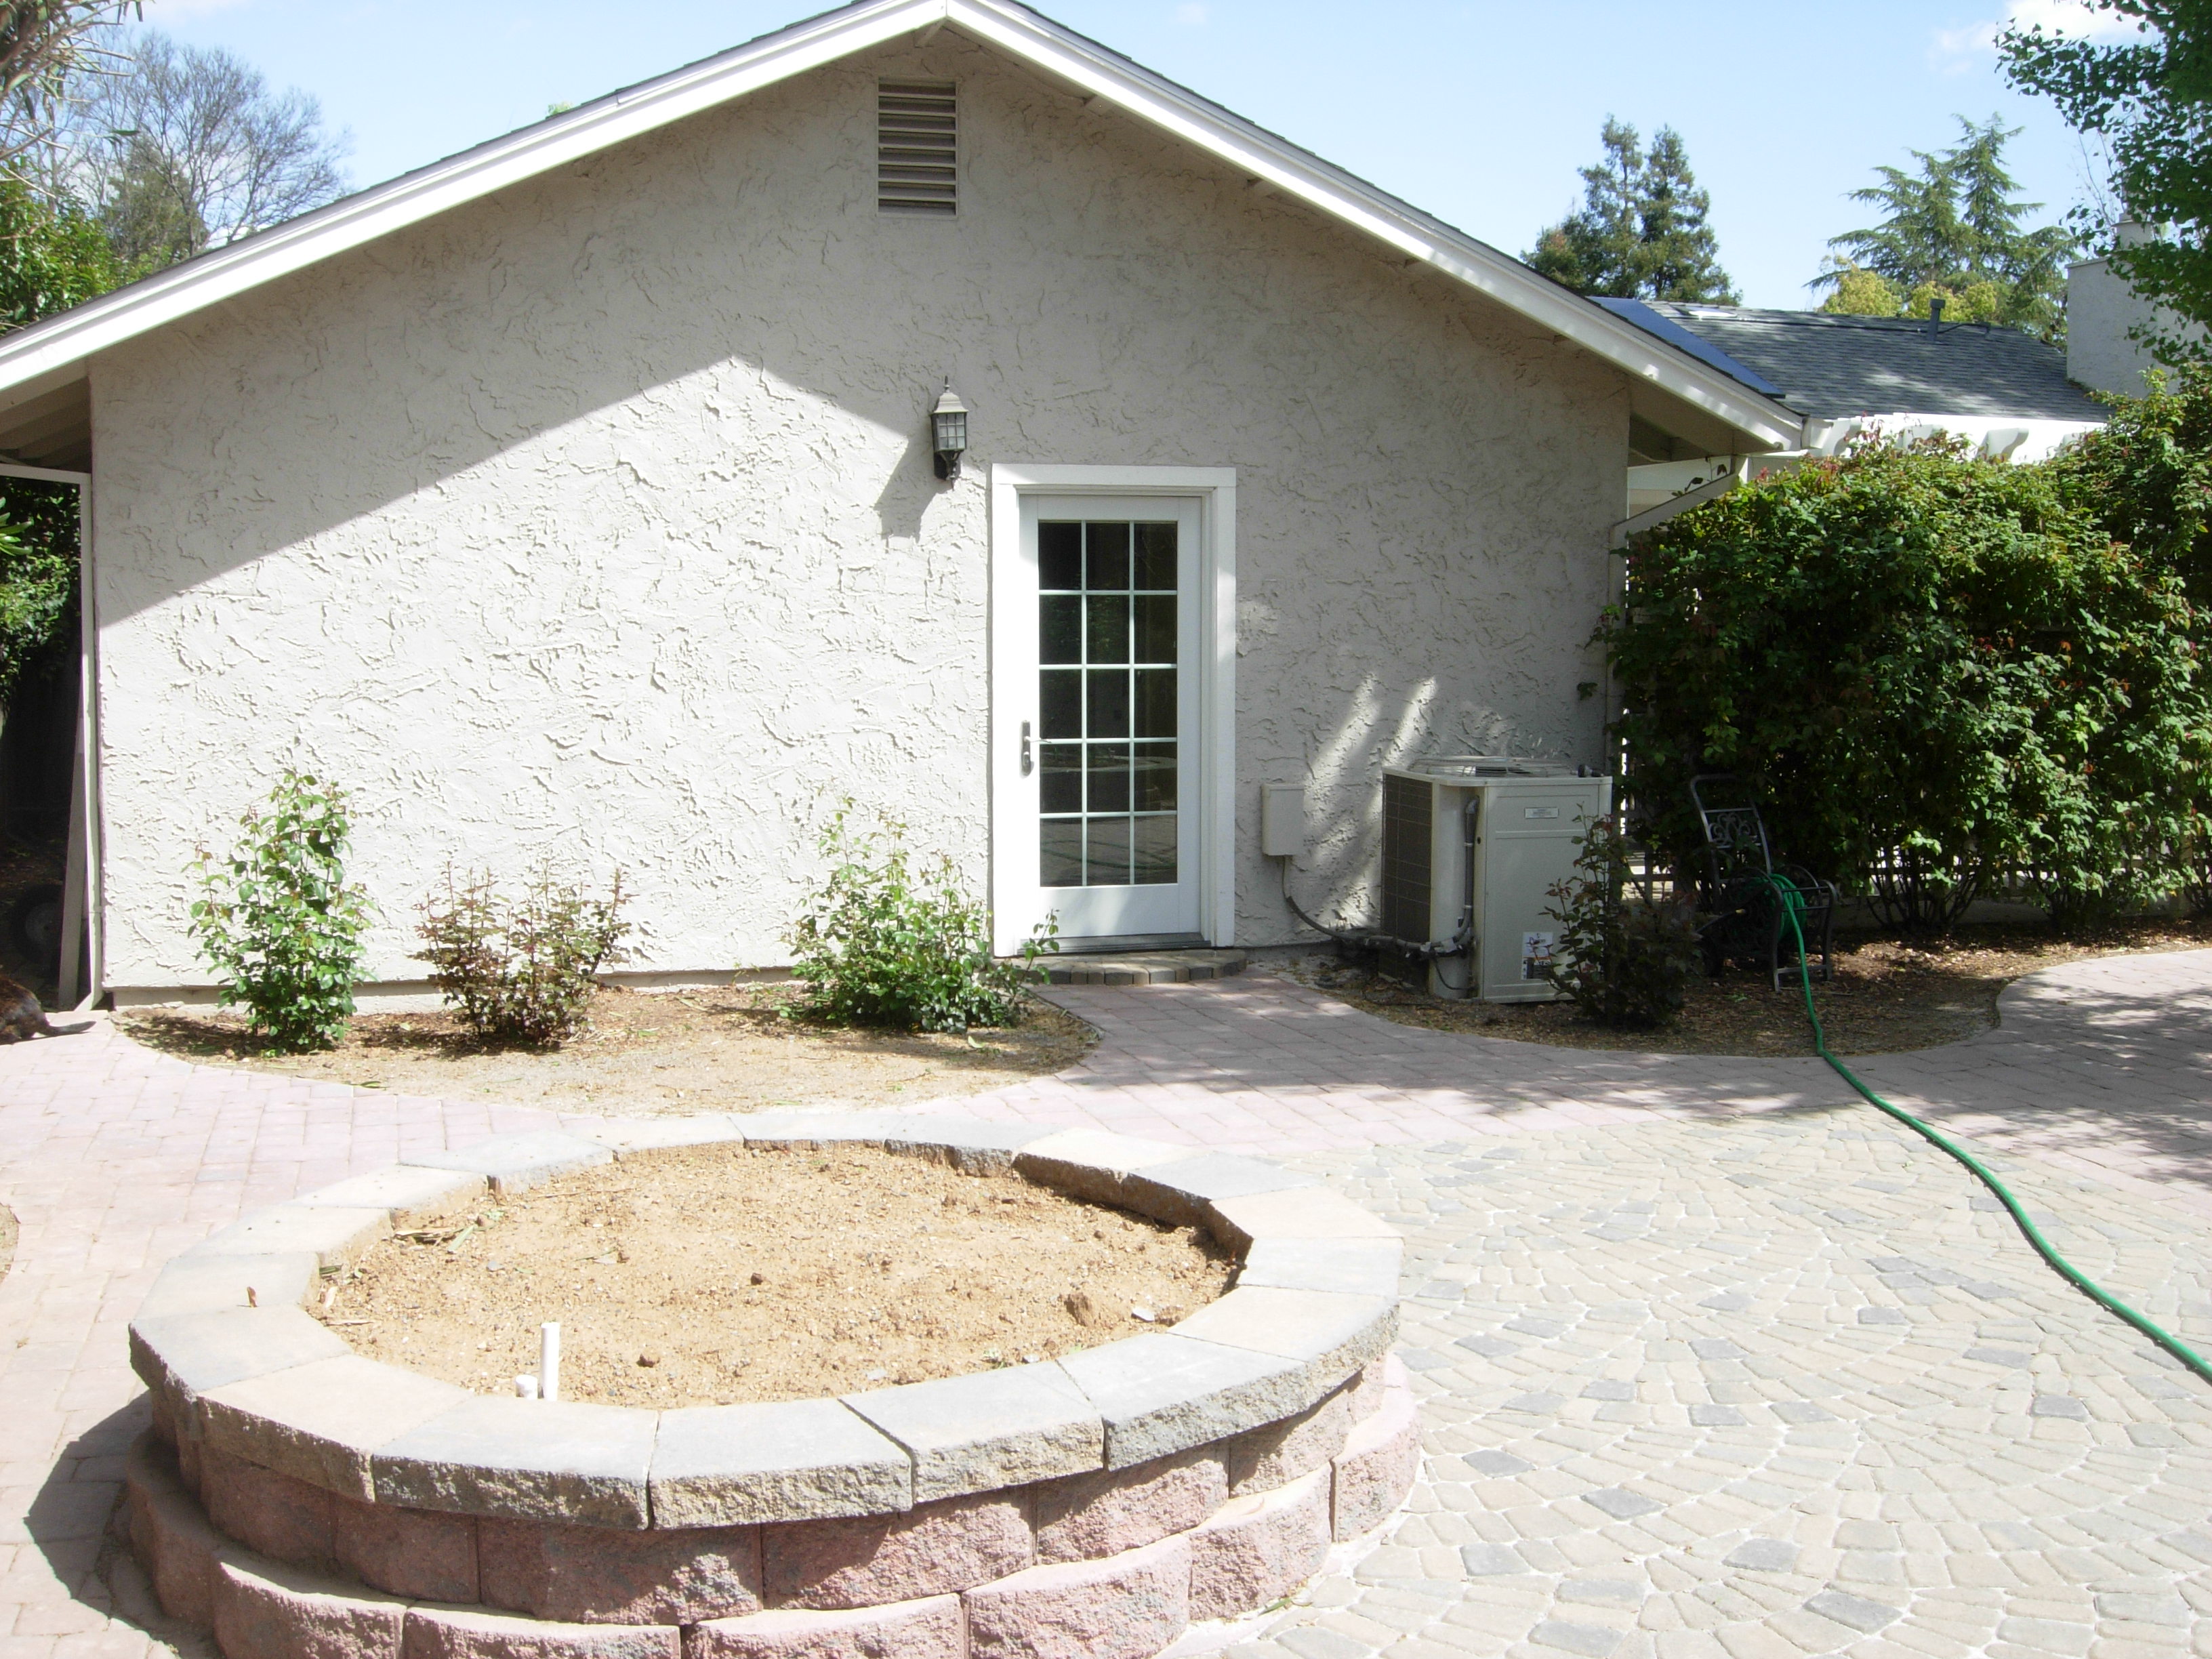
When we moved in, one of the two biggest issues was the "deck" and raised flower beds, done in wood. I knew they'd just be rotting over time.
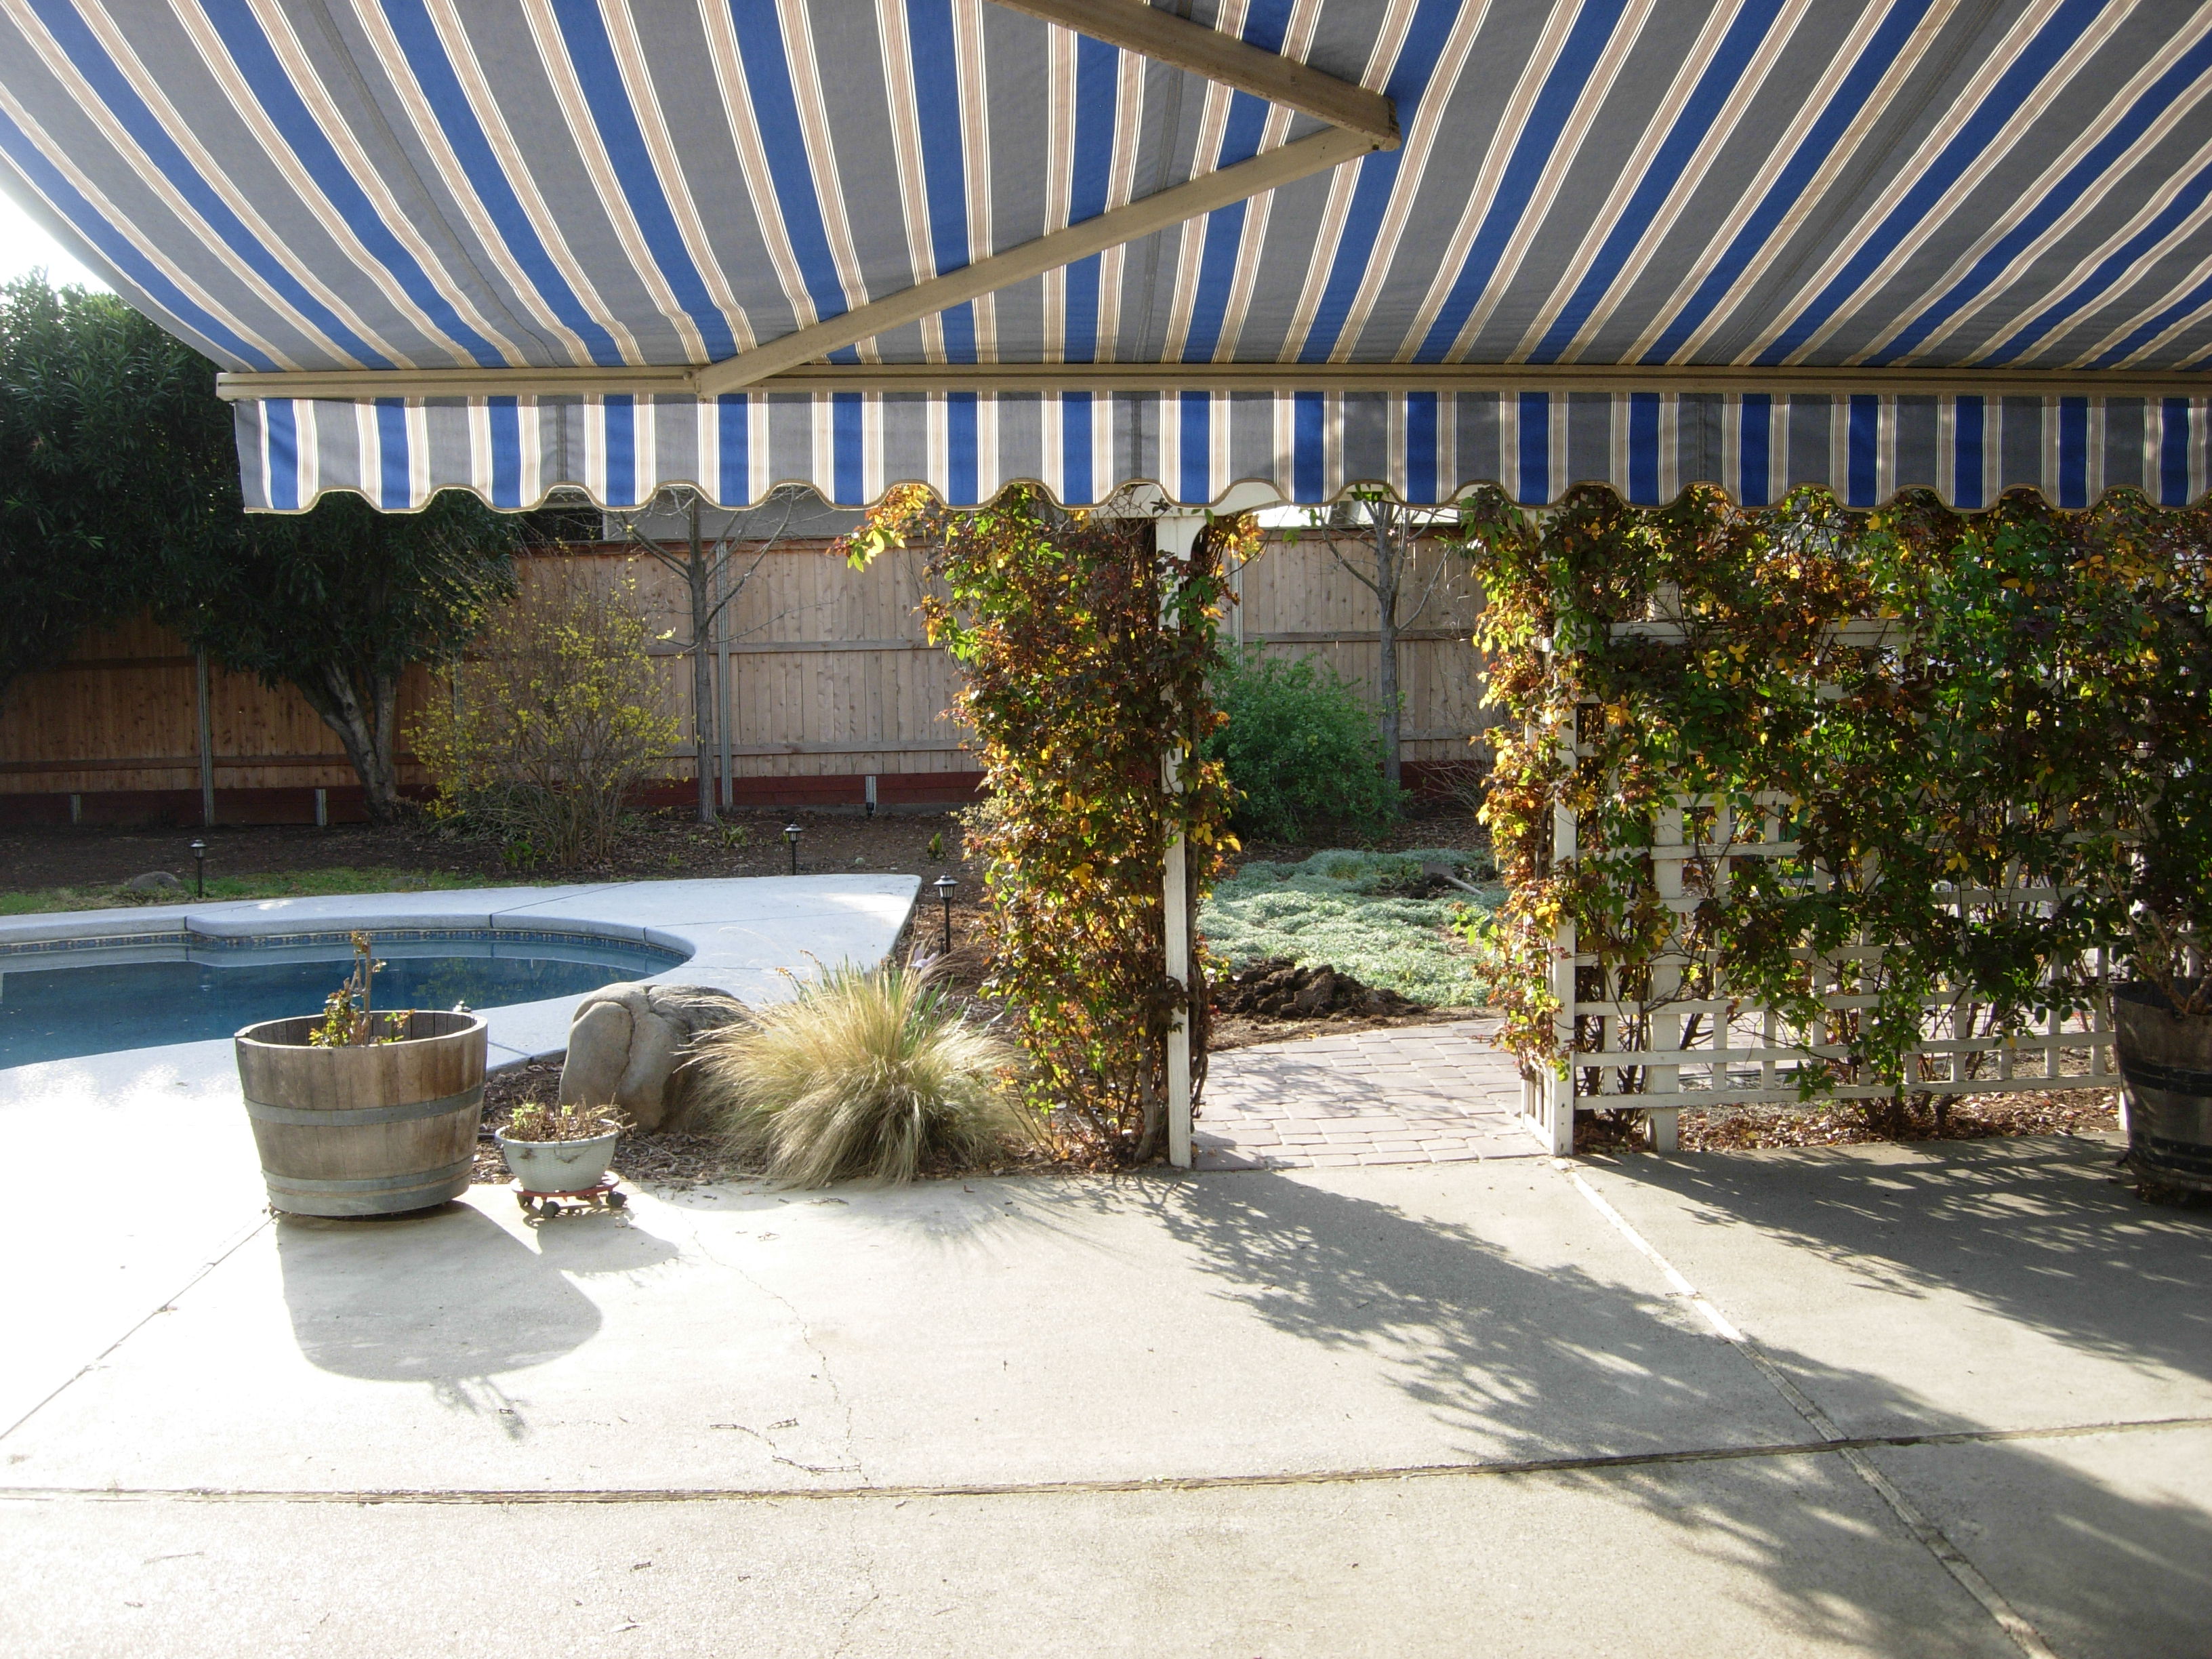
The other issue was the retractable awning over the patio.
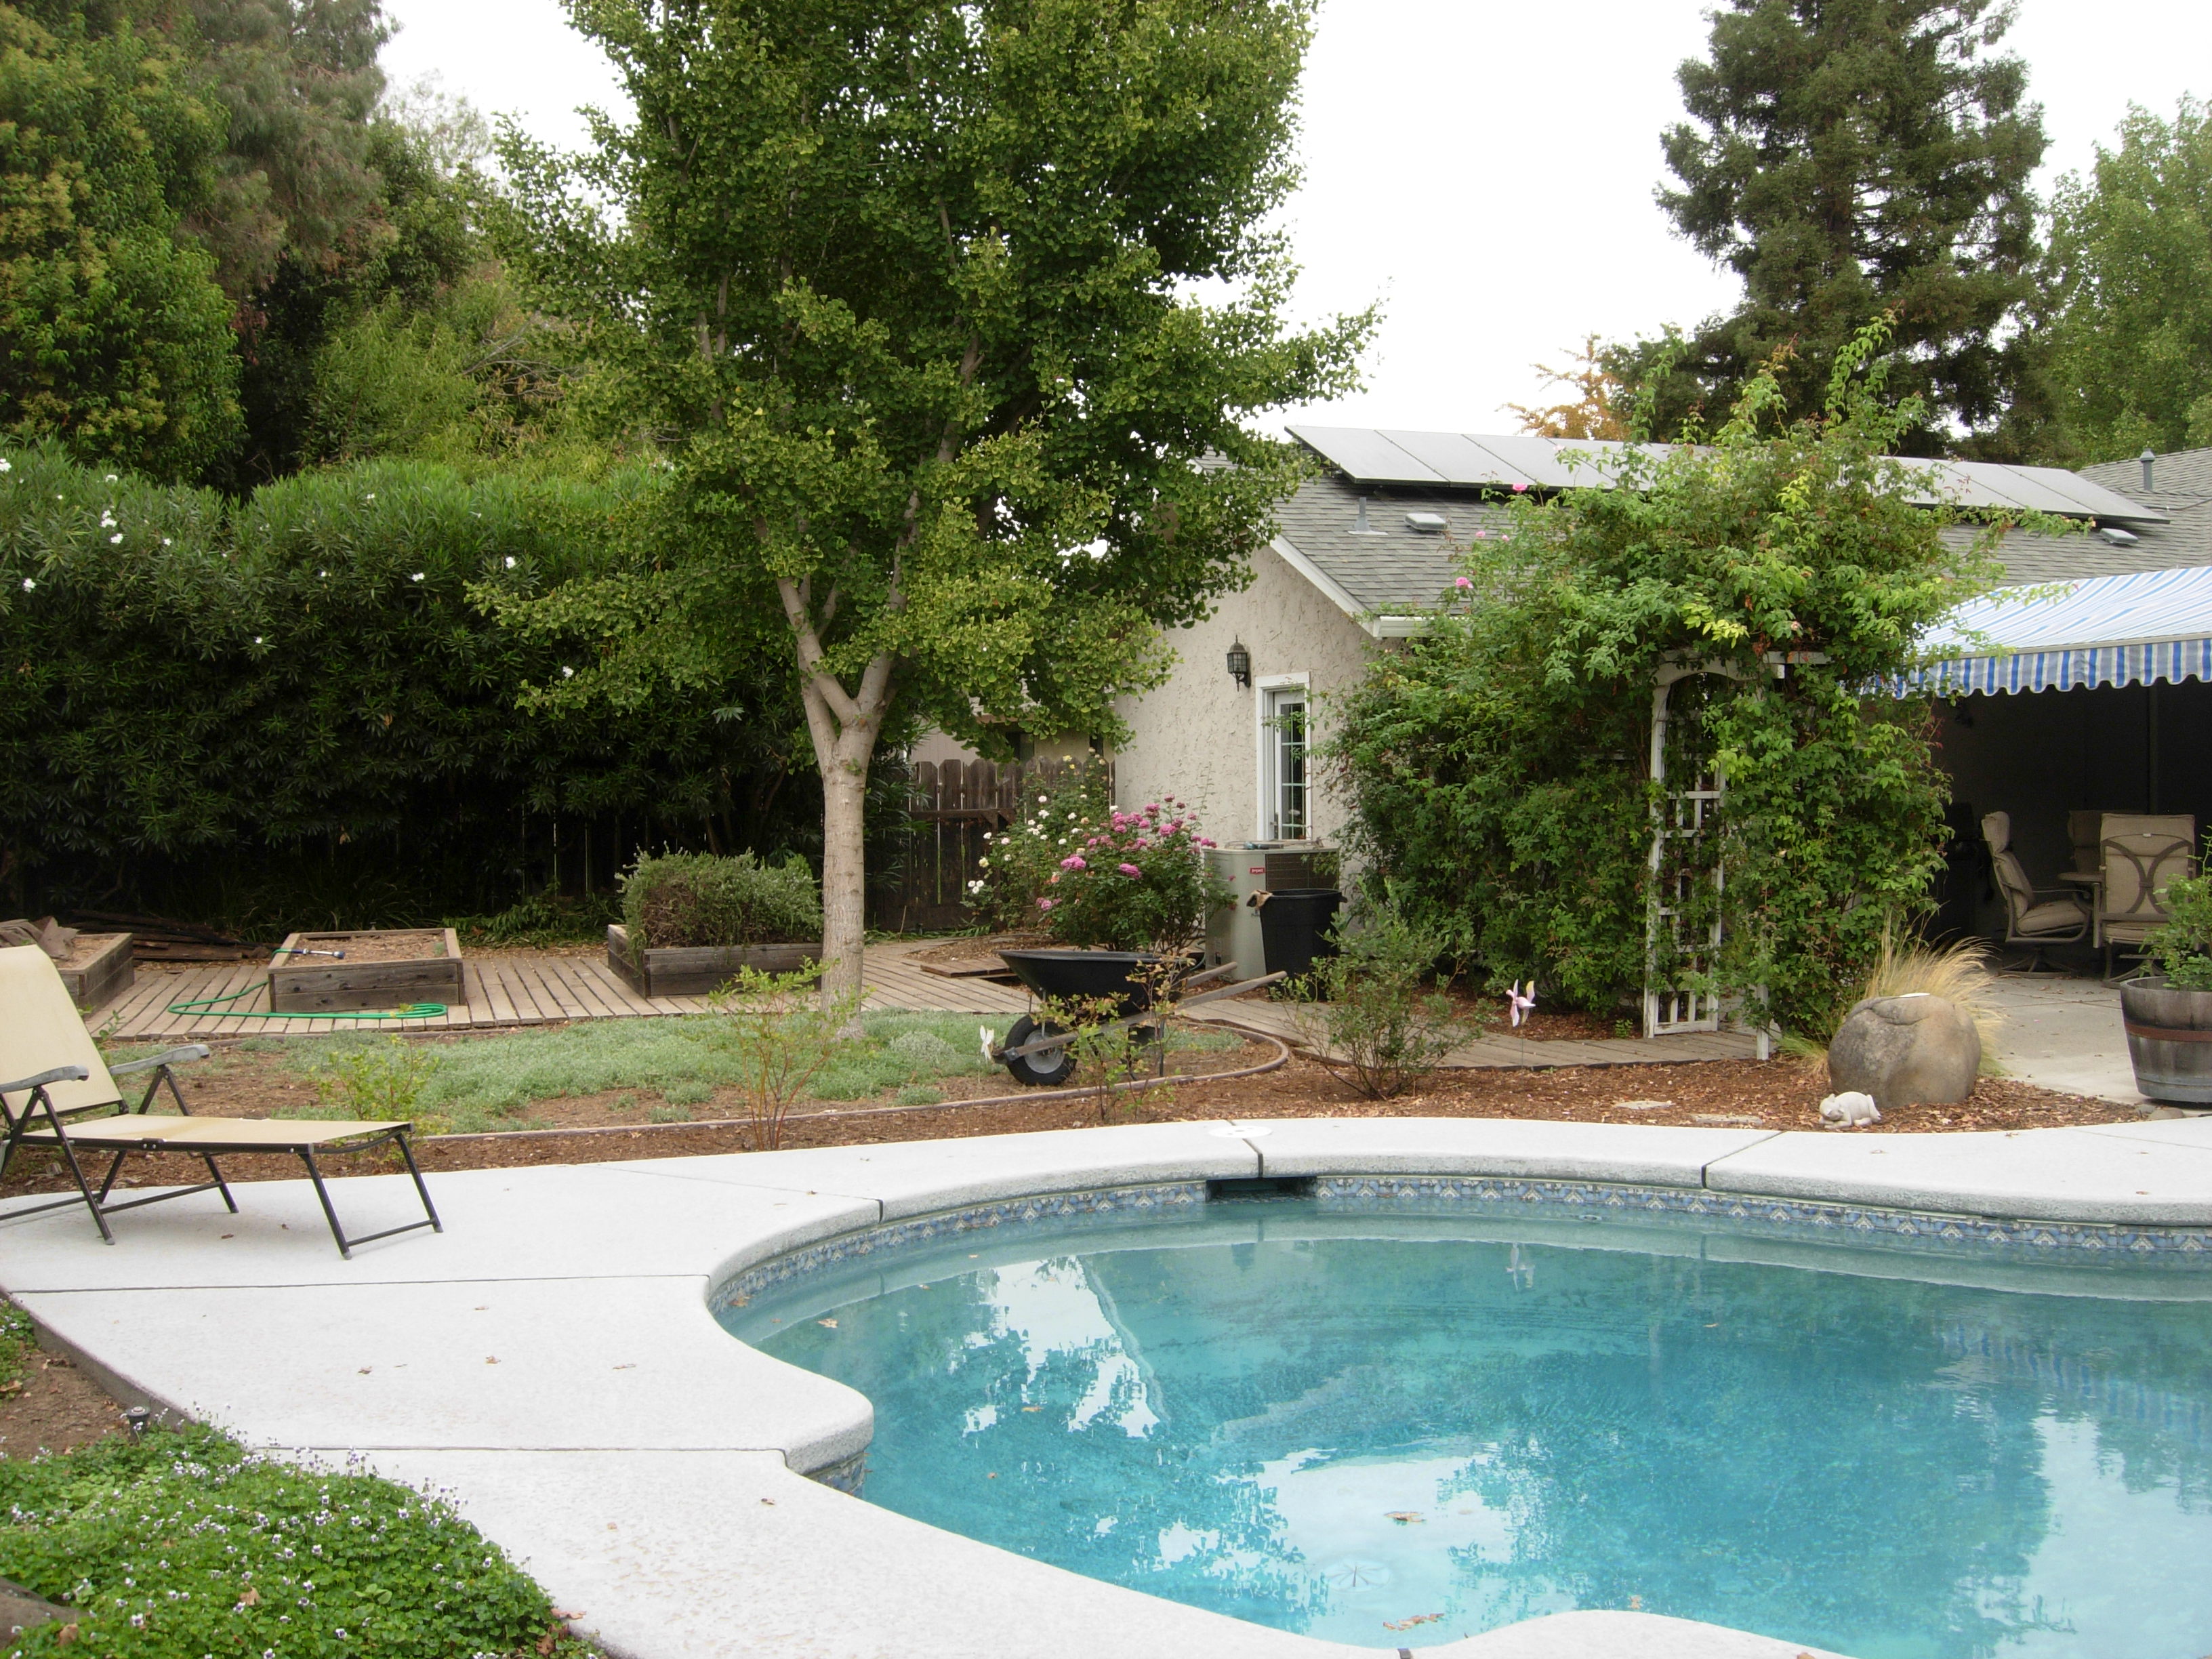
I hated how the awning blocked our view of the sky, it felt so confining.
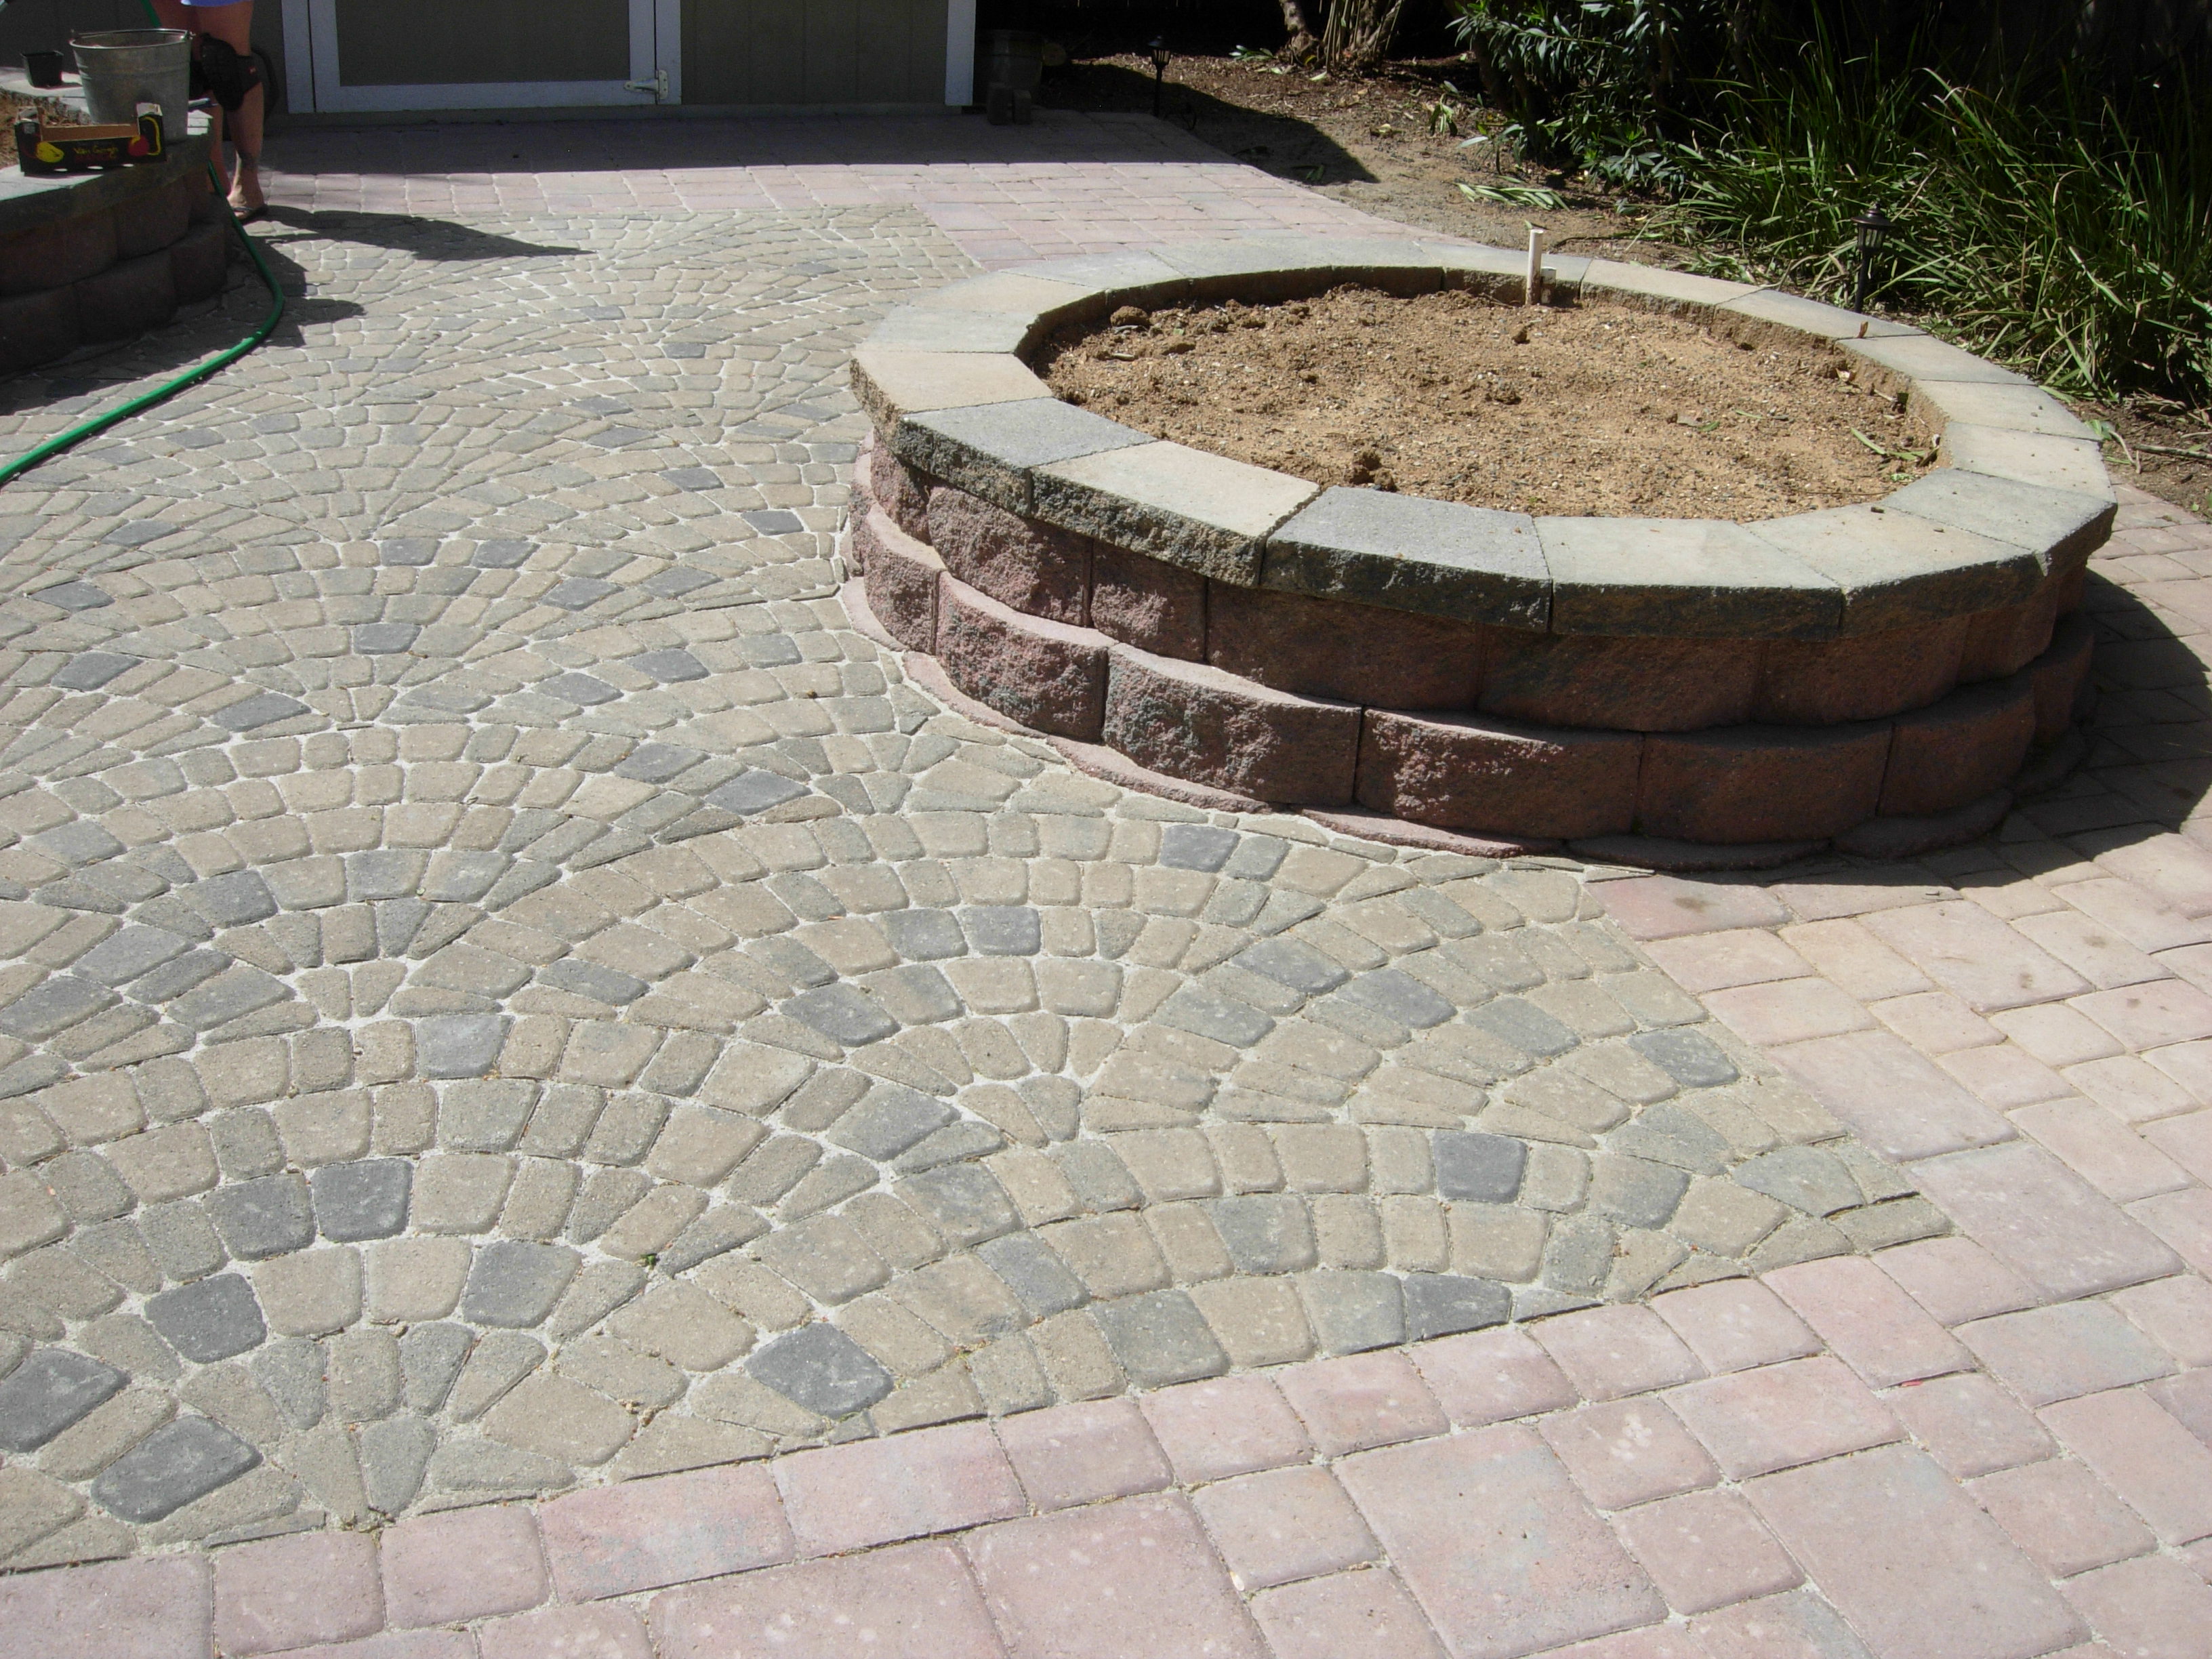
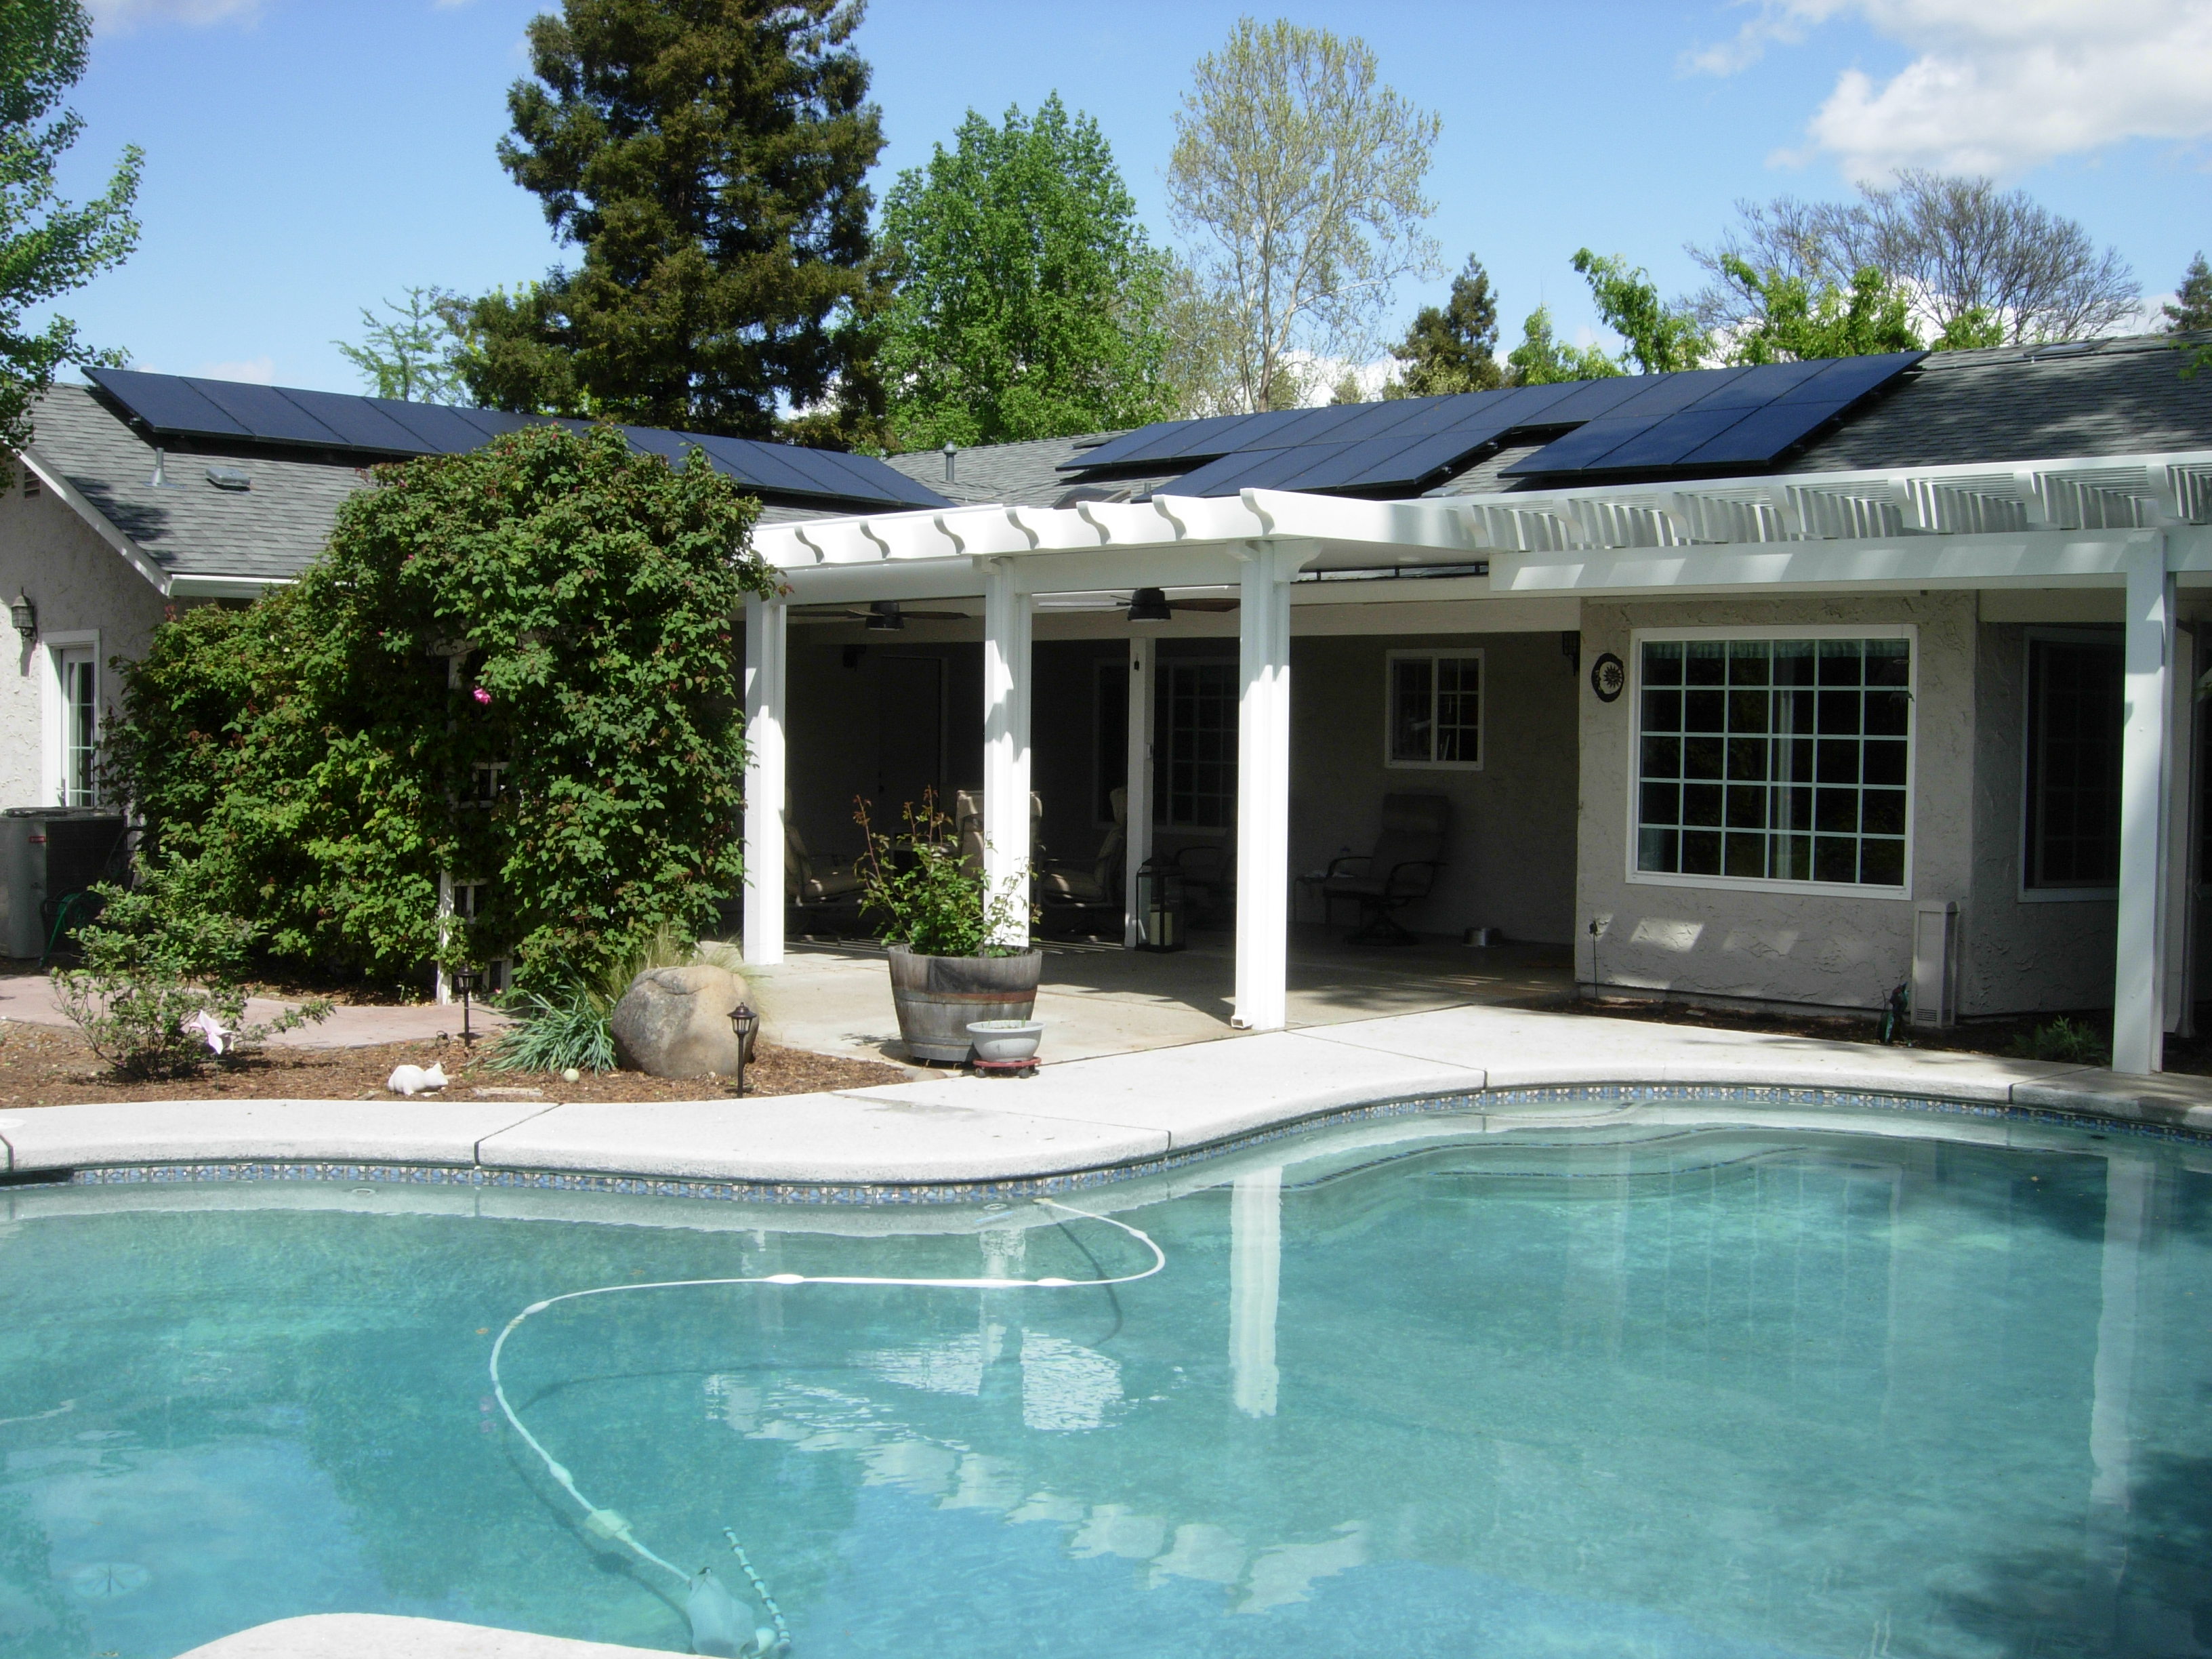
So, we tore out the old "deck" and replaced it with really nice pavers and stone raised flower beds.
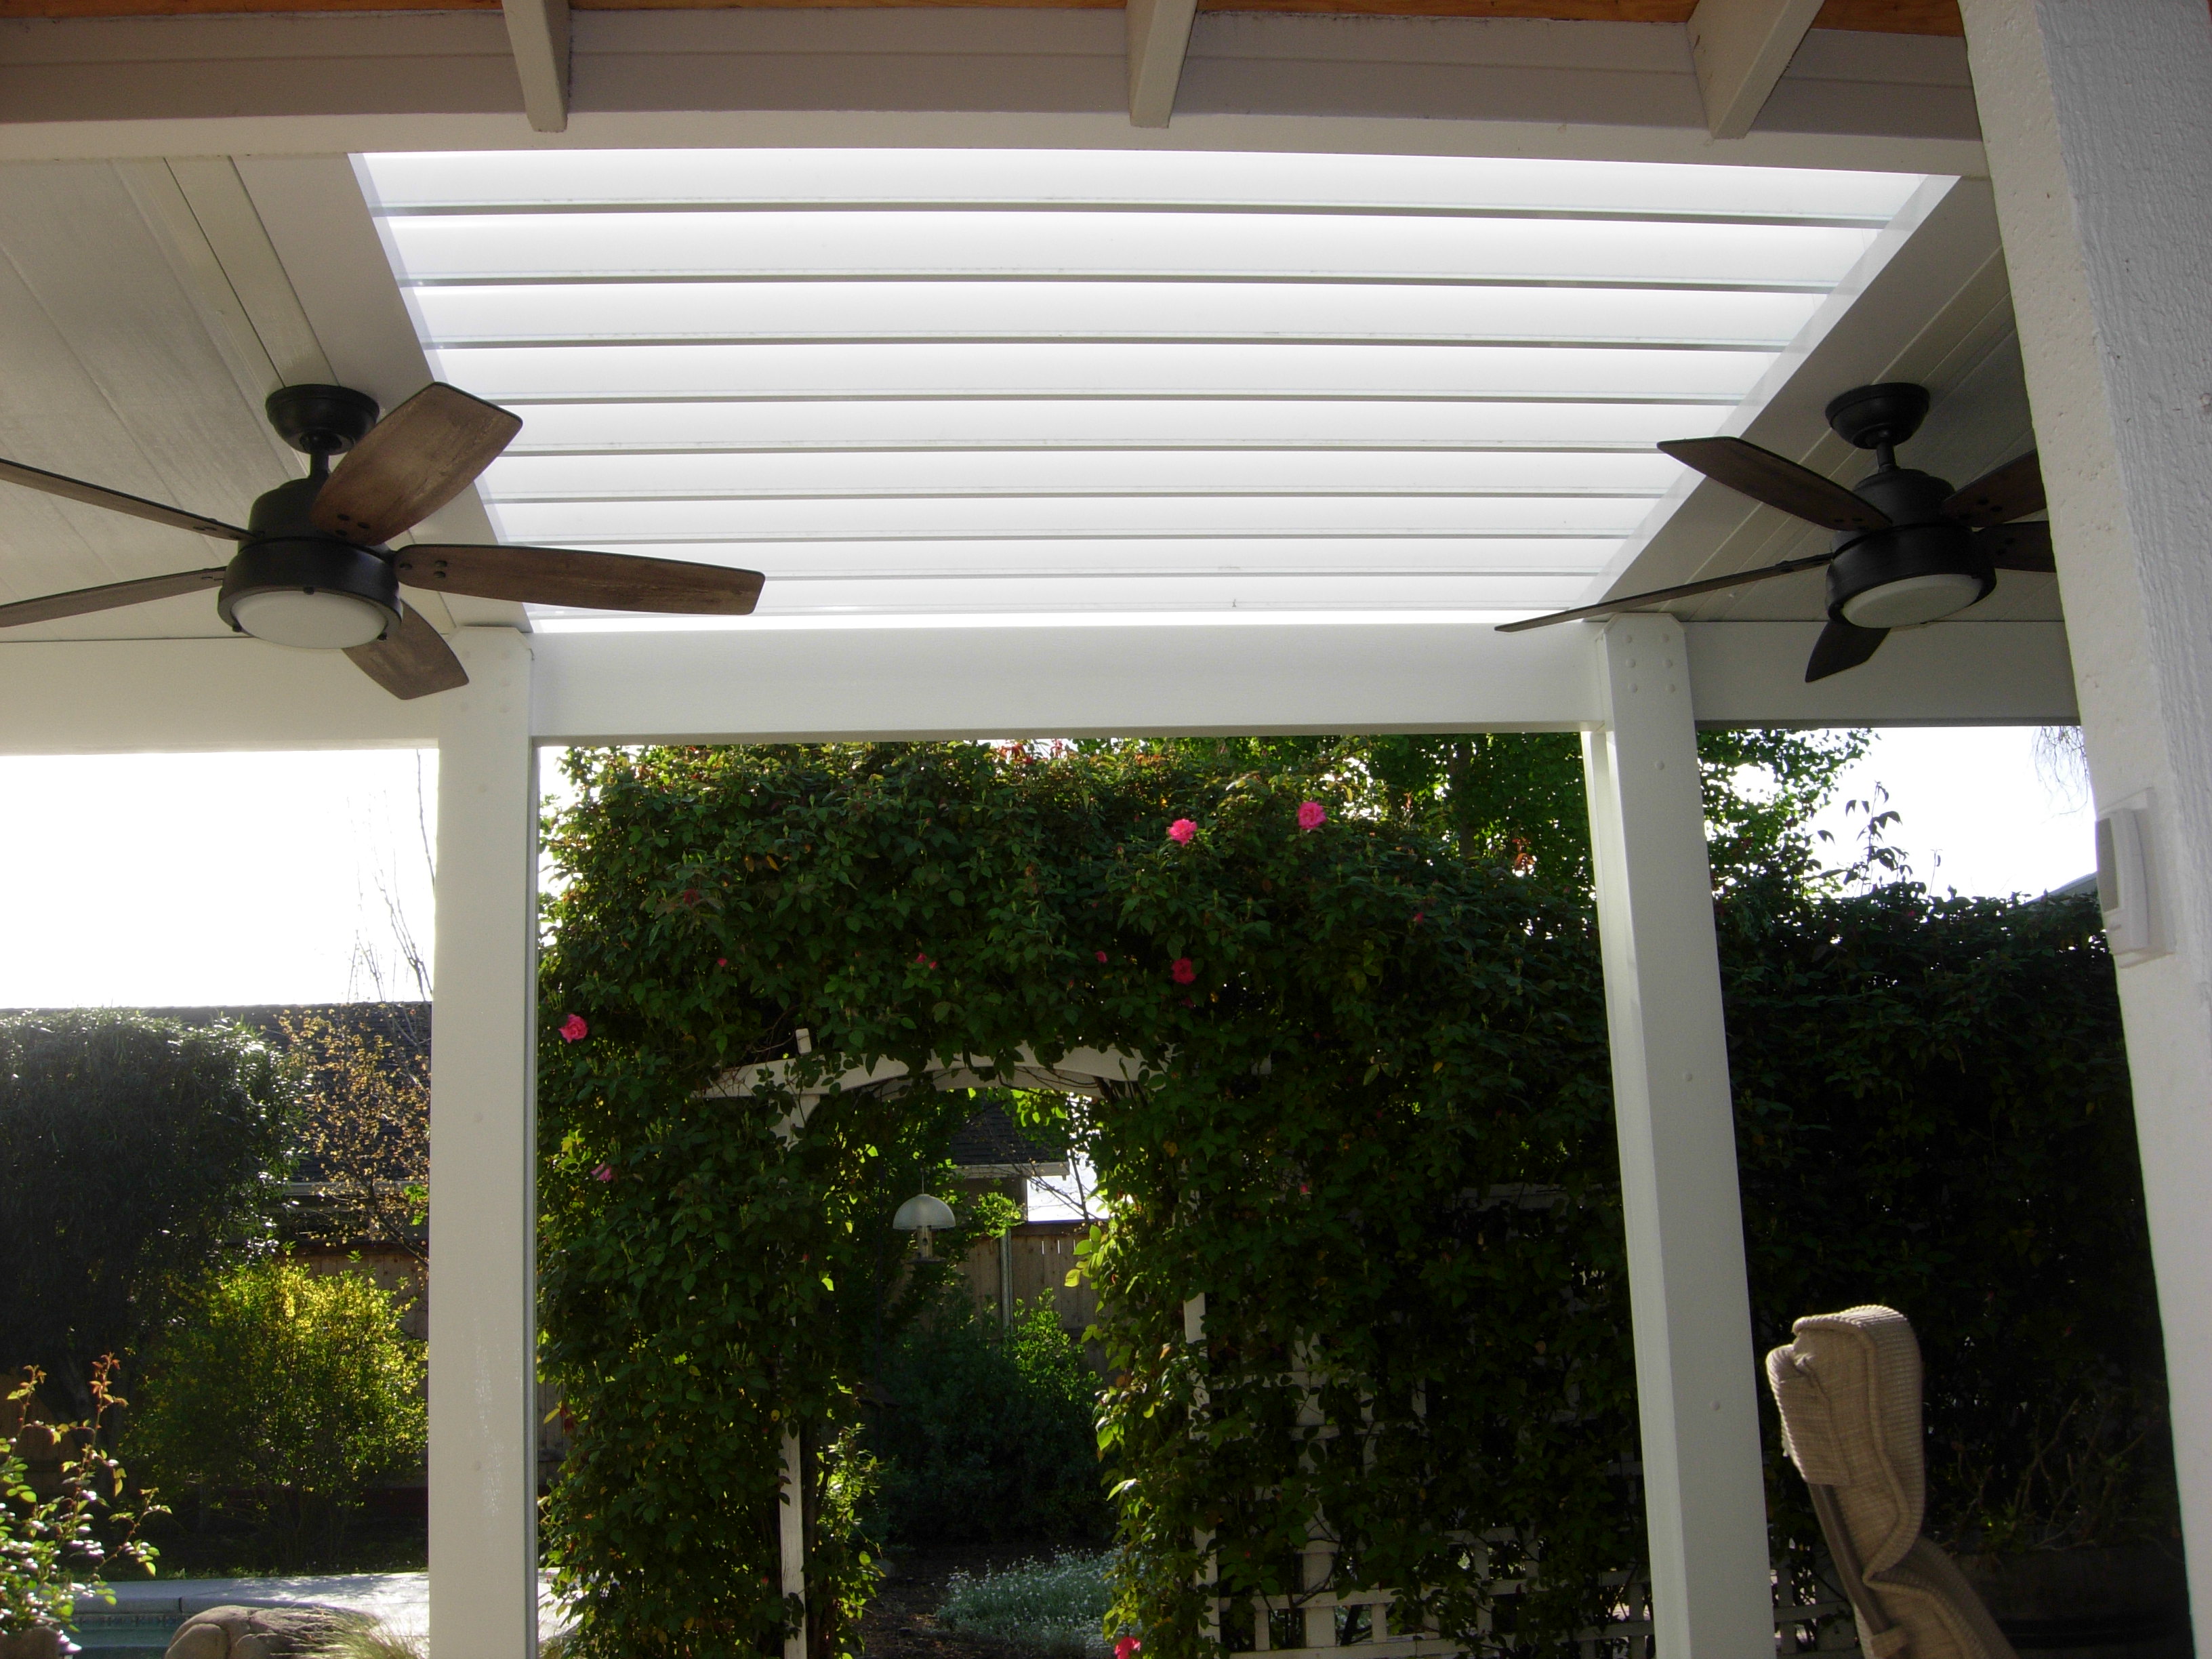
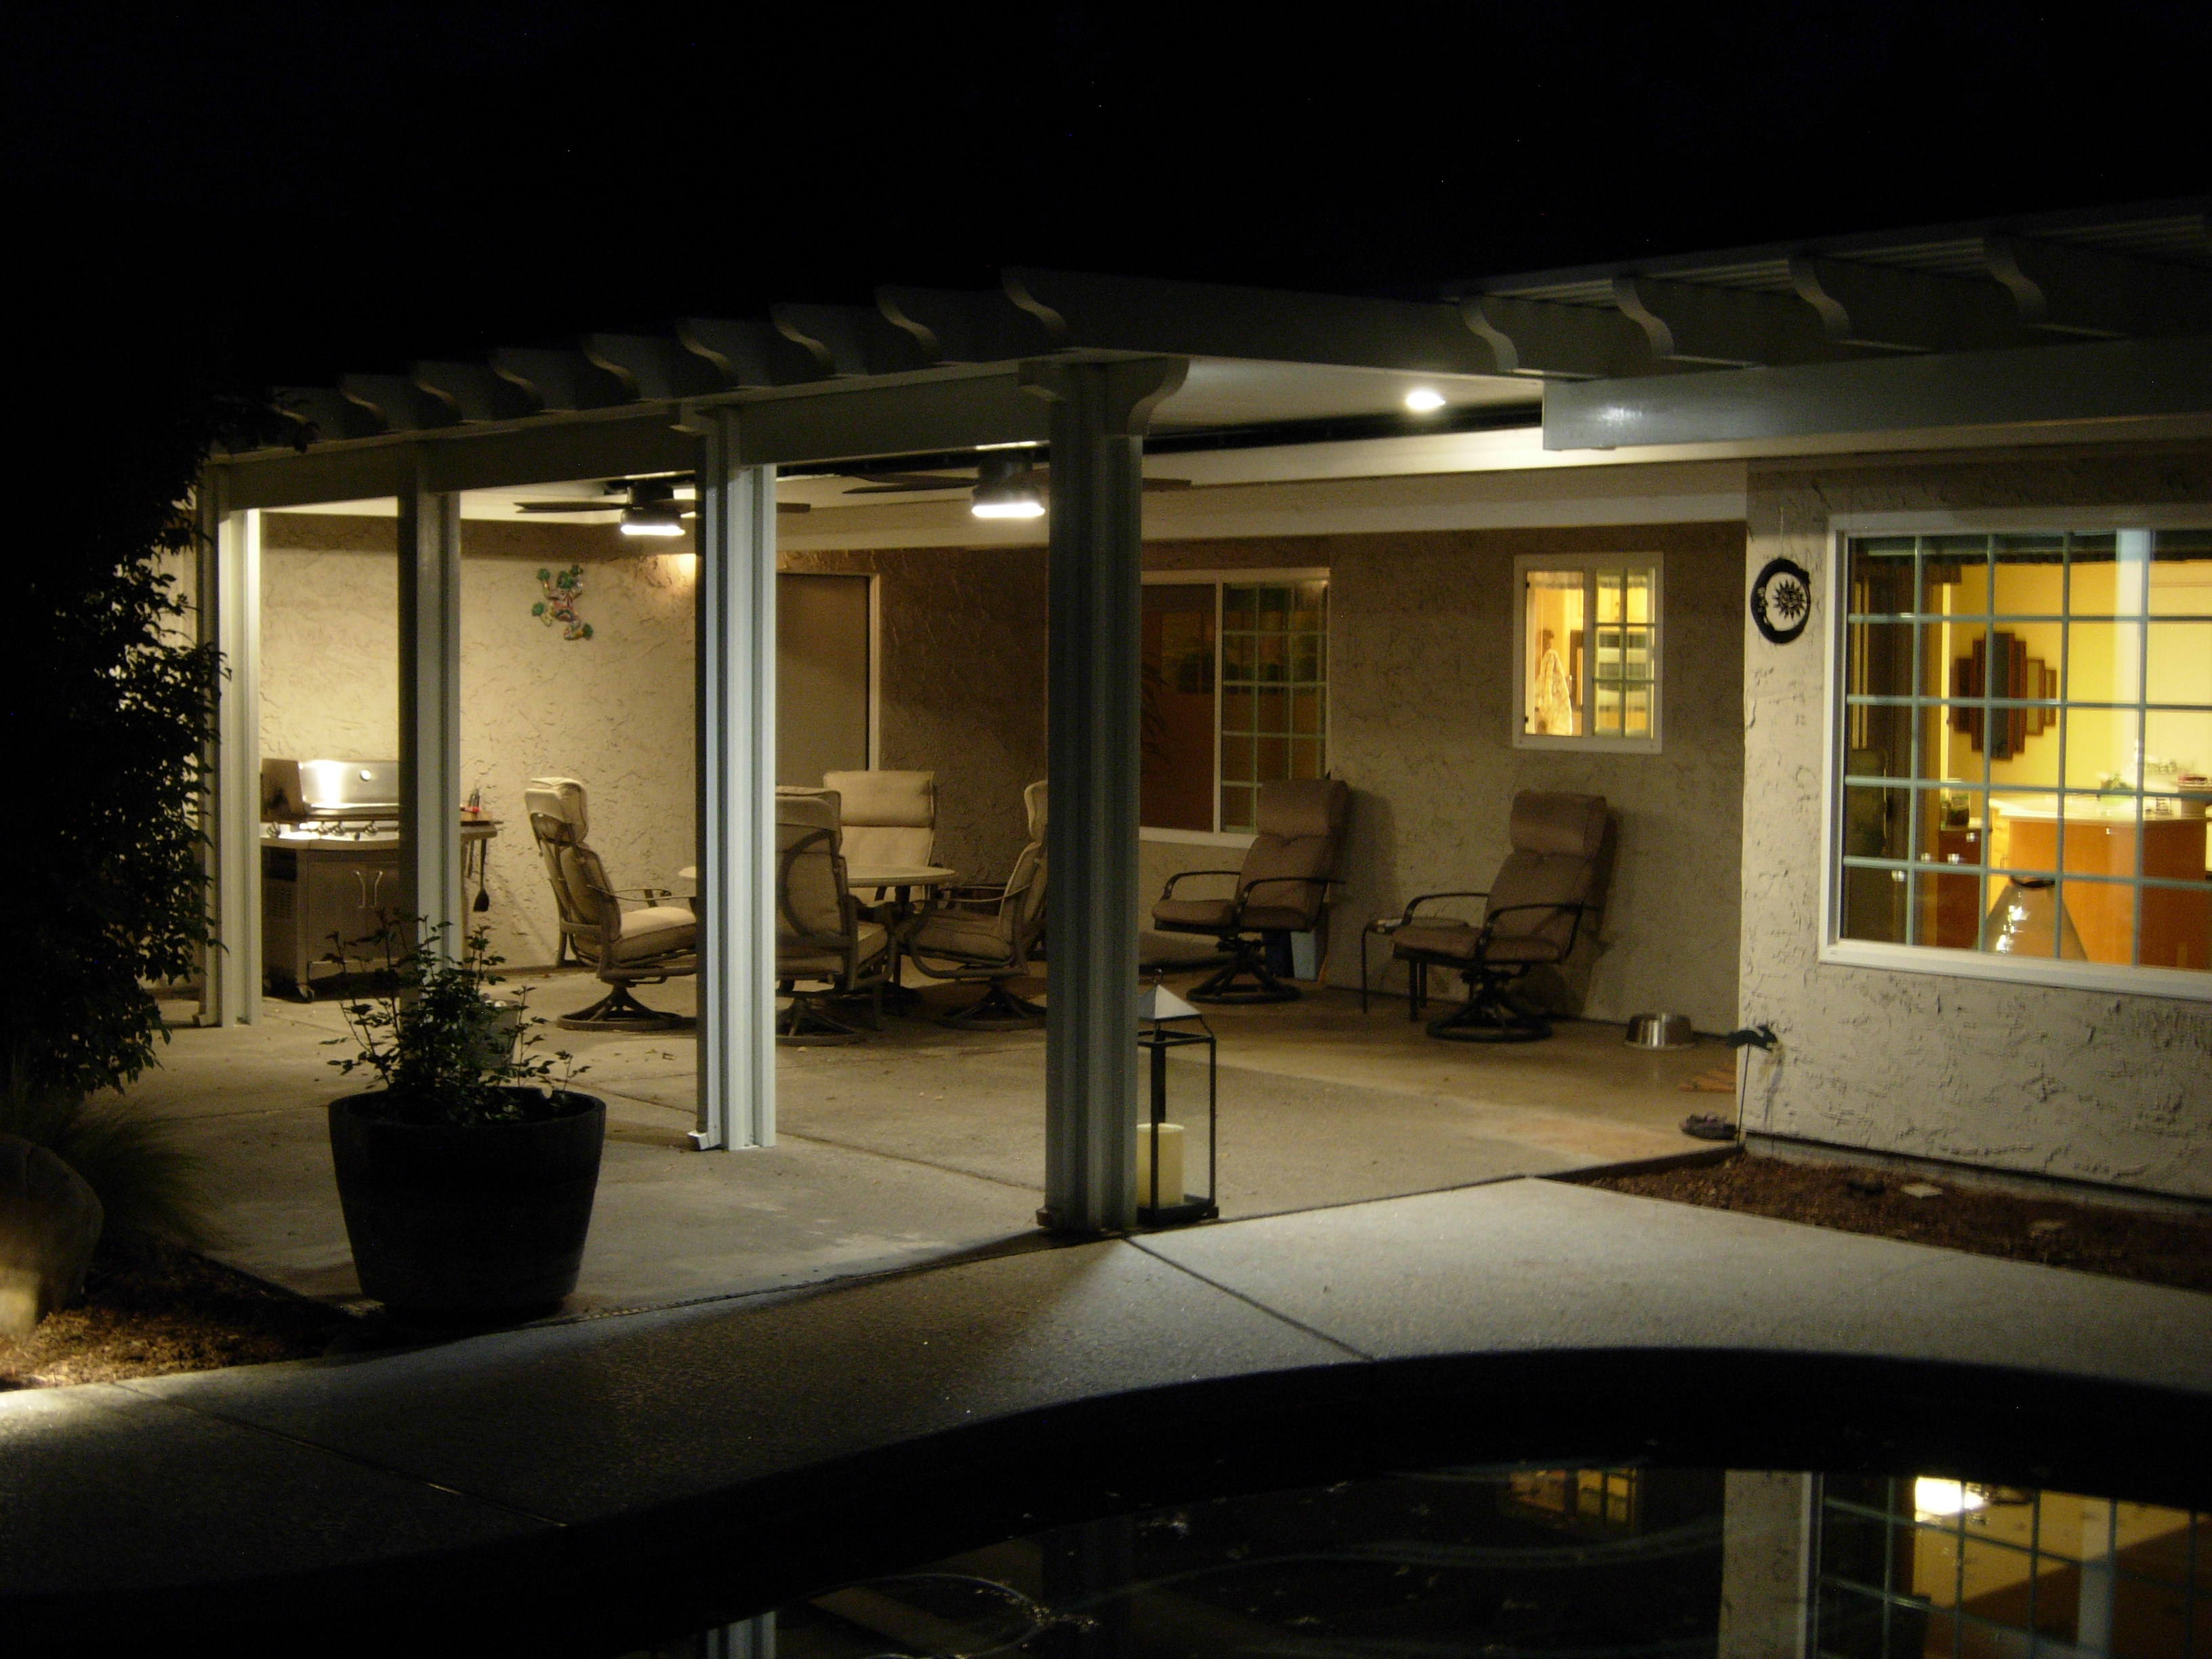
Next, we had a really cool patio cover put in .
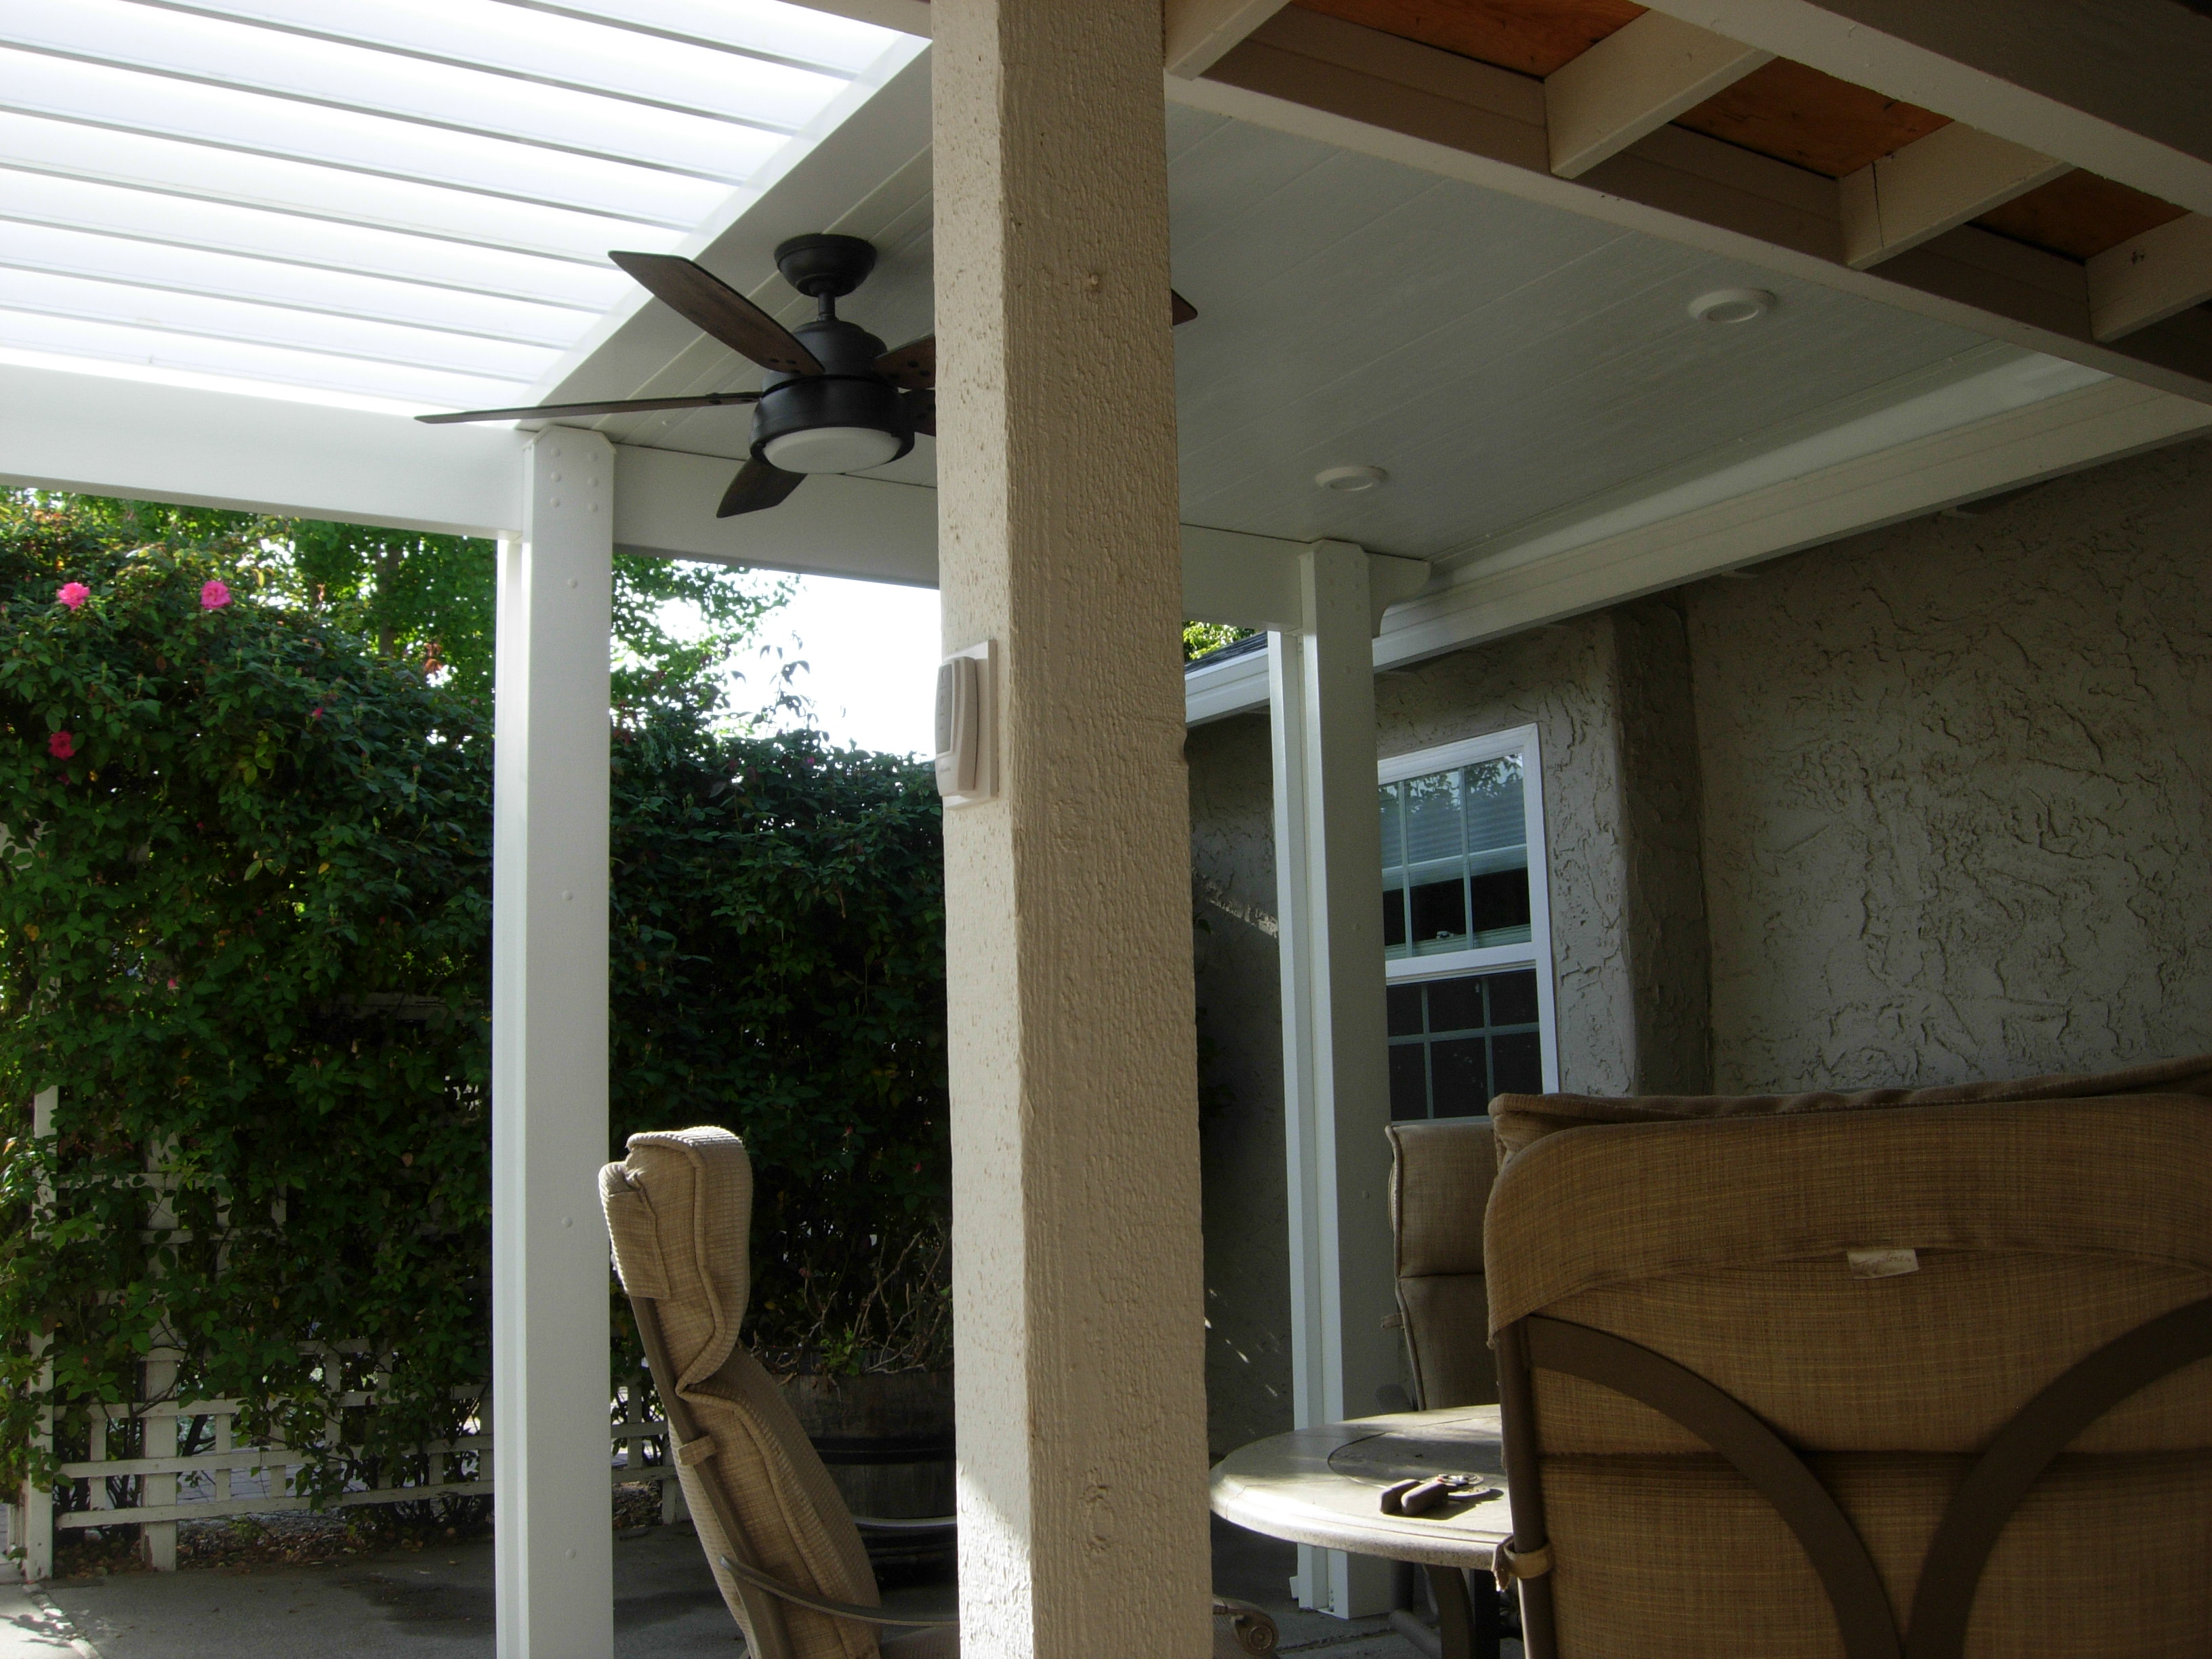
We had the middle section done with electric motor operated louvers to let in light when desired.
We also added fans, and recessed lighting.
It looks great at night.
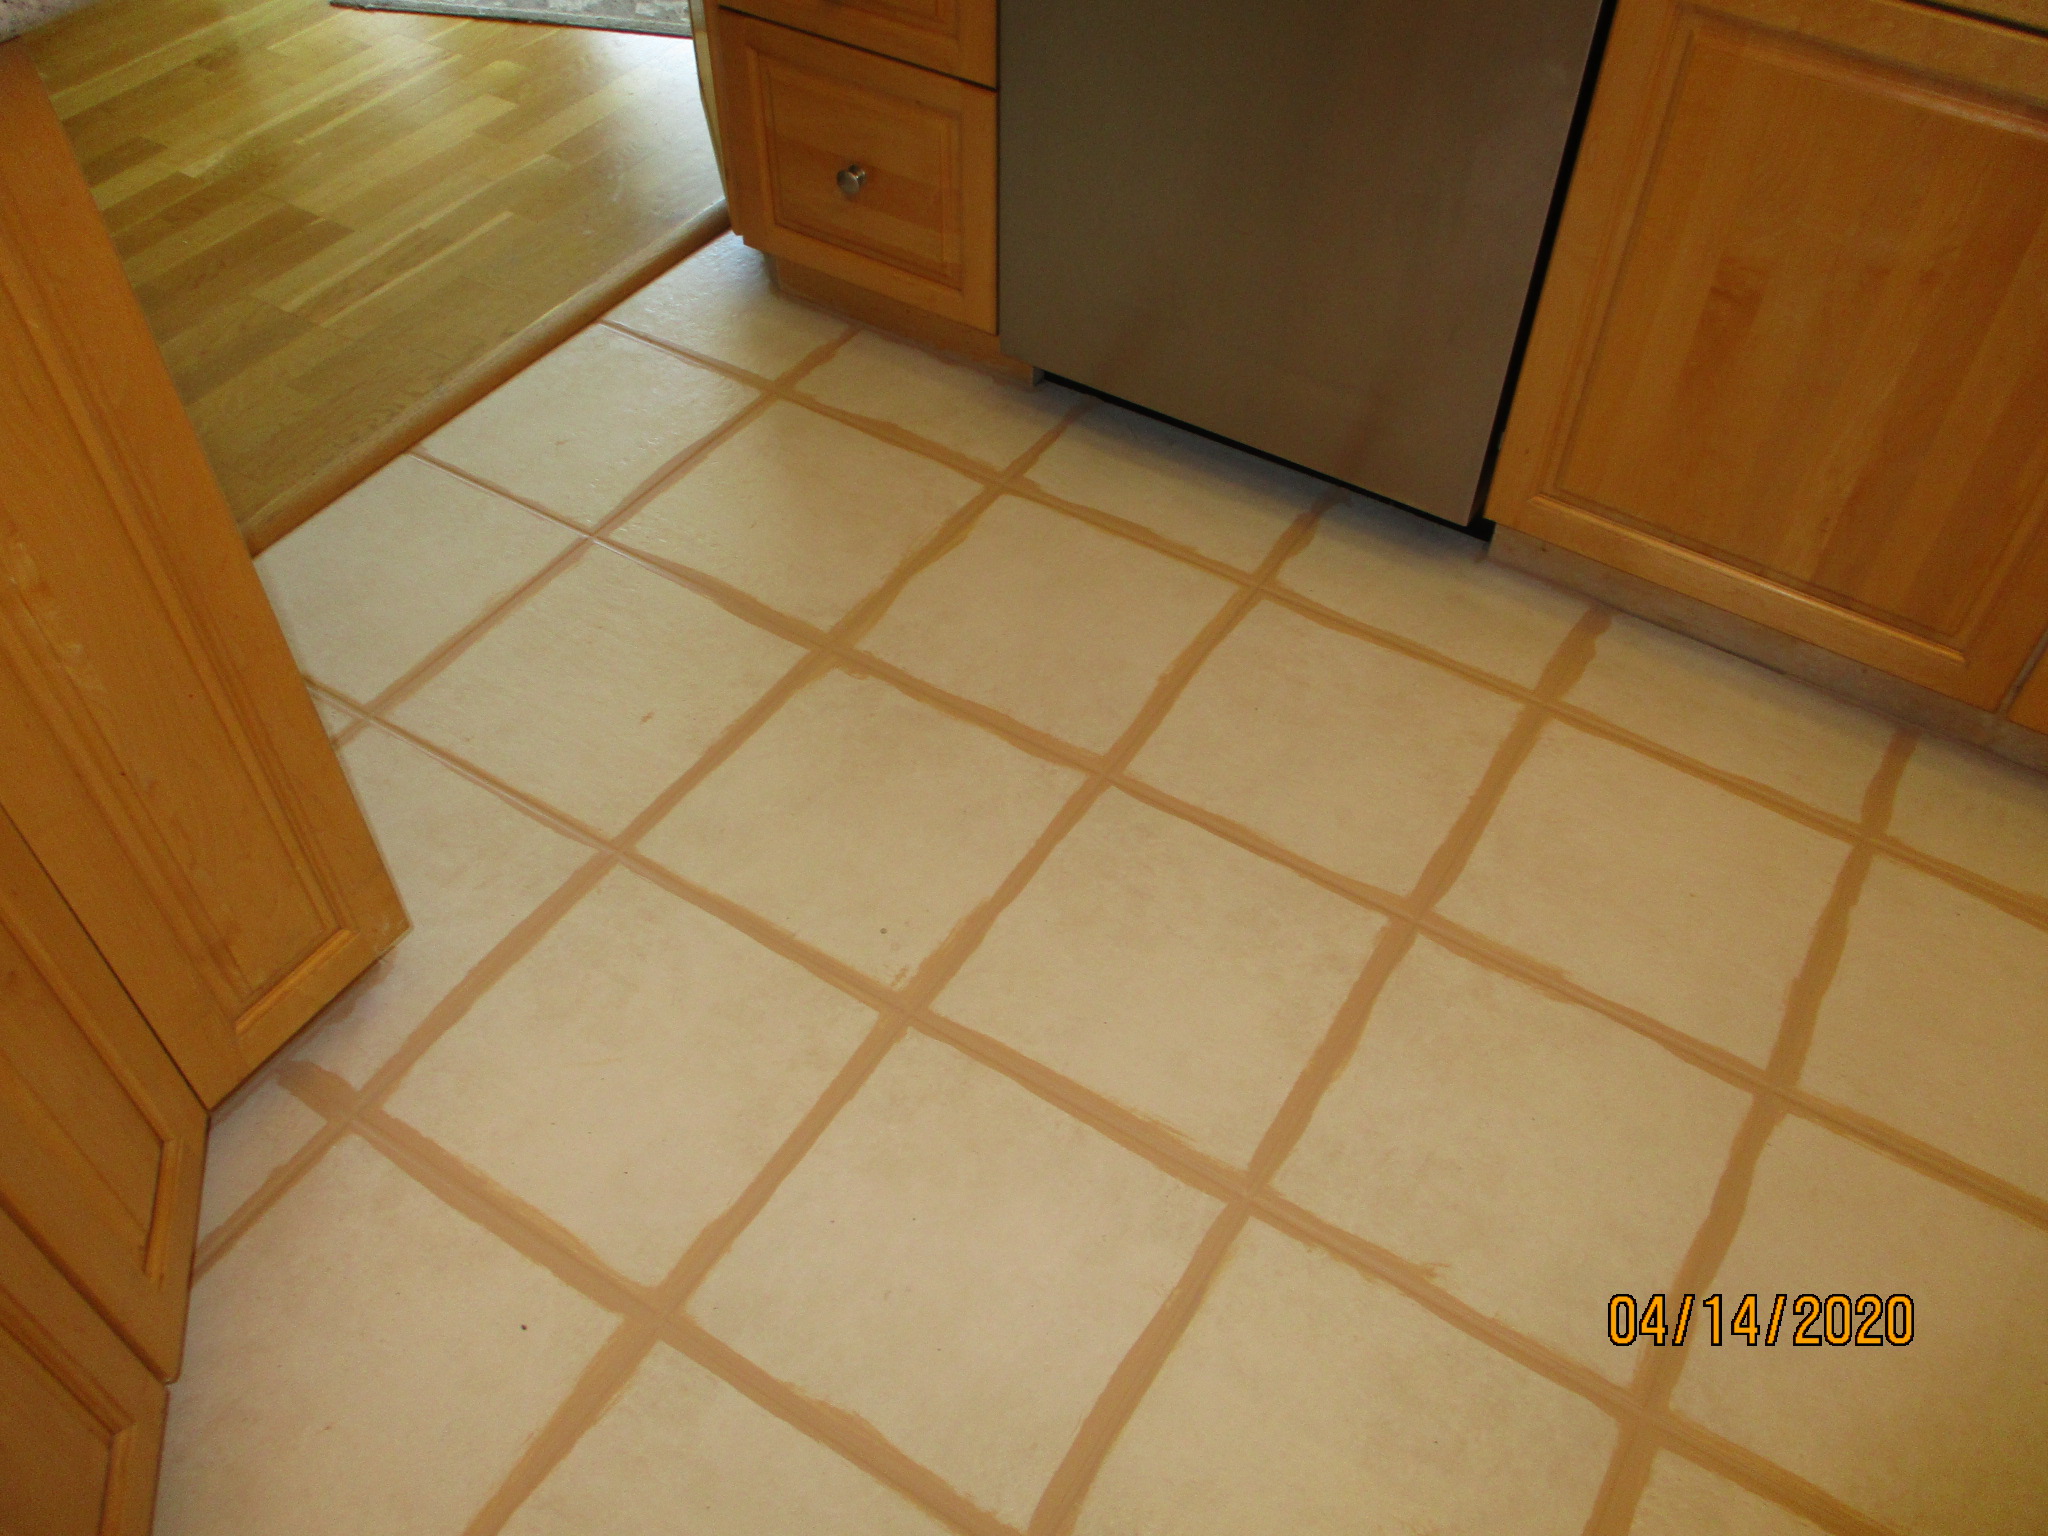
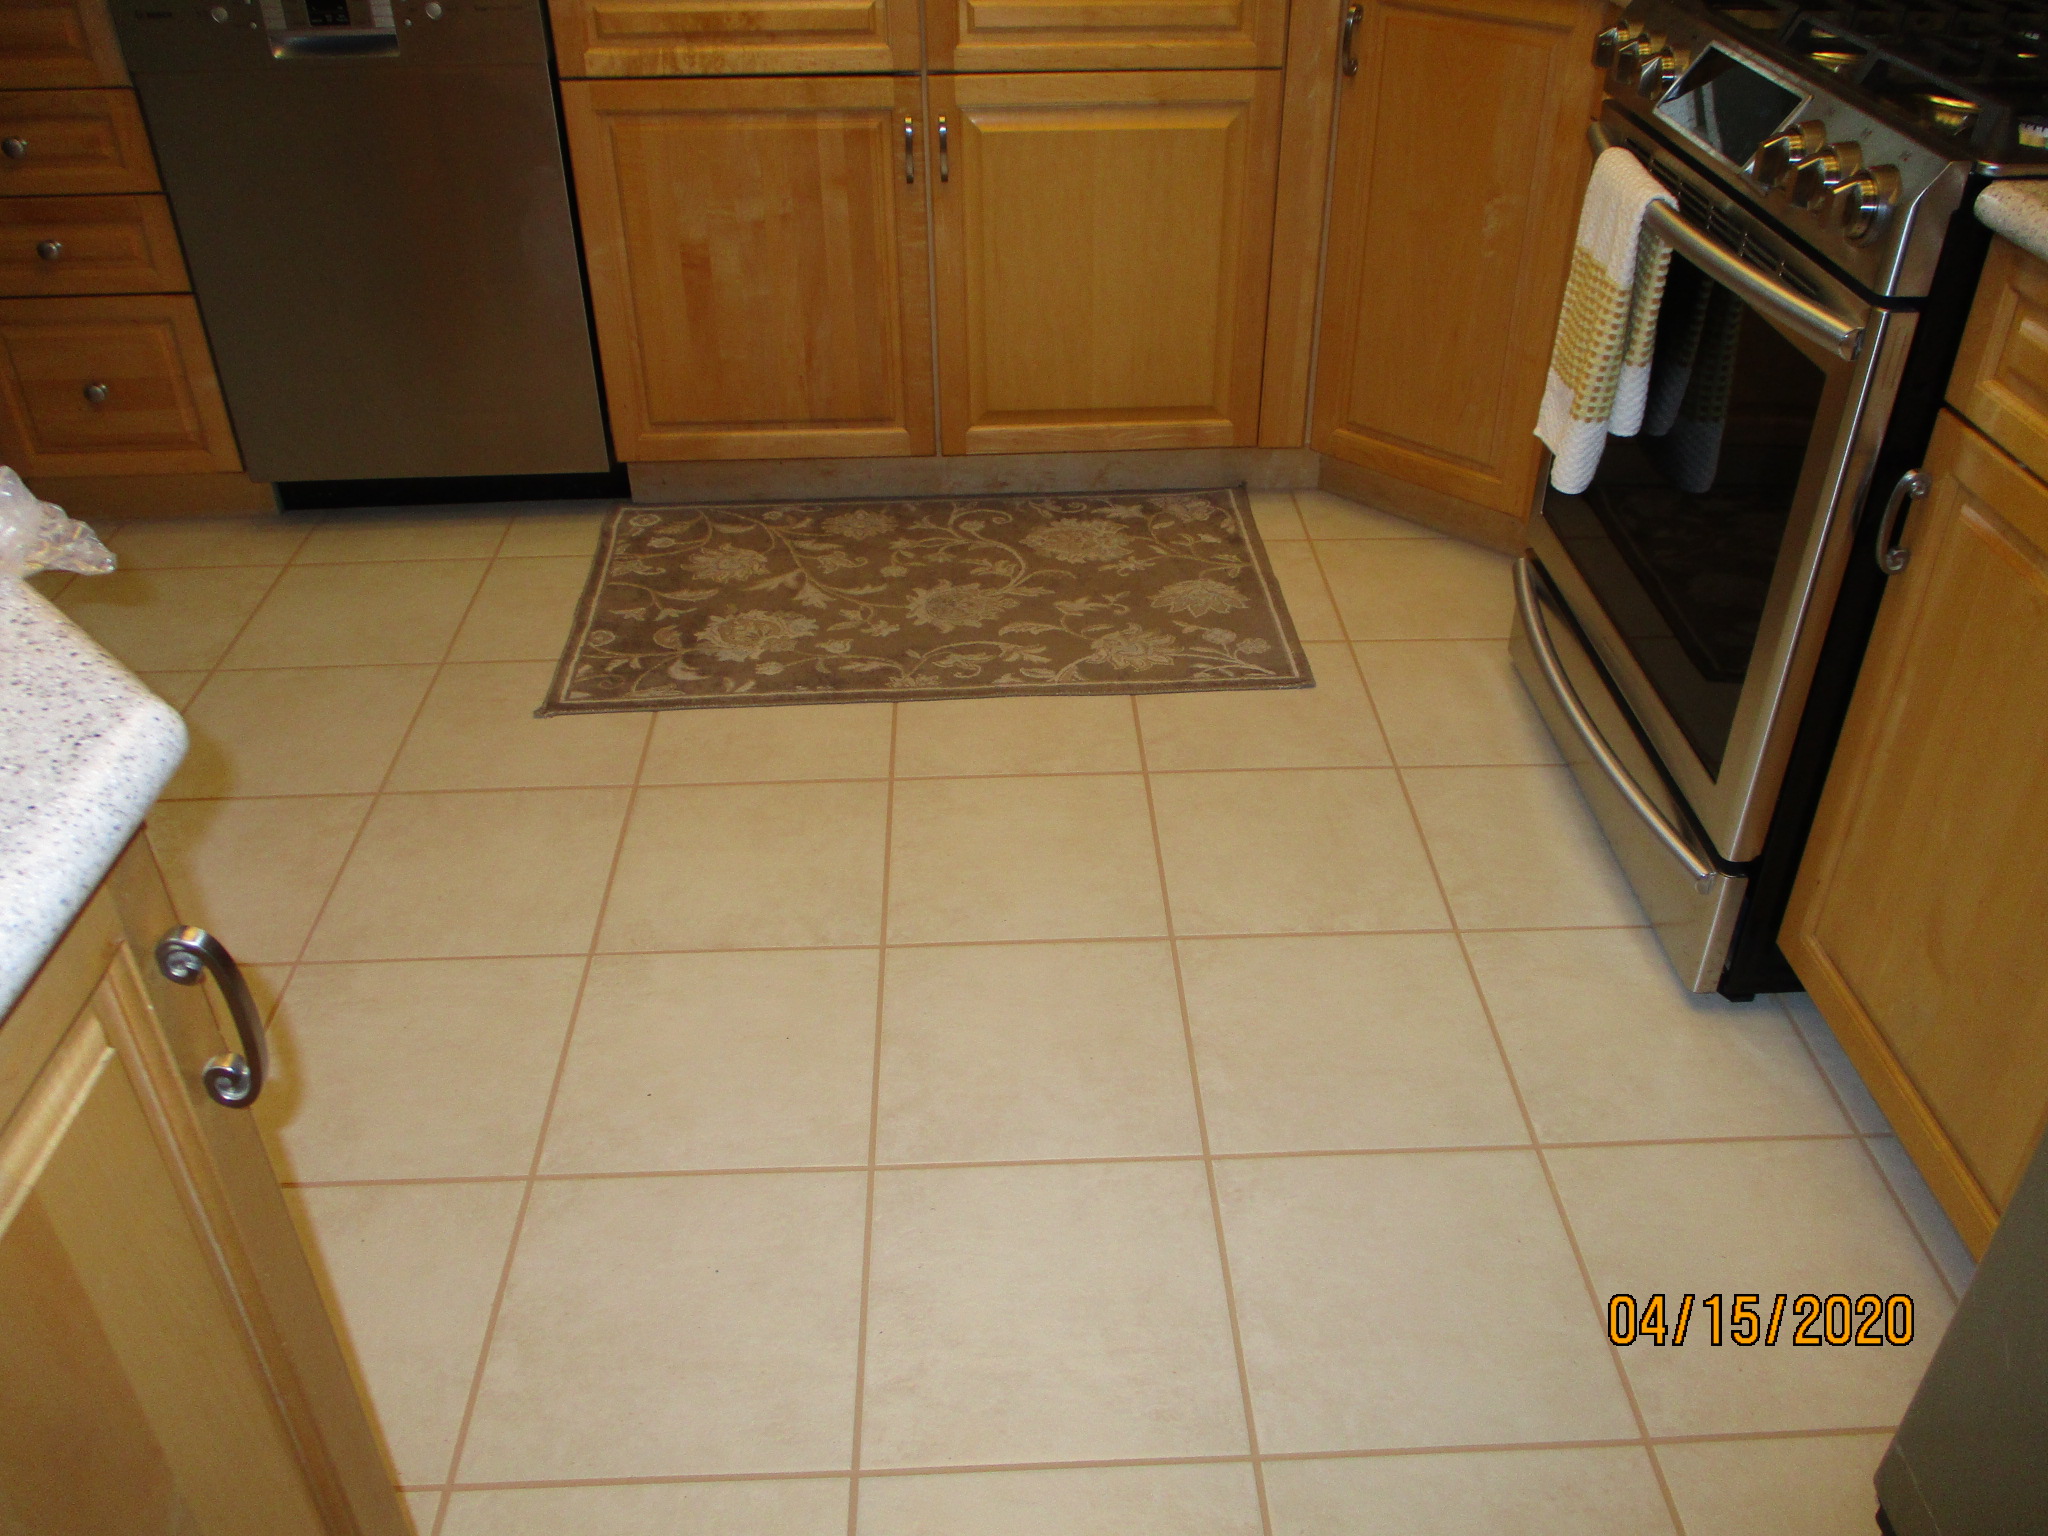
I got bored during the corona virus shutdown, so we "rejuvenated" the grout in the entryway, dining room, and kitchen. The house has off-white tile, which is fine with us. But it also had off-white grout which is a PITA to keep clean.
Whoever did the original grout must've run out of one brand and finished with another. Need to fix that!
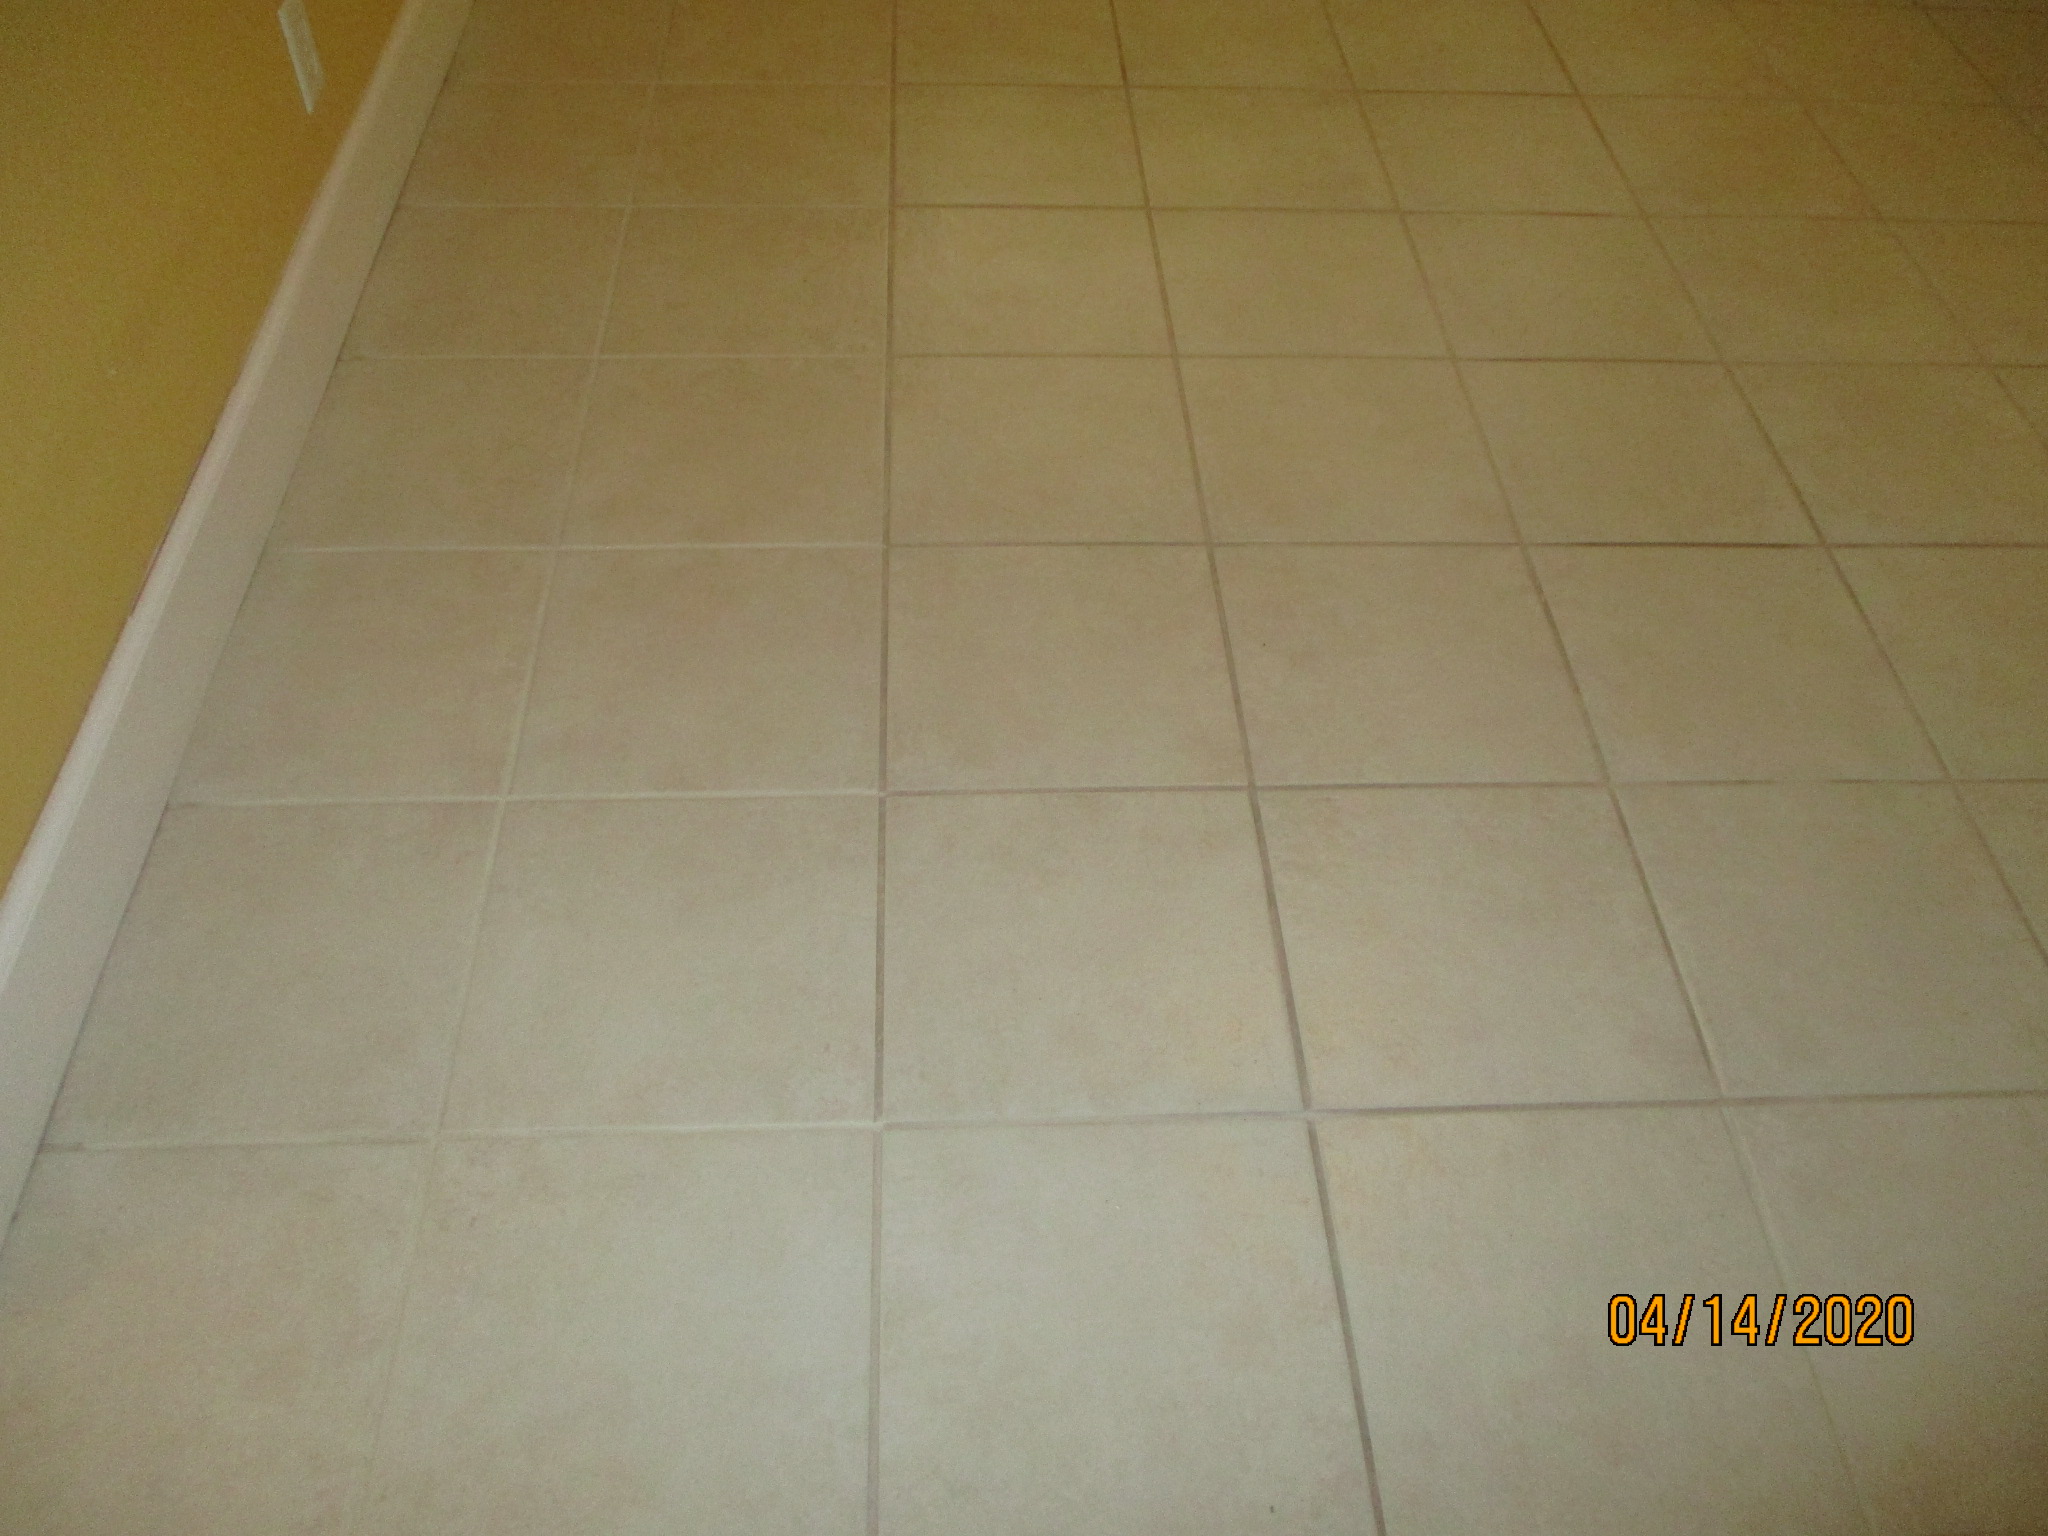
The "grout rejuvenator" is a water-based dye that soaks into the grout but doesn't adhere to the tile.
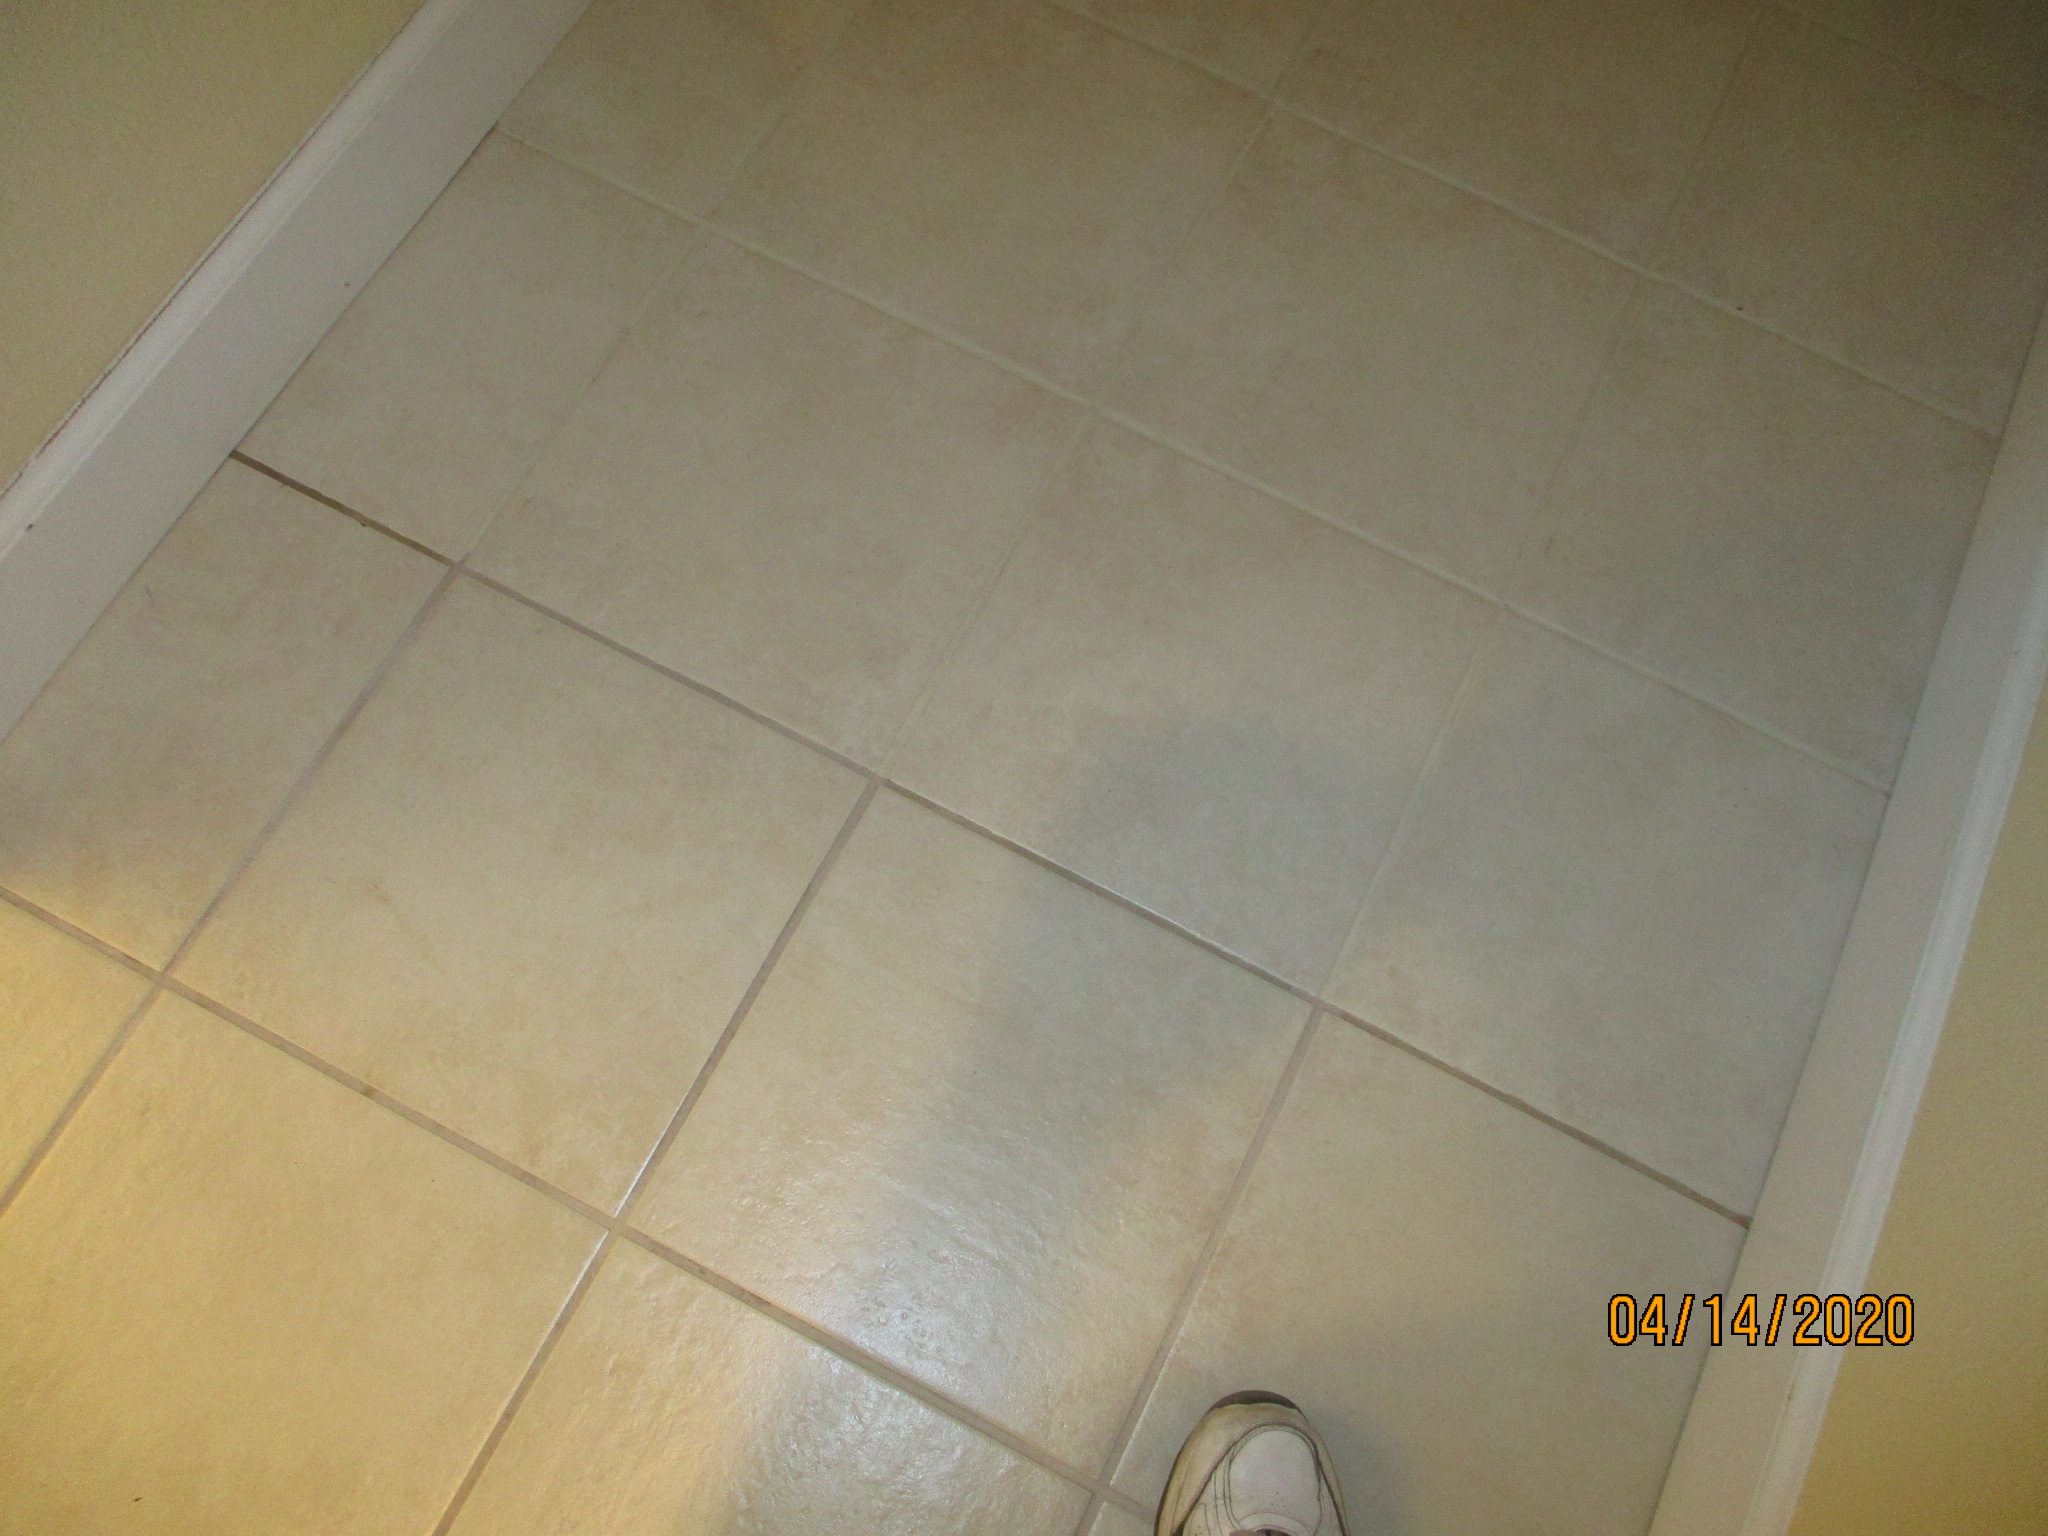
After you remove the excess from the tile, it looks pretty sharp. The project cost about $50, but took over 20 hours between Lisa and I.