Corvette Build-Phase 2
THE PETS
Chevelles
1965 Corvette
Motorcycles and Track Days
The Corvette Build- Drivetrain and Interior
The Corvette Build- Wiring and Final Assembly (Phase 1)
The Corvette Buildup (Phase 2) chassis conversion
More Corvette Phase 2 progress
Corvette Phase 3 Final Assembly and Glamour pictures
1949 Mercury Woody Wagon project- Part 1
Chico house
Mercury Woody Project- Part 2
Mercury Woody Project- Part 3
Phase 2 begins.
I put a deposit down for an SR III tube frame chassis back around May, with a planned delivery date around the end of October, 2014. In late September I started taking the car apart with the ulimate goal of lifting the body to do a bunch of work, and have it ready for the new frame.
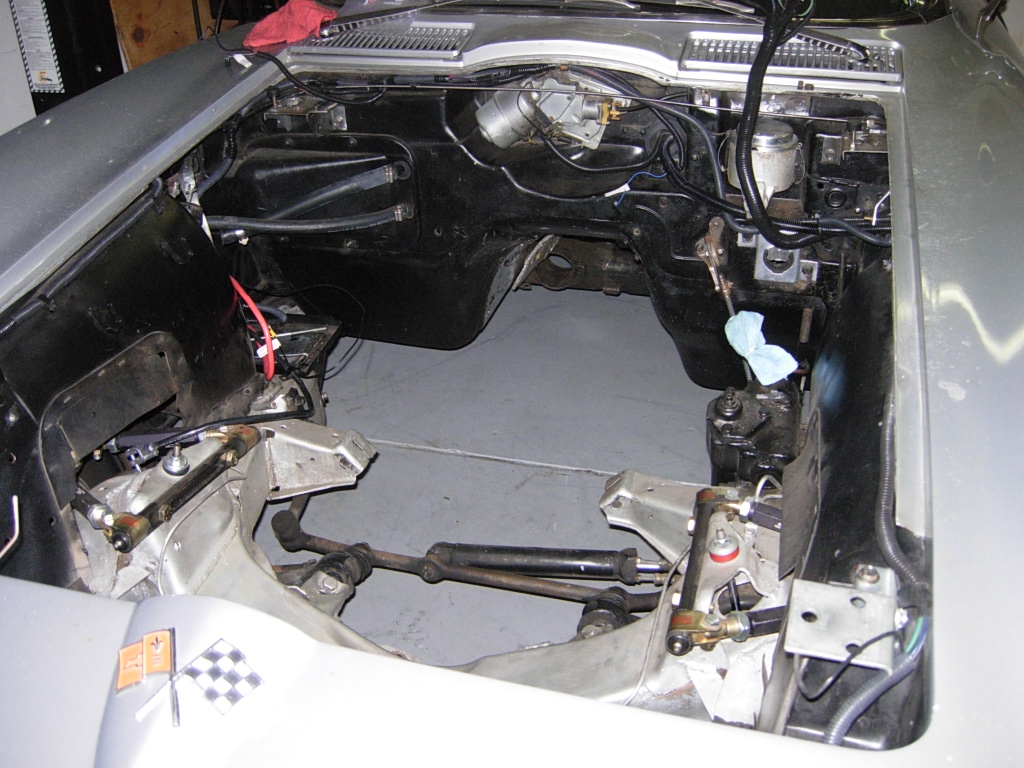
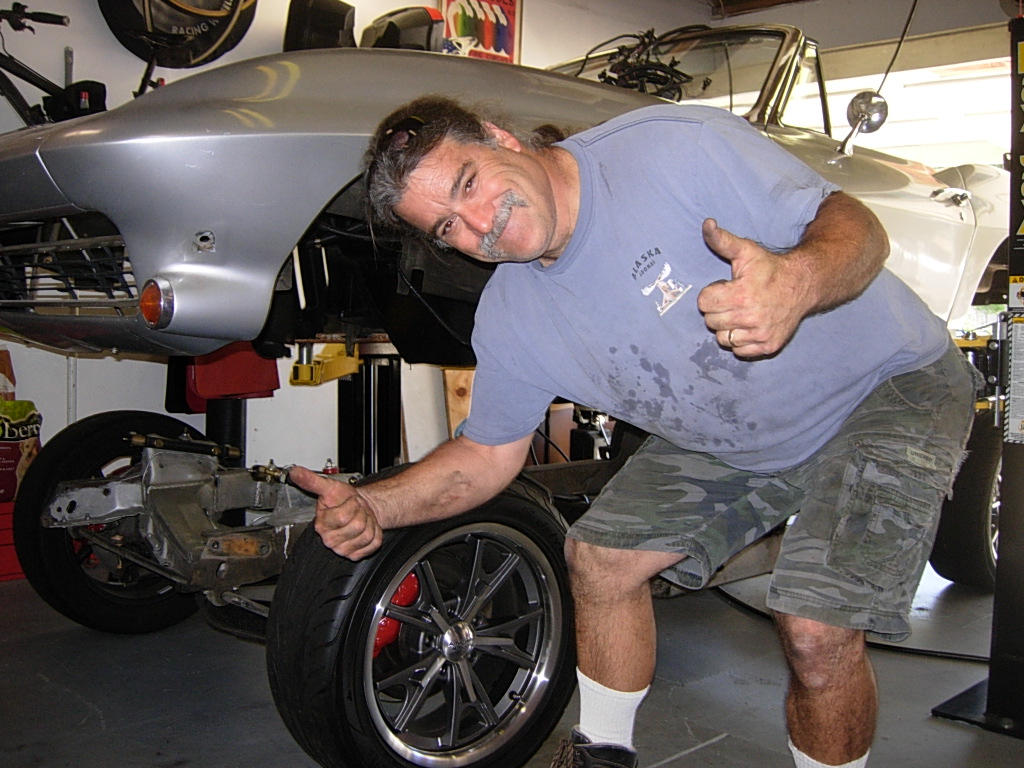
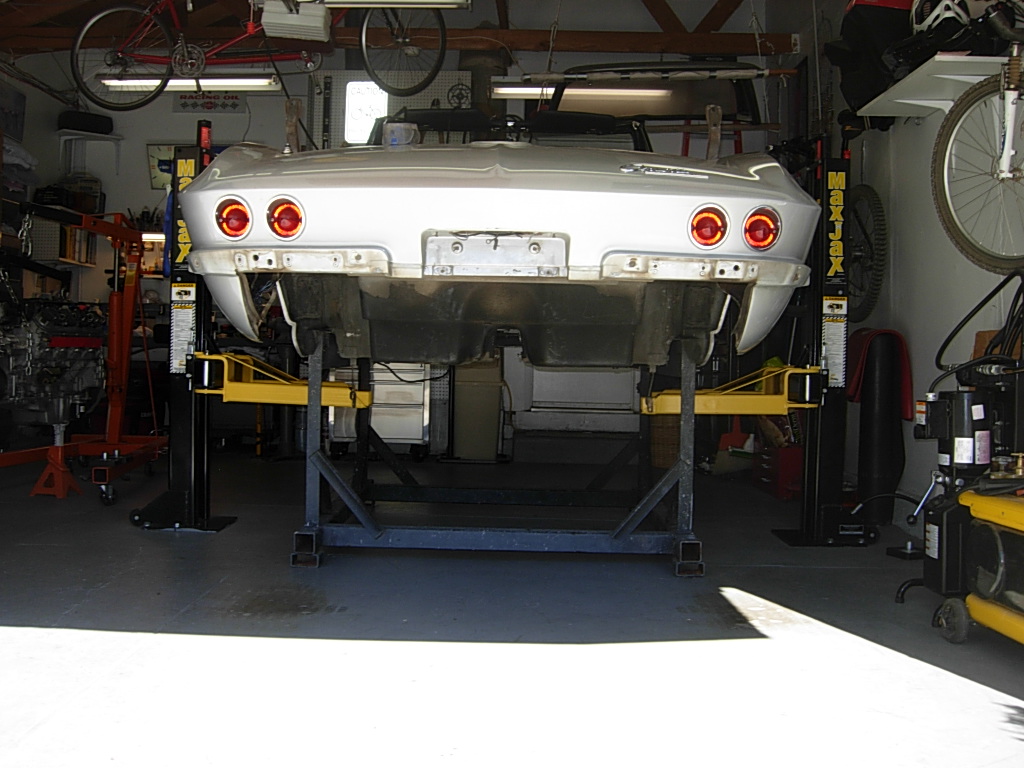
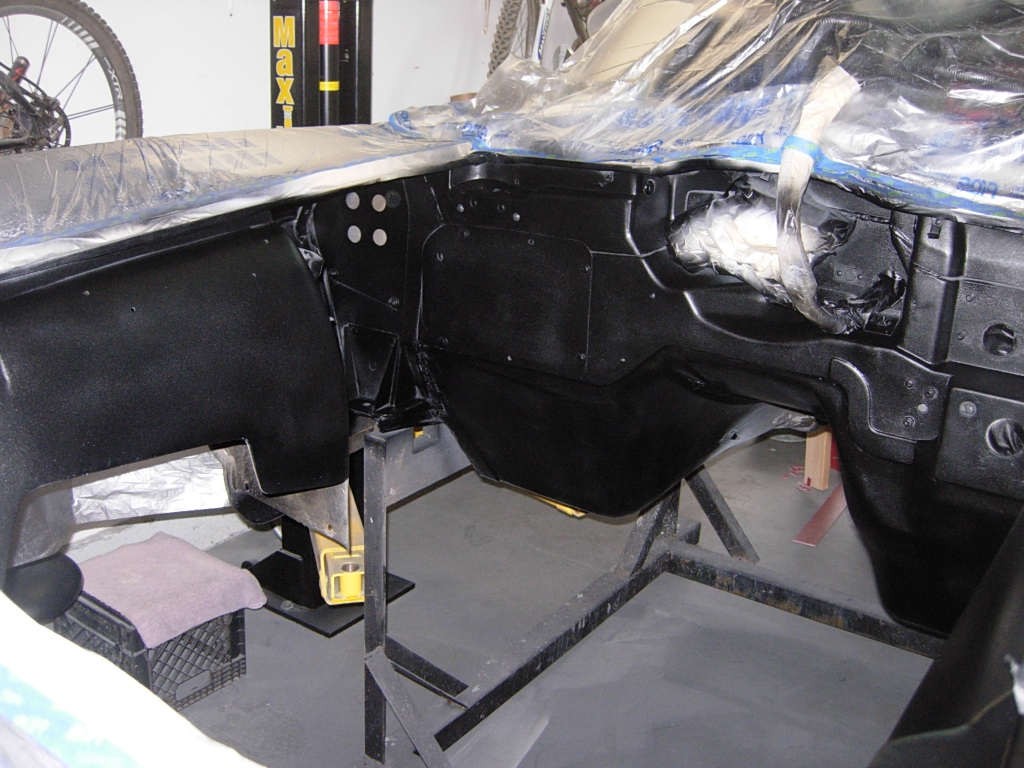
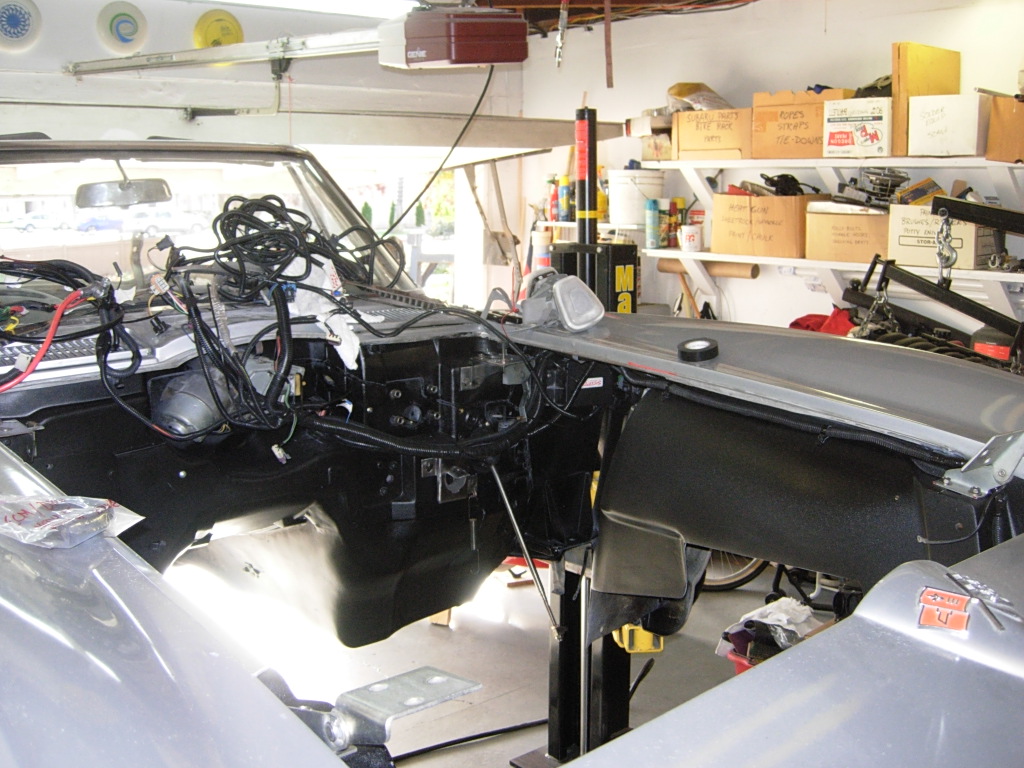
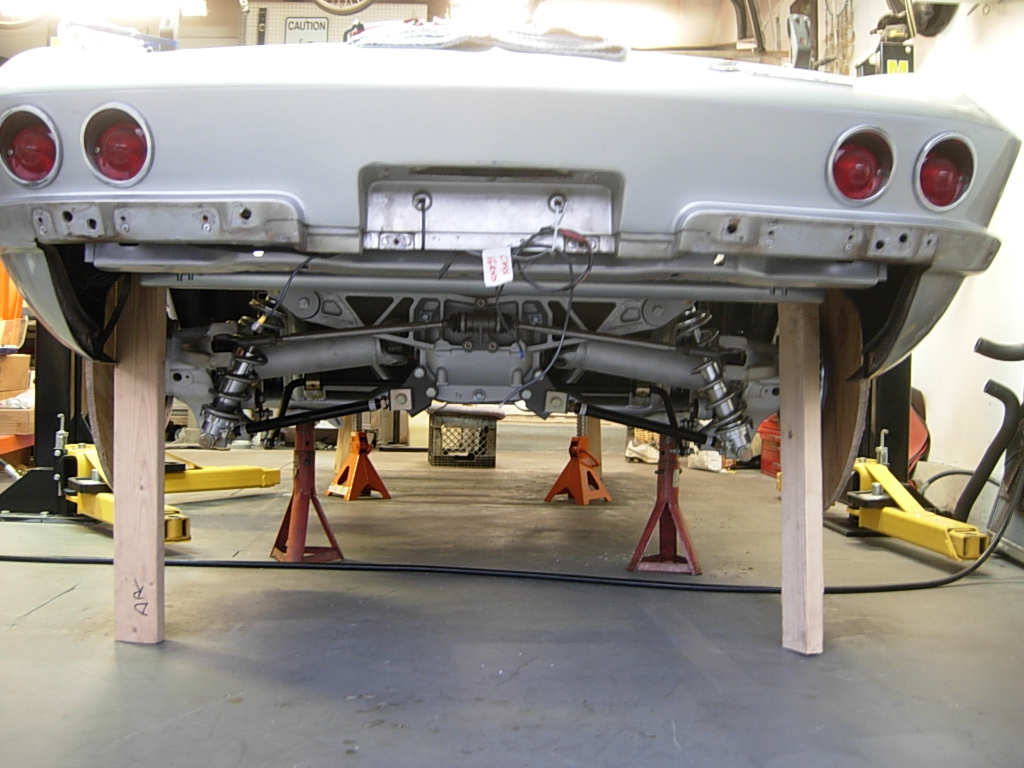
After taking a lot of the car apart, I needed a method to raise the body off the frame and put it onto a dolly that I borrowed from Corvette Forum member in the Bay area.
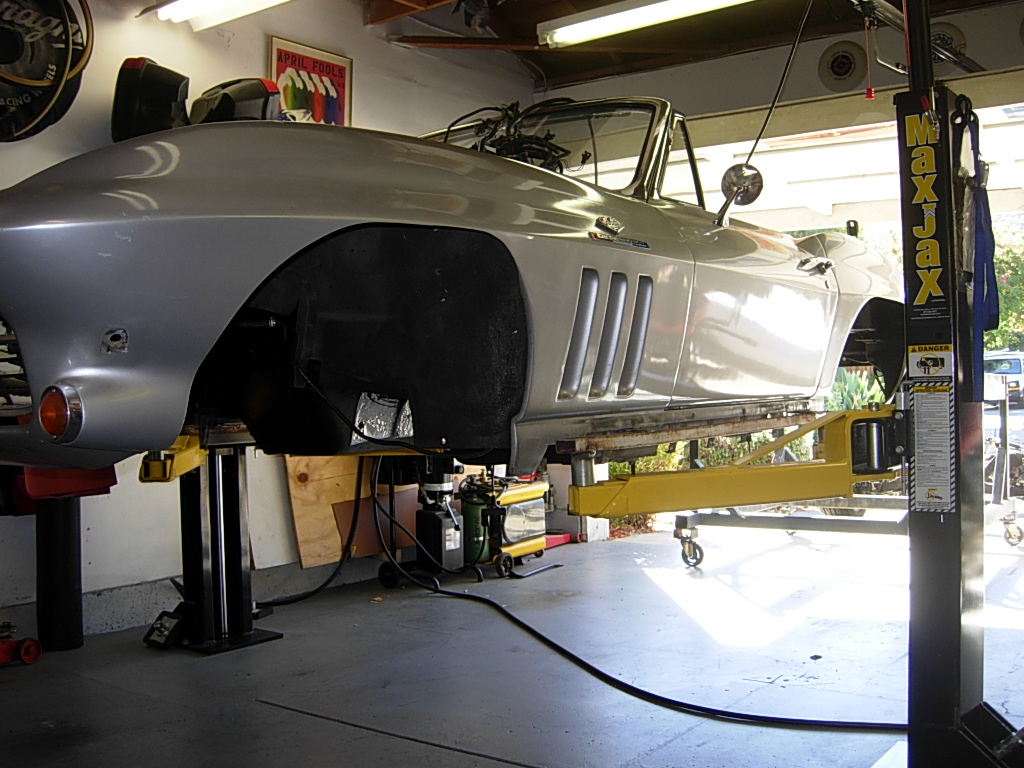
My buddy, Mark Eggenberger, is really knowledgeable at fabricating things, and we came up with a plan to use my MaxJax lift with modified bar stock and welded tabs to pick up the body.
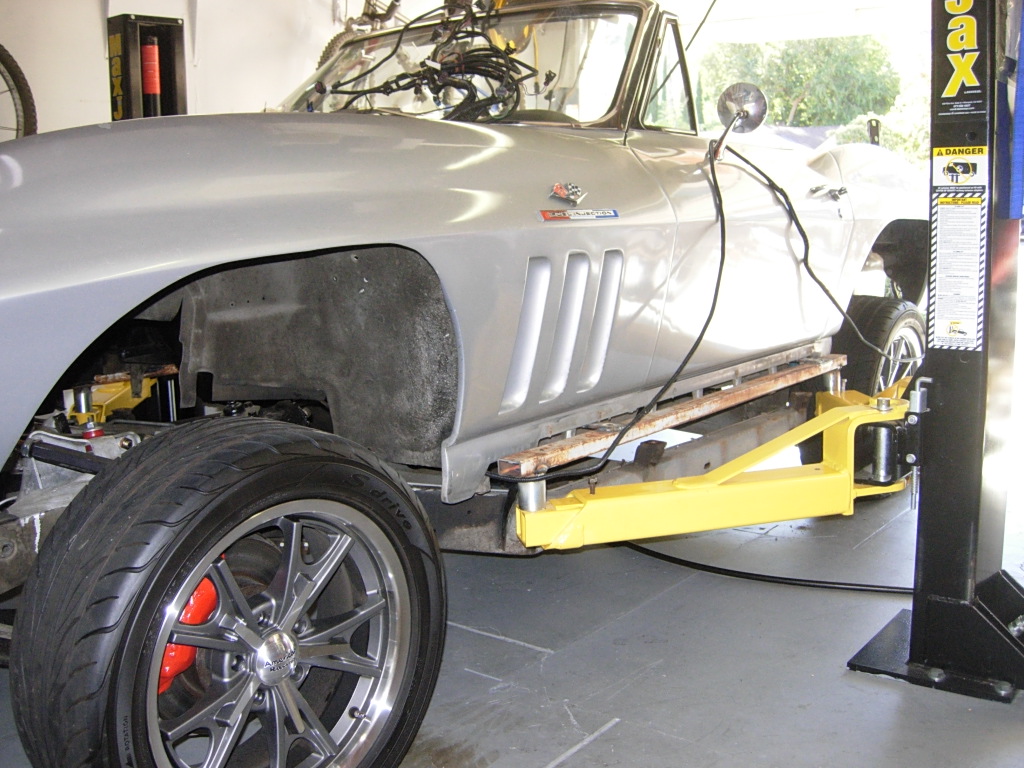
The lift adaptor worked perfectly, and allowed us to gently raise the body off the old chassis and onto the dolly.
I'm not sure if Mark and I were more excited at succeeding, or relieved at not screwing anything up.
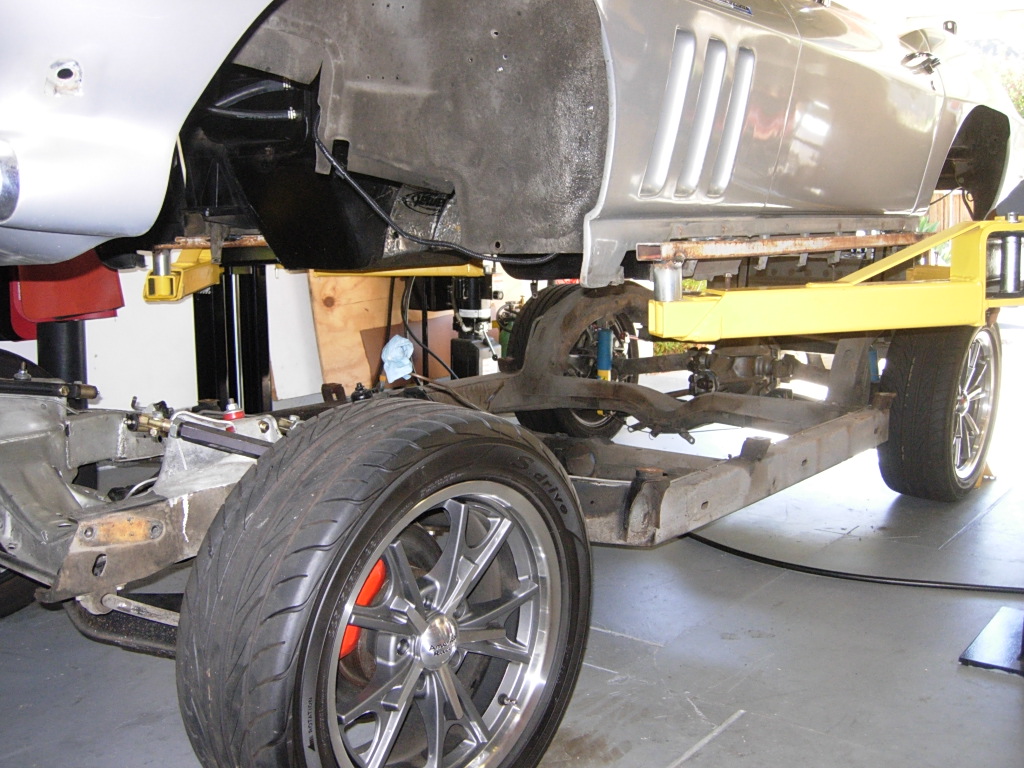
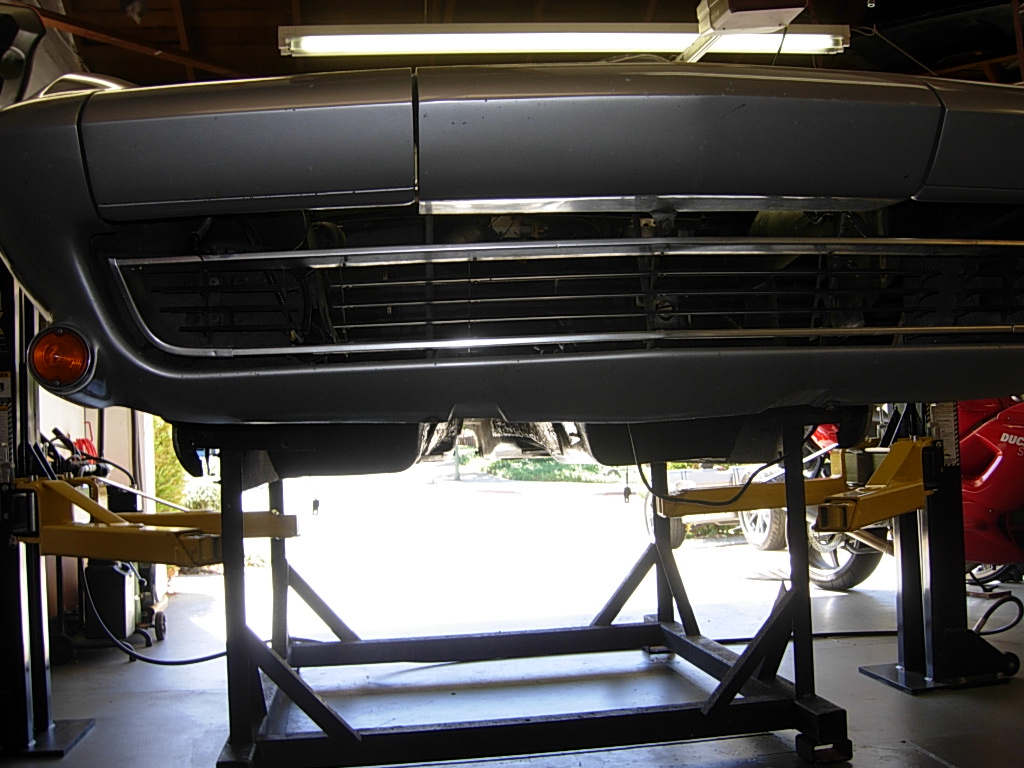
With the body safely on the dolly I can start cleaning the underside of the fiberglass floor and inner fender panels, to prep them for the bedliner material.
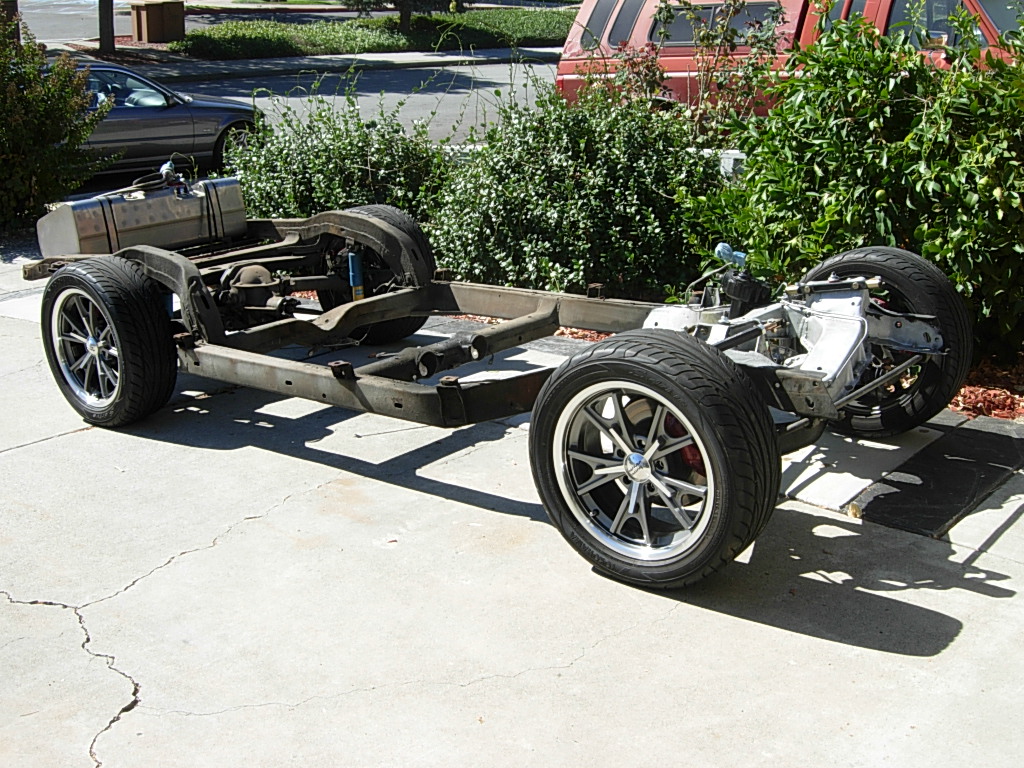
The old chassis got moved into the driveway to make work room under the car and dolly. I sold the old frame,differential, wheels & tires to partially offset the cost of the new chassis.
With only a two car garage I needed to rent a storage space from units only about a mile from the house.
Otherwise there would've been parts everywhere, and I'd be tripping over them,
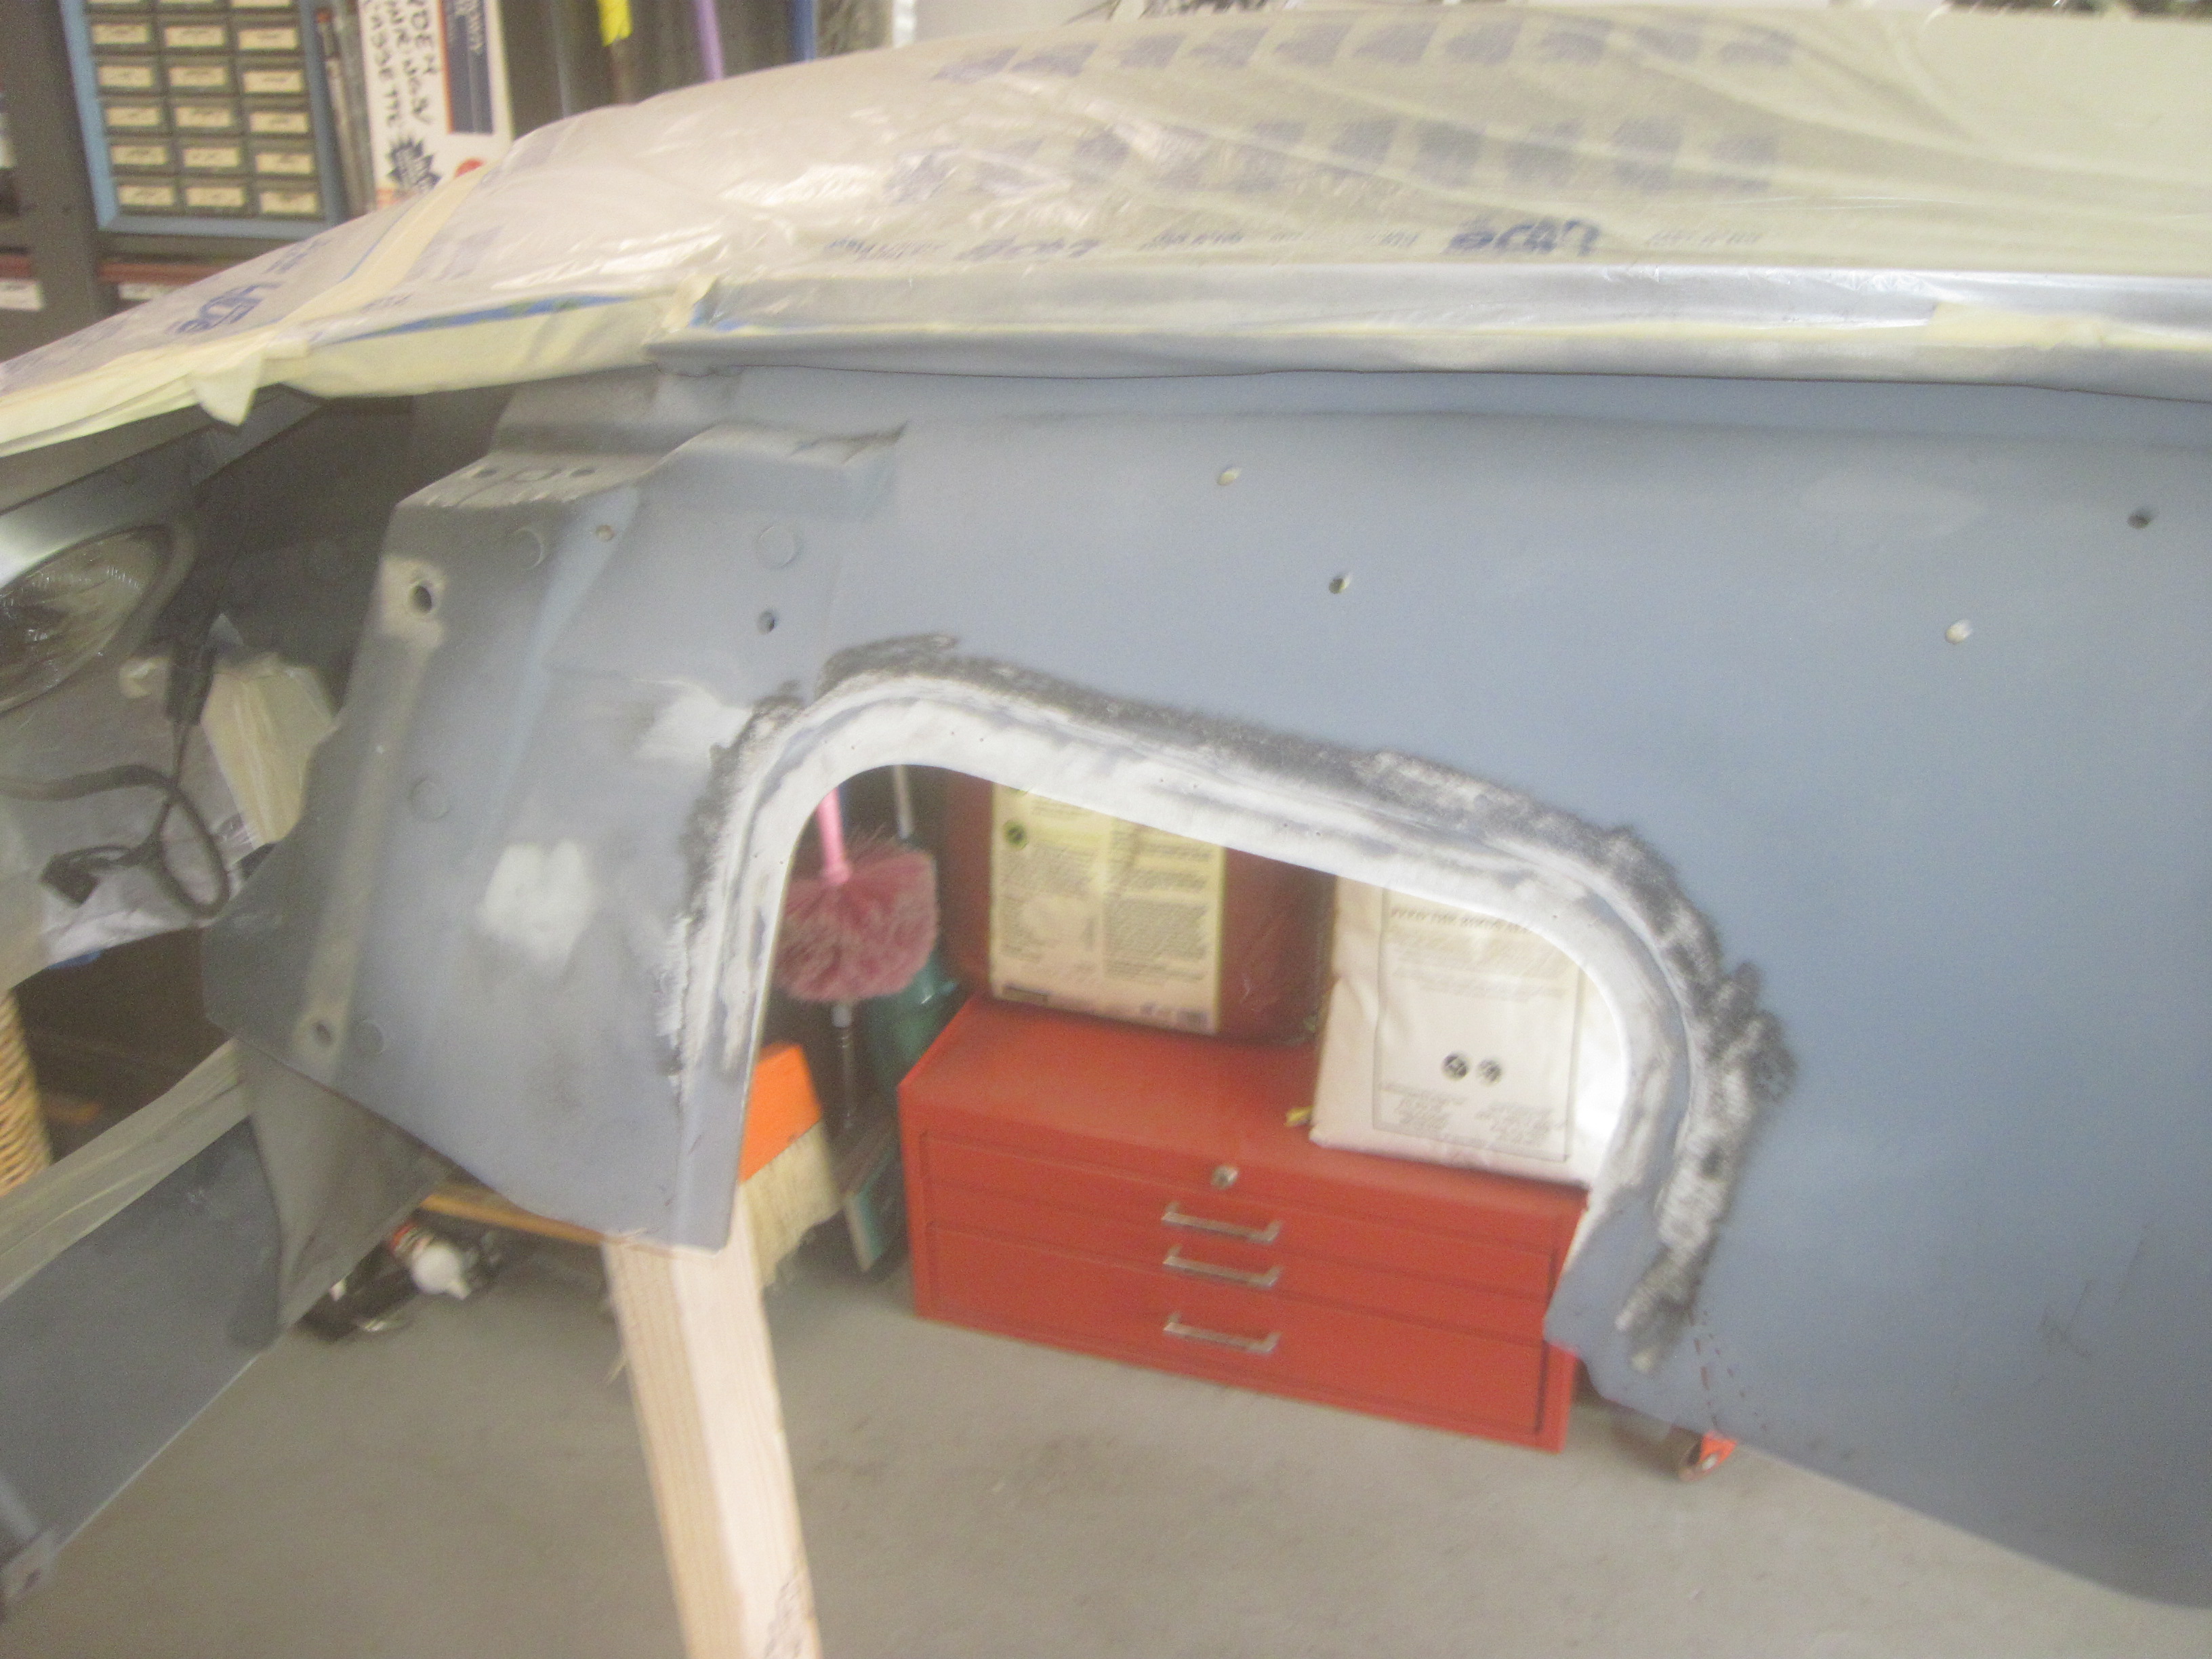
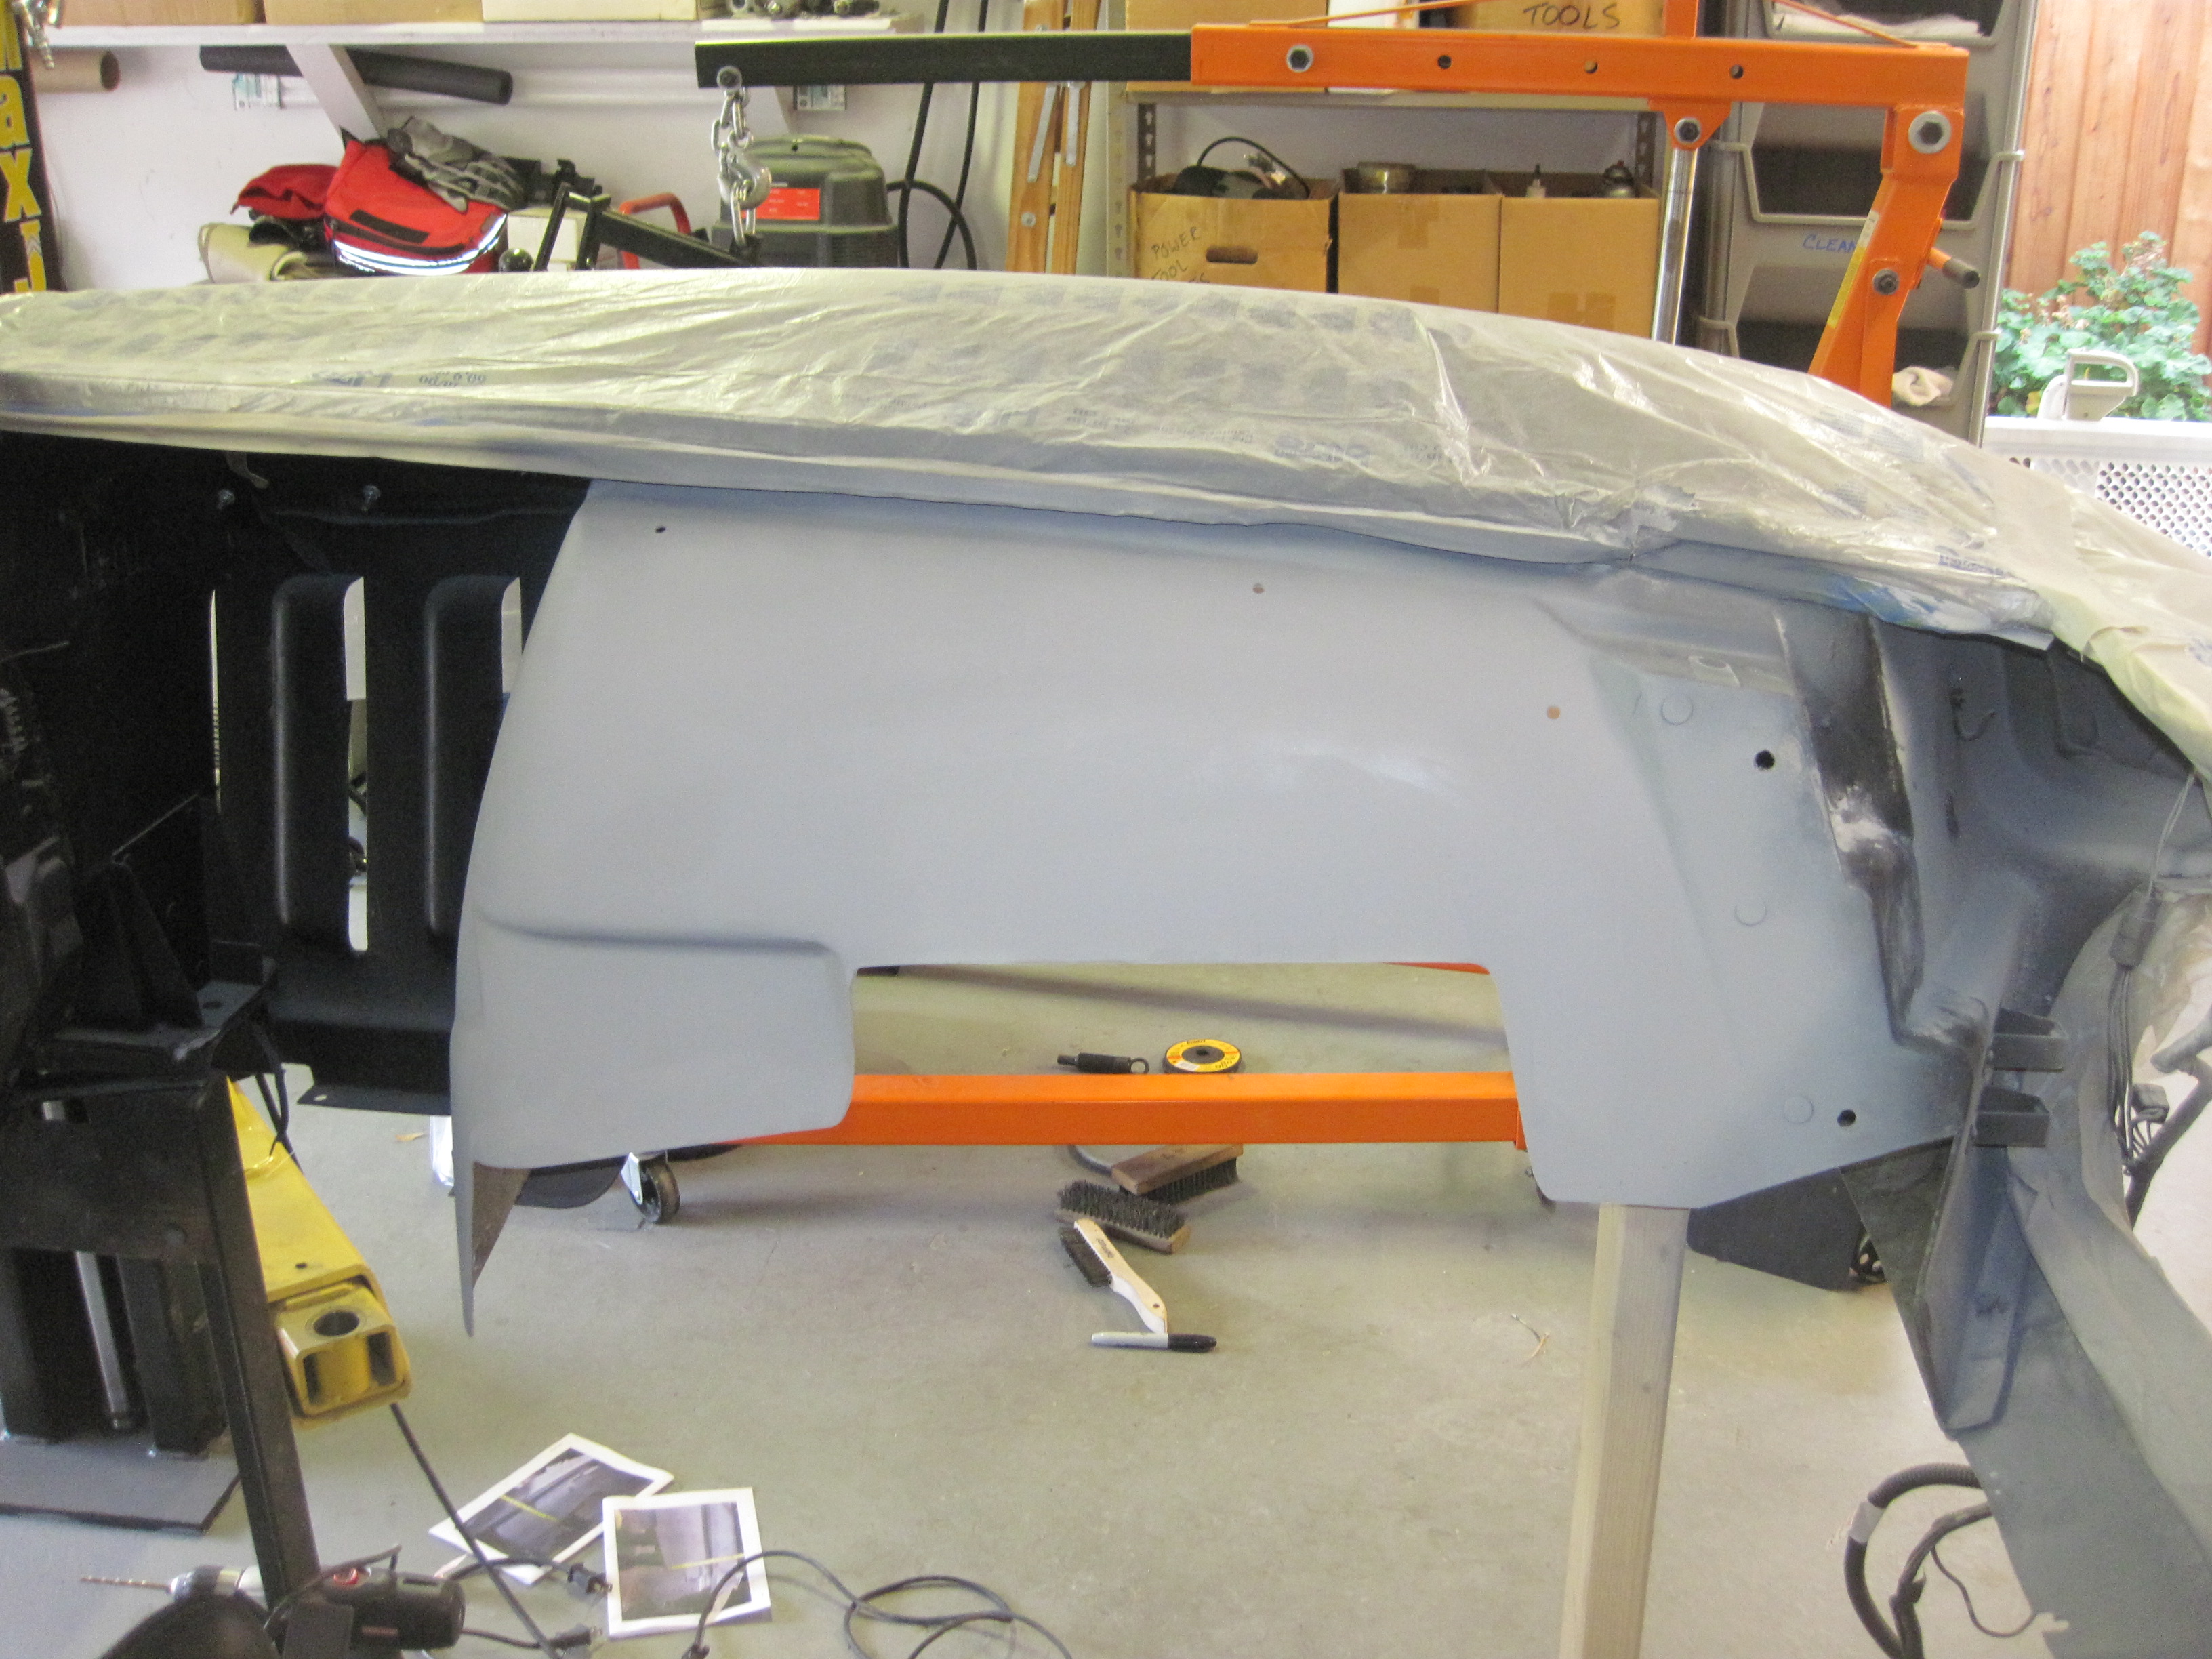
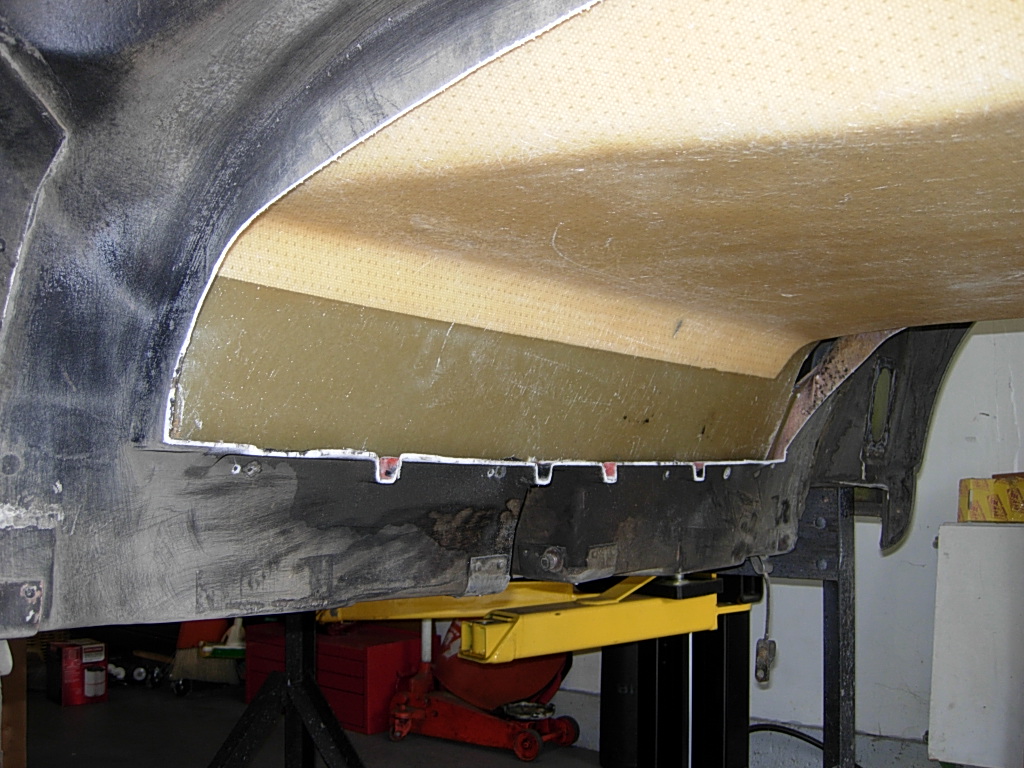
The chassis mfgr sent me dimensions to lower the stock A-arm openings, which cleans up the engine compartment and gives things a more finished look.
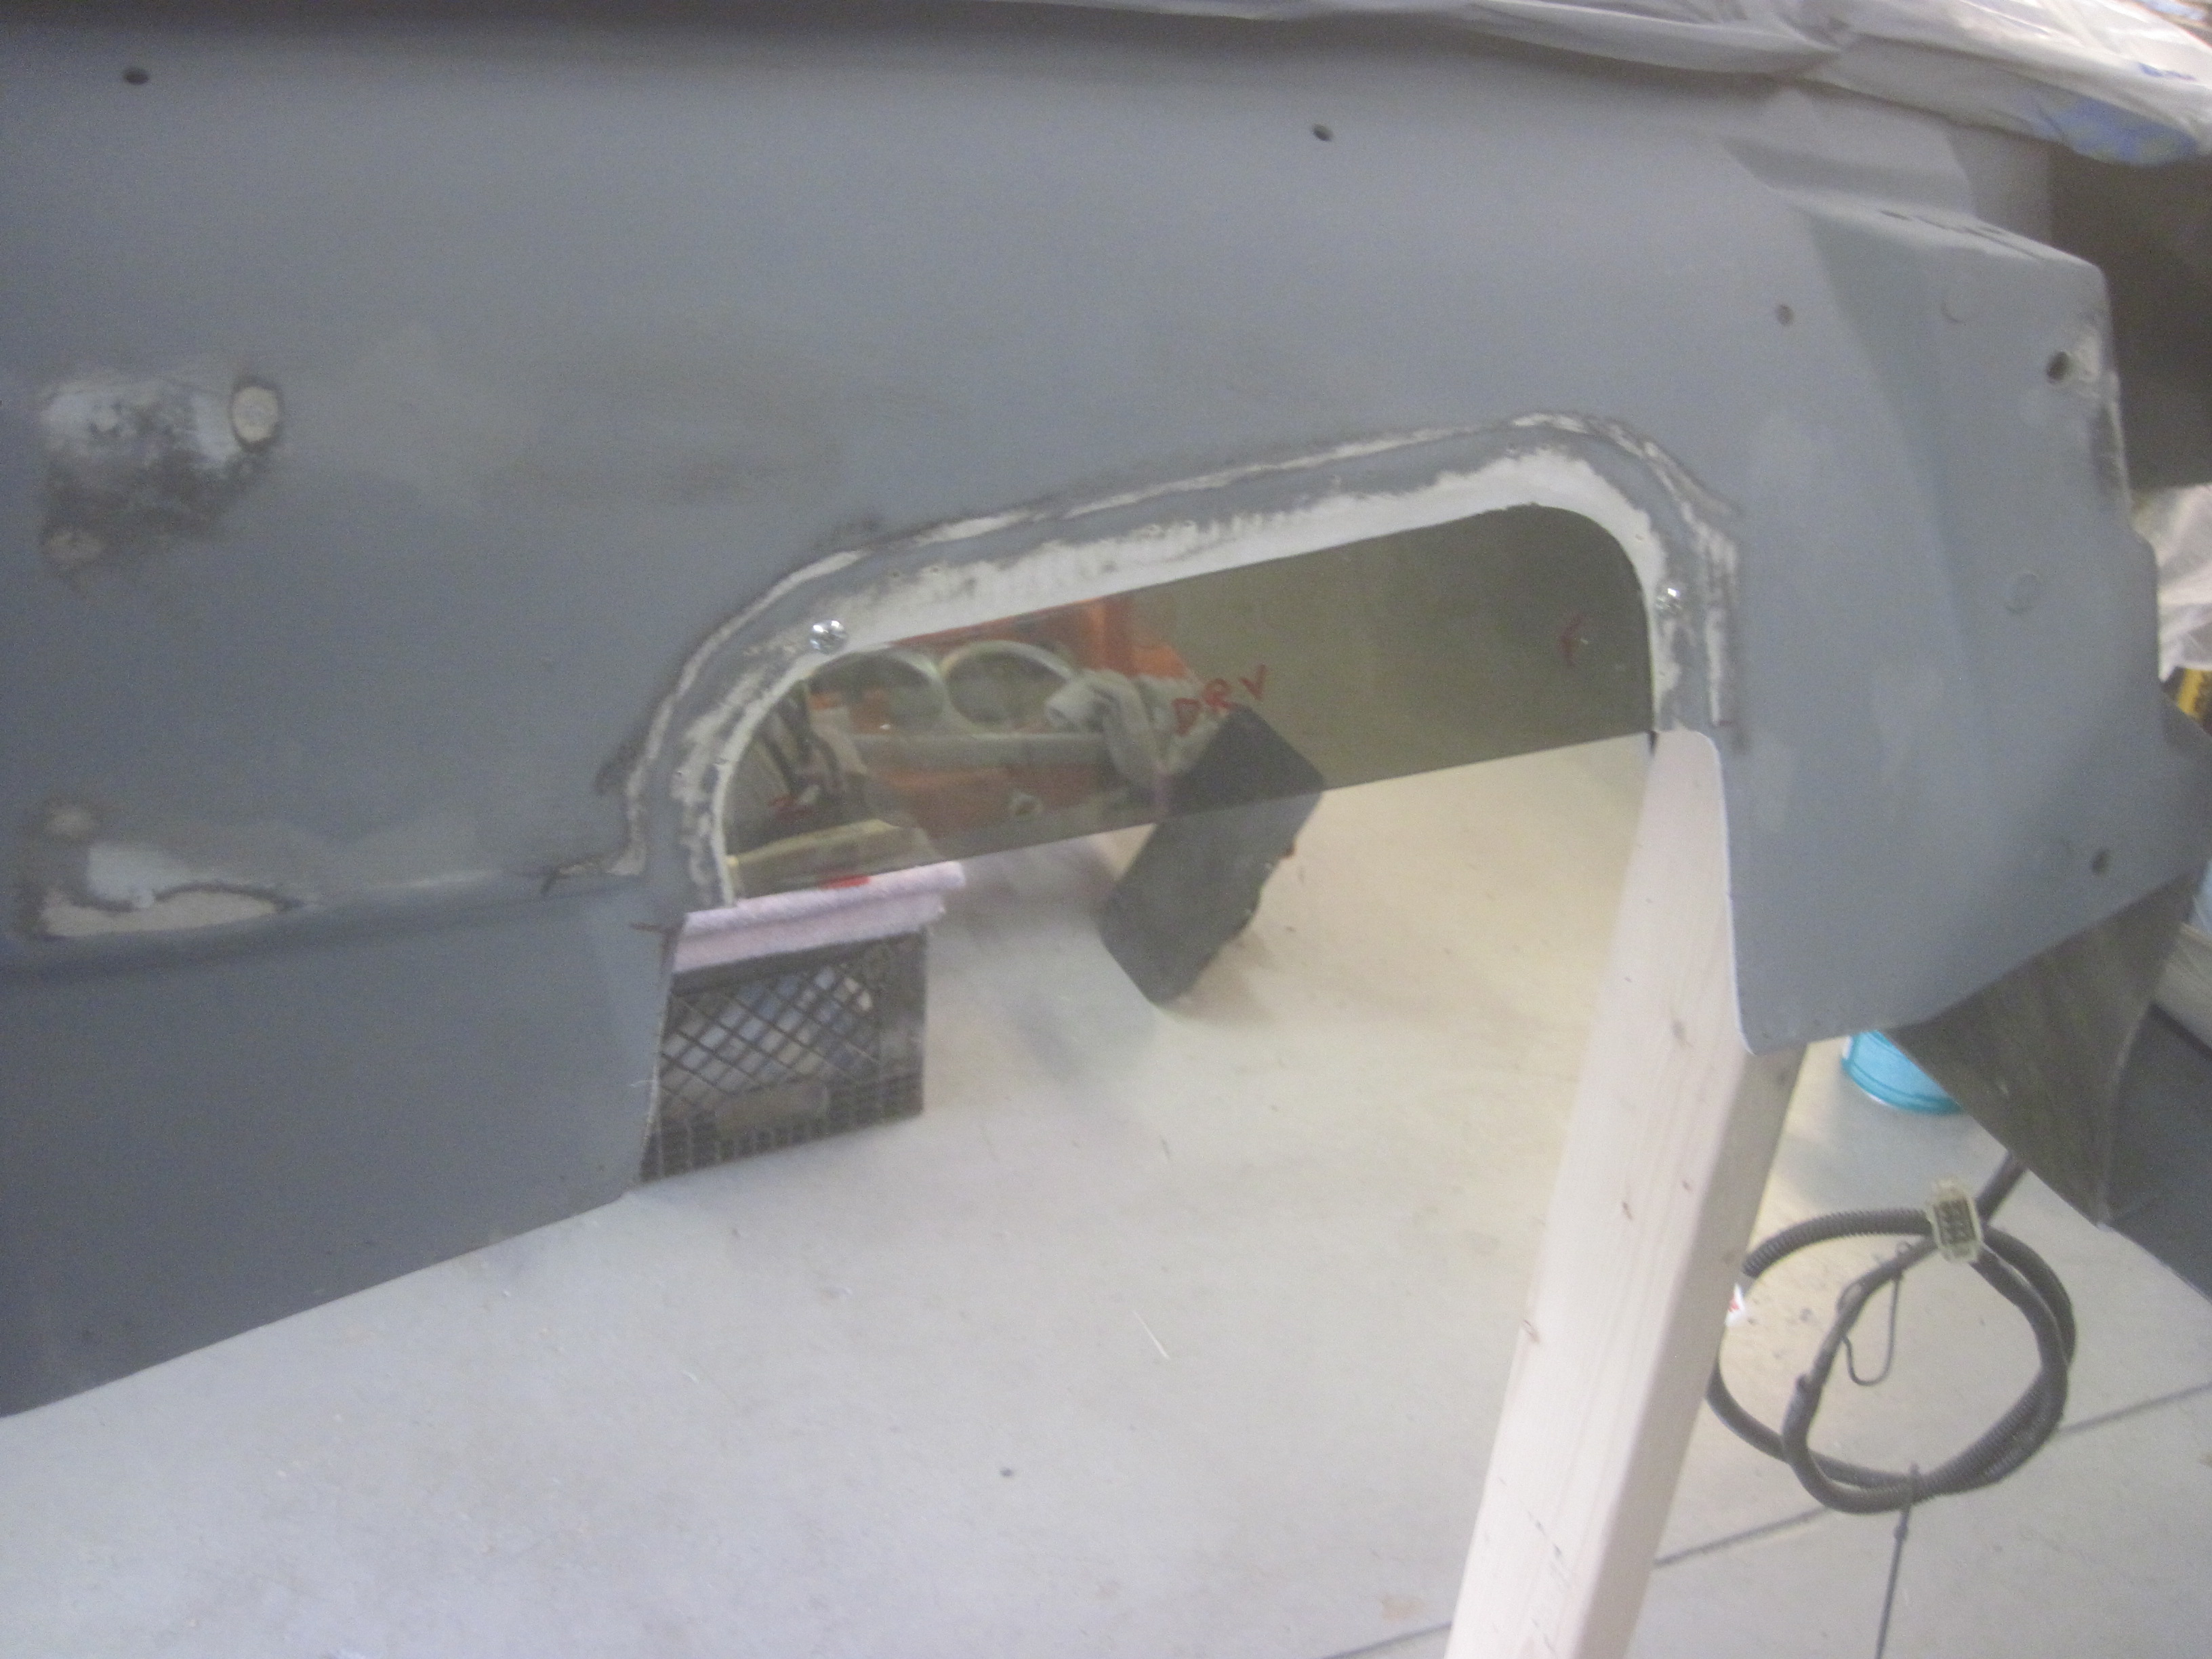
I made molds out of some scrap plexiglas. I had to glue an inner peice that would match the depth of the opening I was trying to cover.
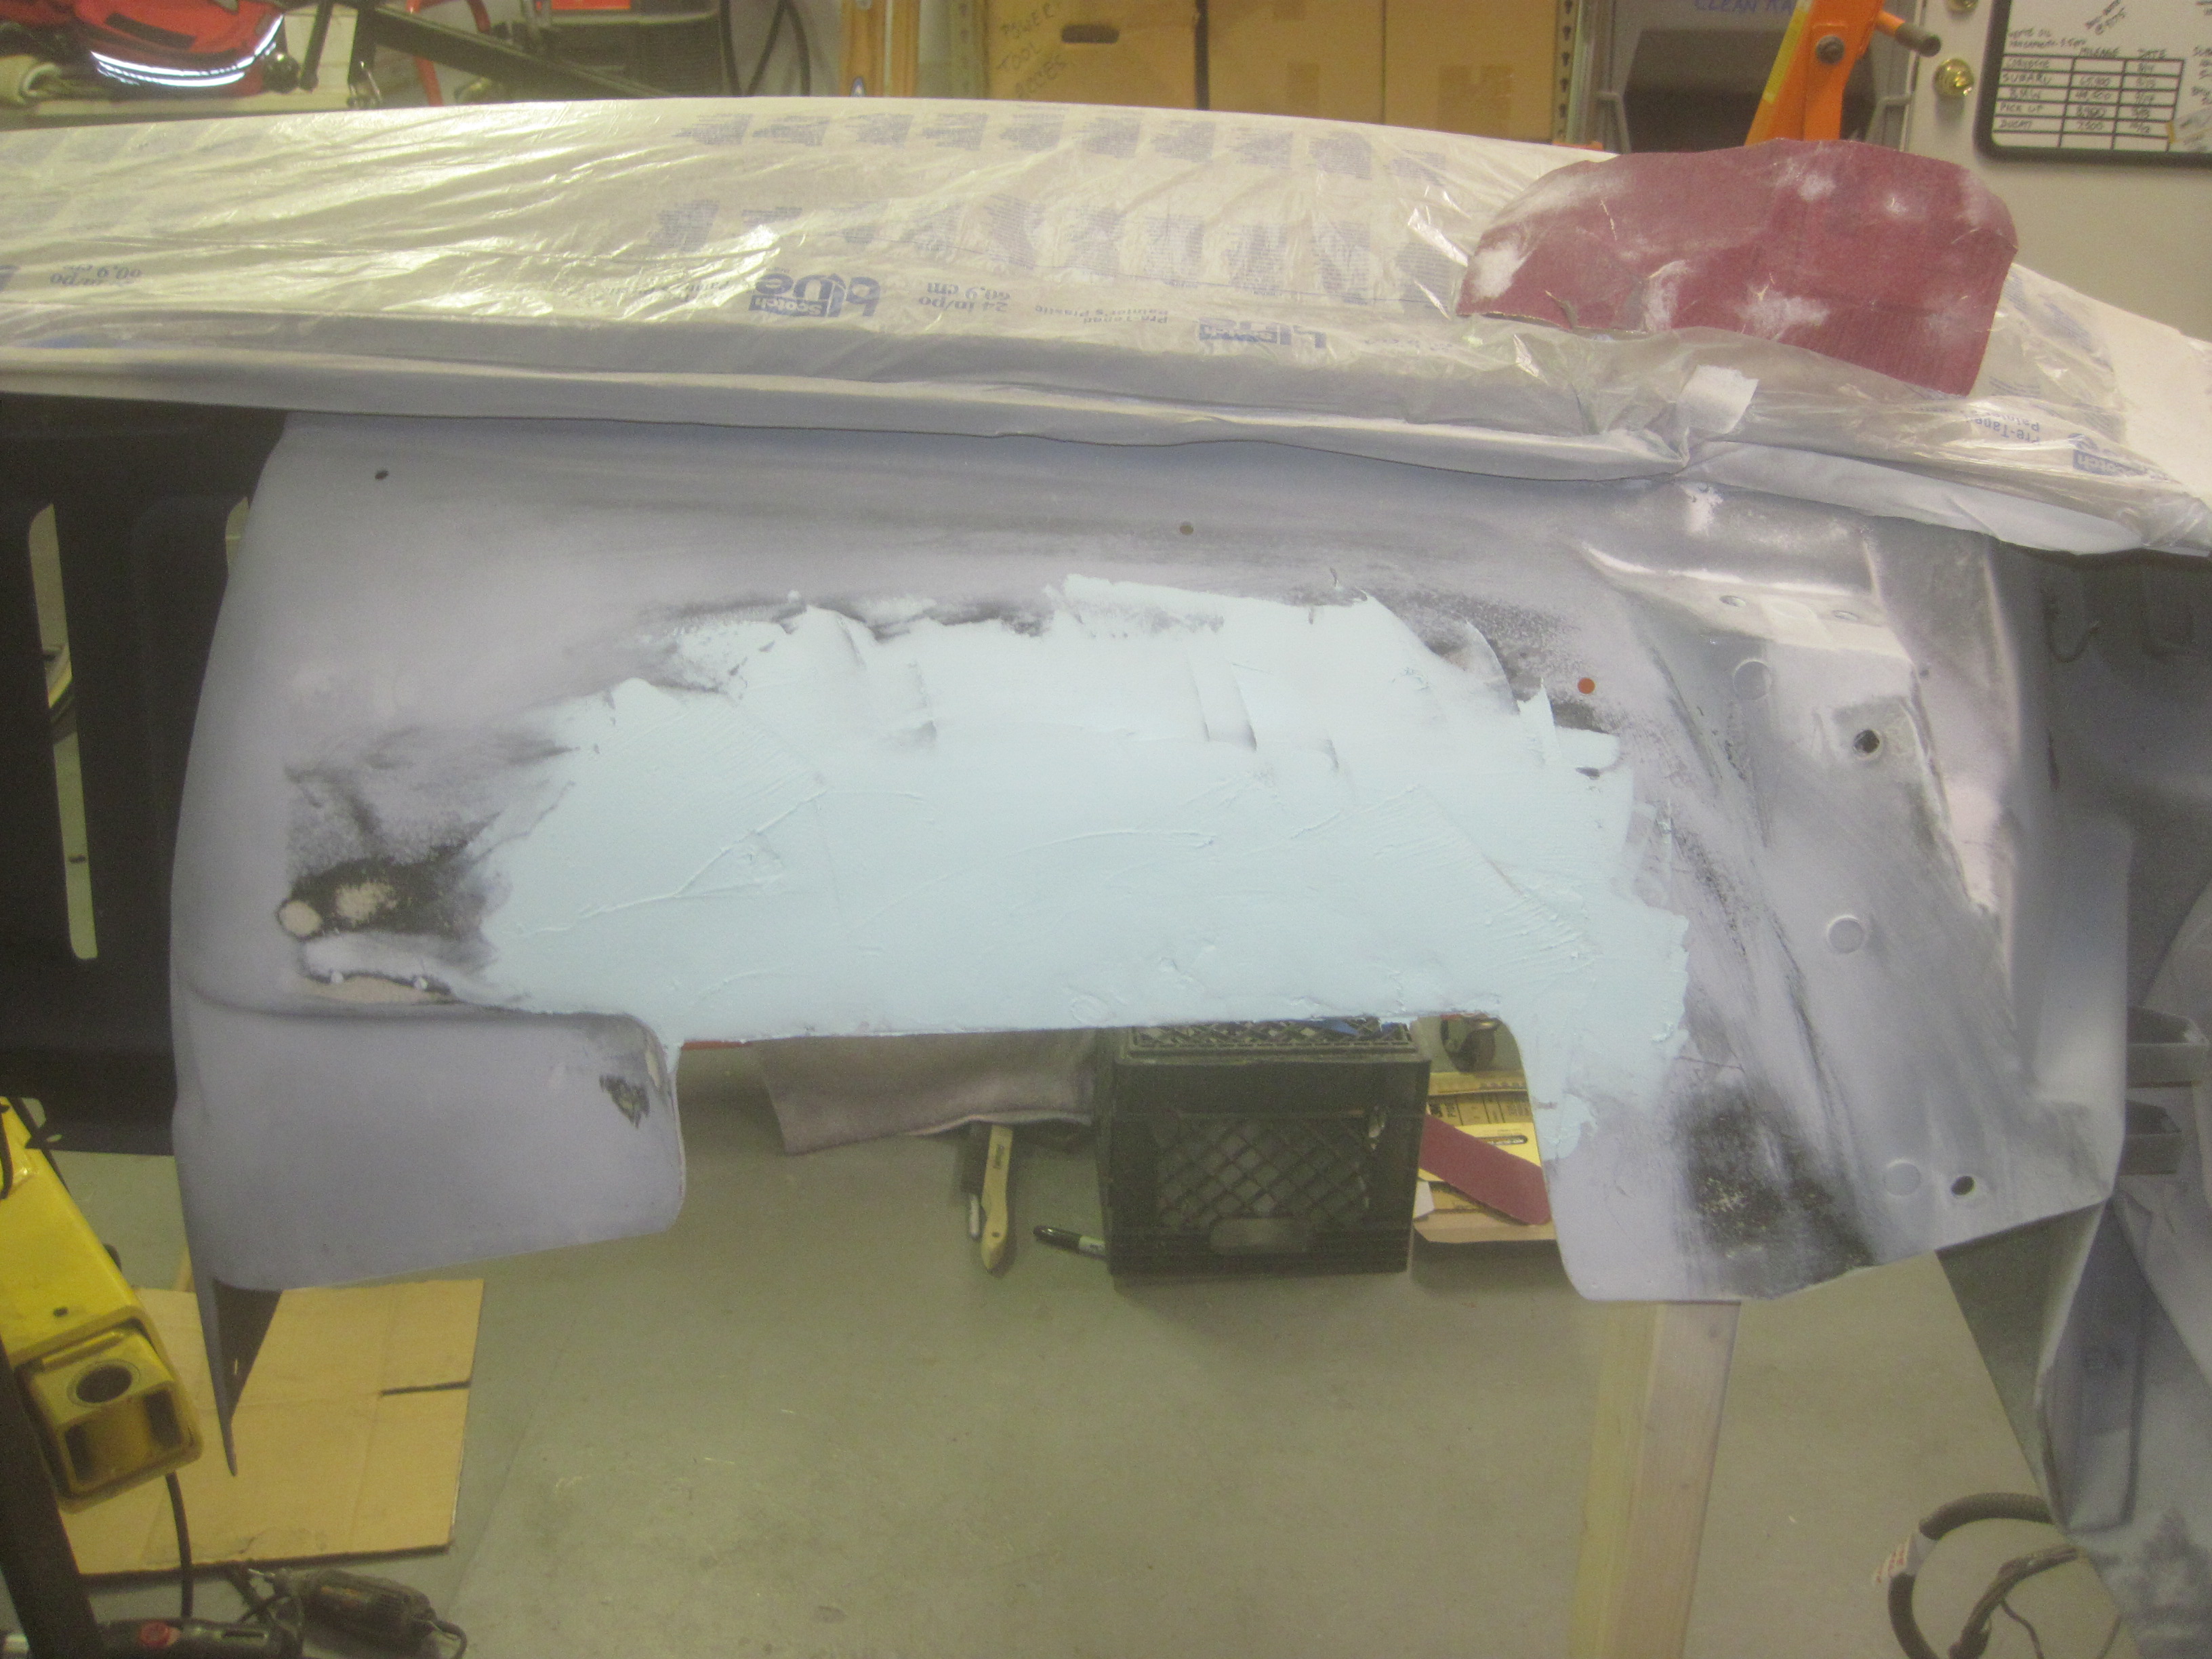
They came out pretty well. I'm not highly skilled at bodywork or fiberglassing, but I'm patient. Block sanding takes a lot of patience....
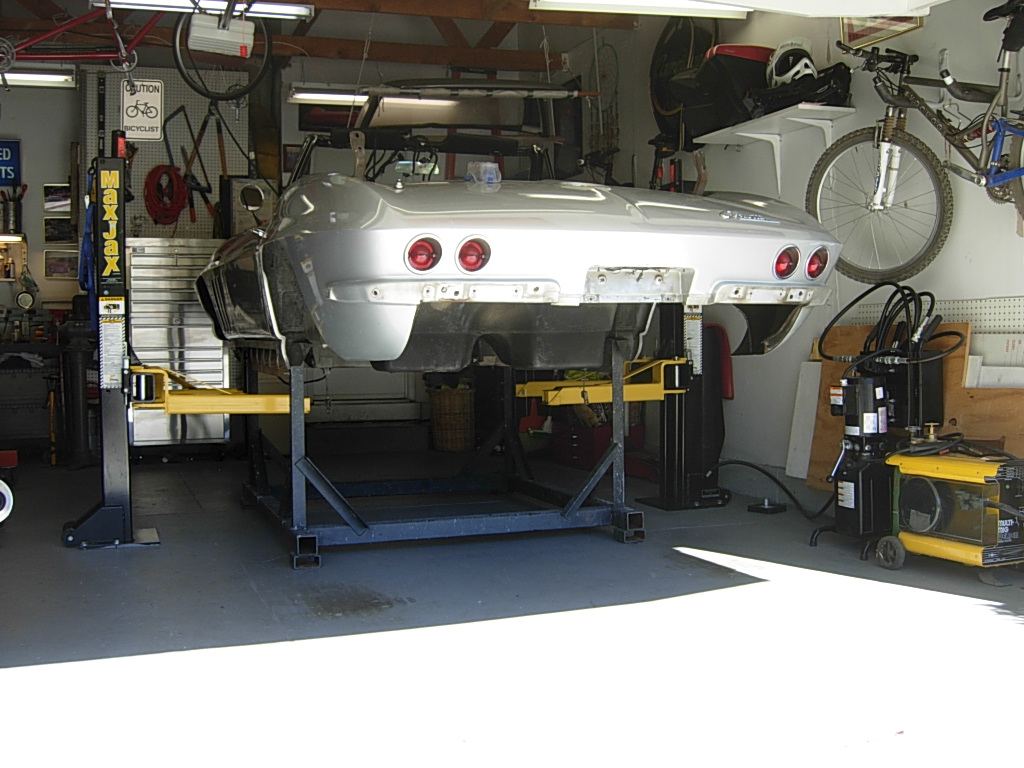
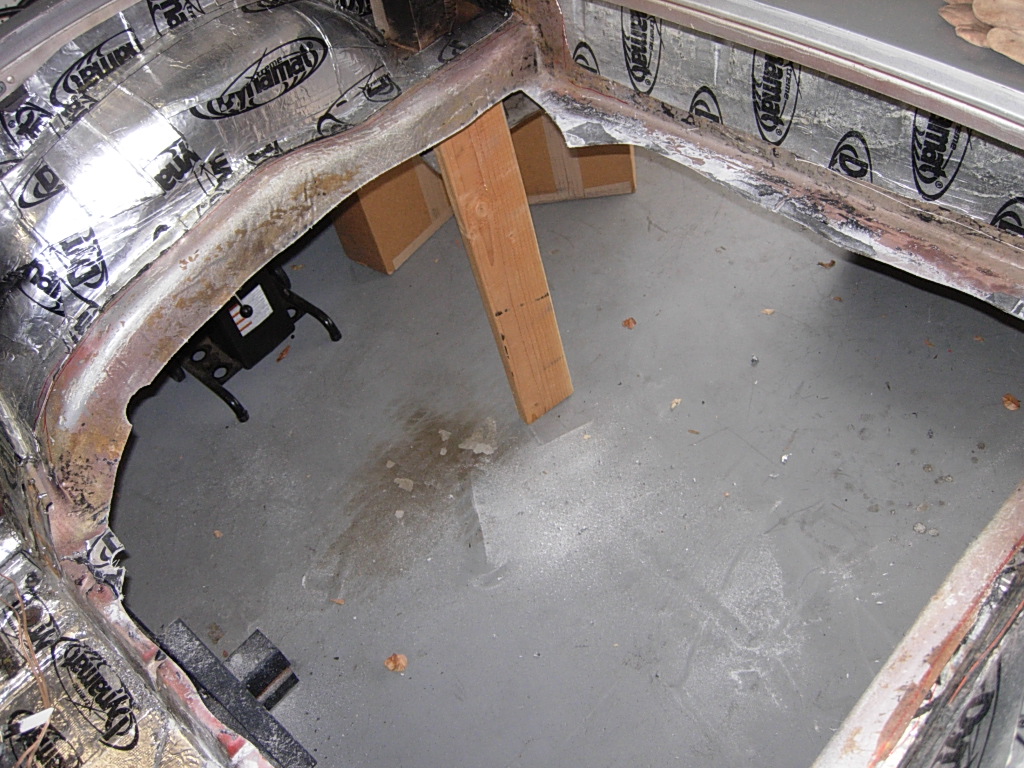
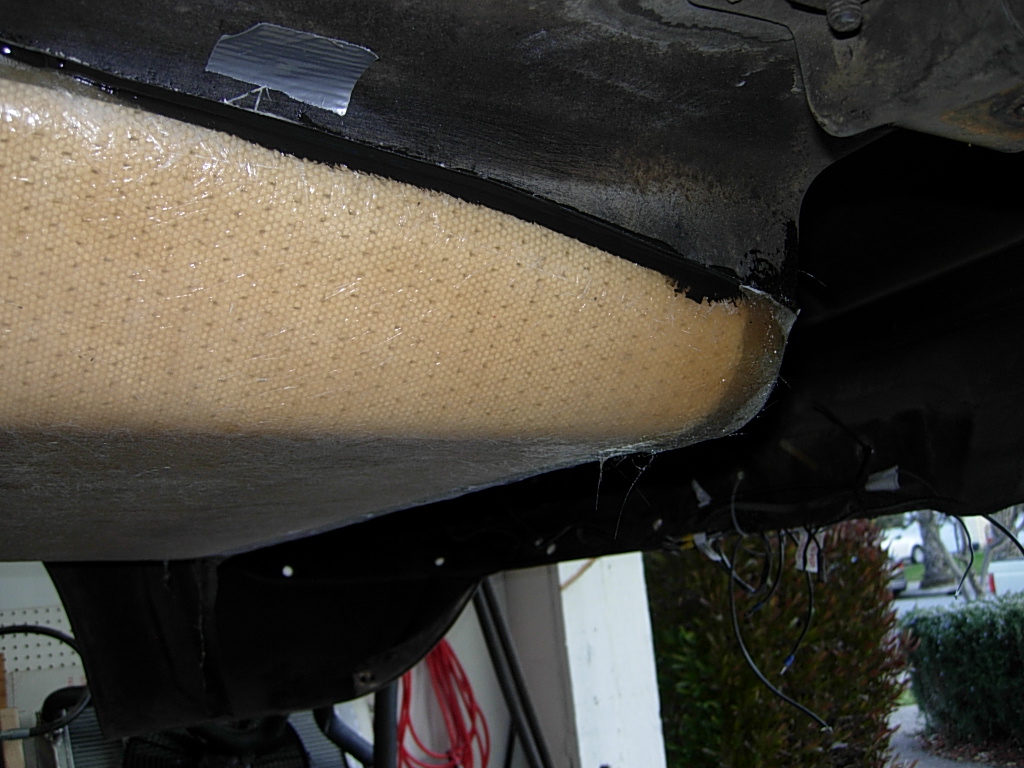
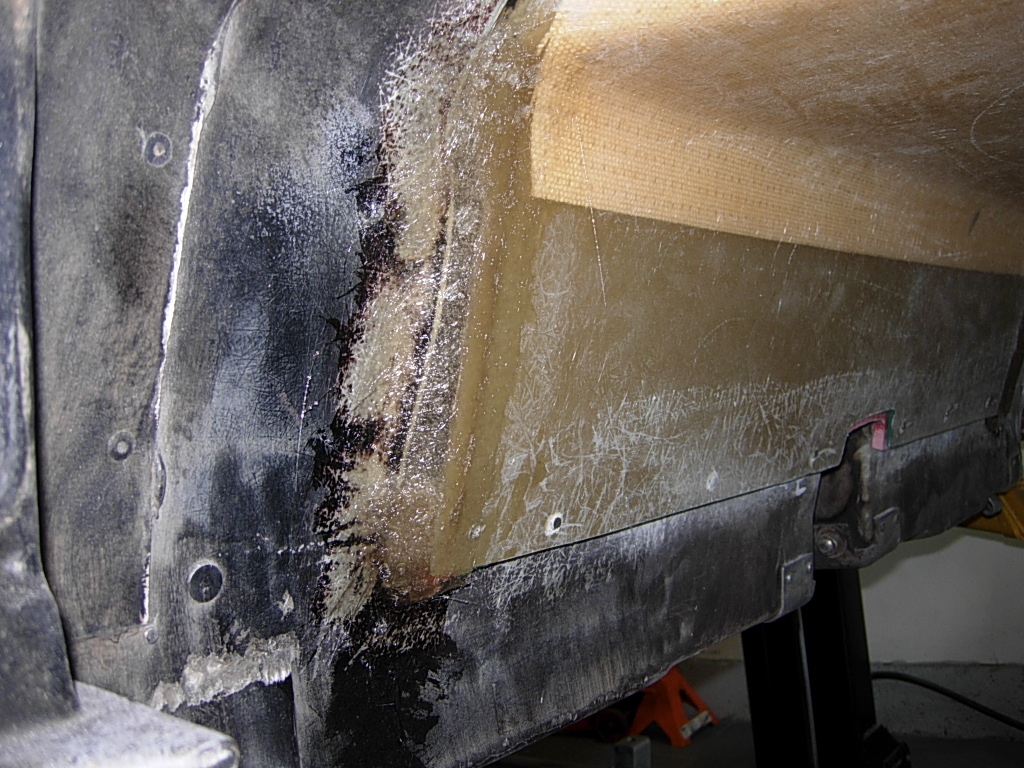
Oh, yeah. There's also the little issue of cutting out the rear floor (and recessed storage compartments) and bonding in a flat section that allows room for the new chassis.
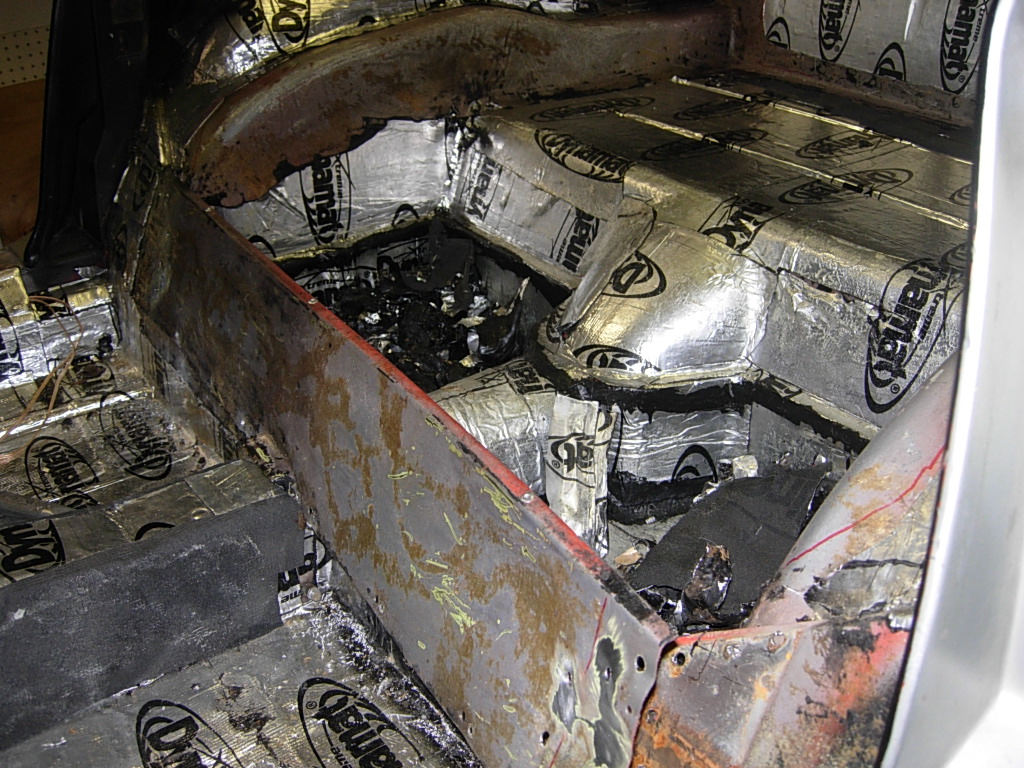
It seemed like a simple project. Cut out old piece, bond in new piece. There's a lot of little details to work out to get good bond lines and fit.
I have to wait until I get the new chassis and lower the body on, then shim everything correctly before I can do the final bonding in of the new floor pan.
Cutting a big ol' hole in your classic car is when you realize, you're beyond the point of no return. WAY beyond.
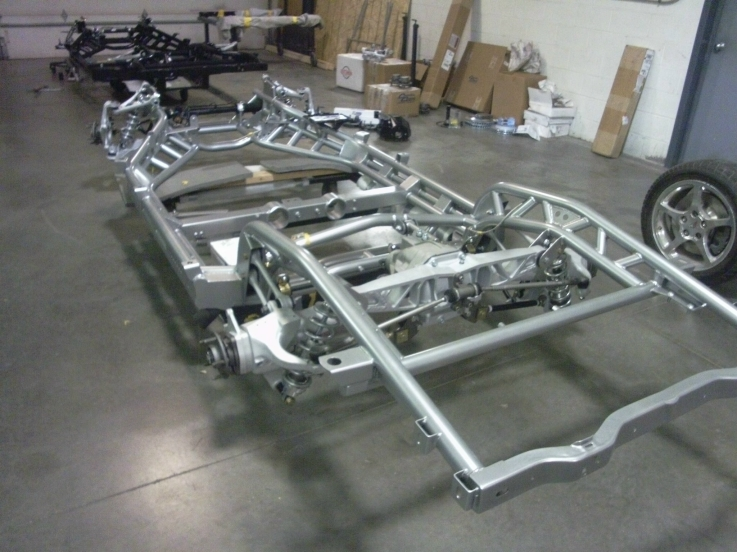
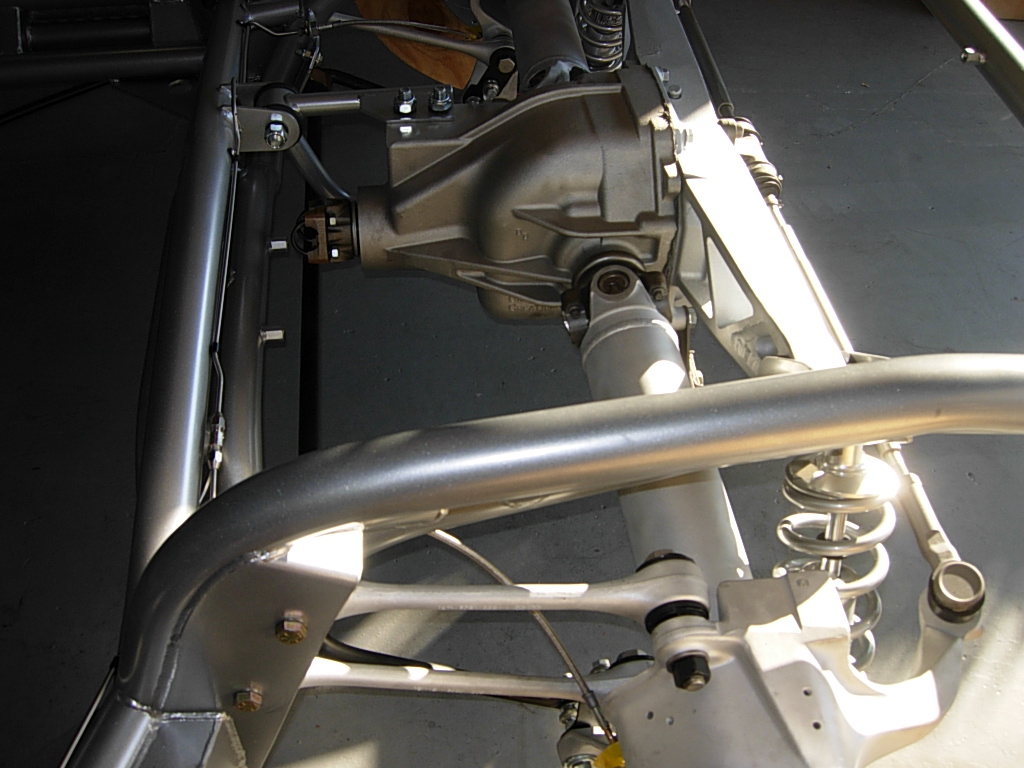
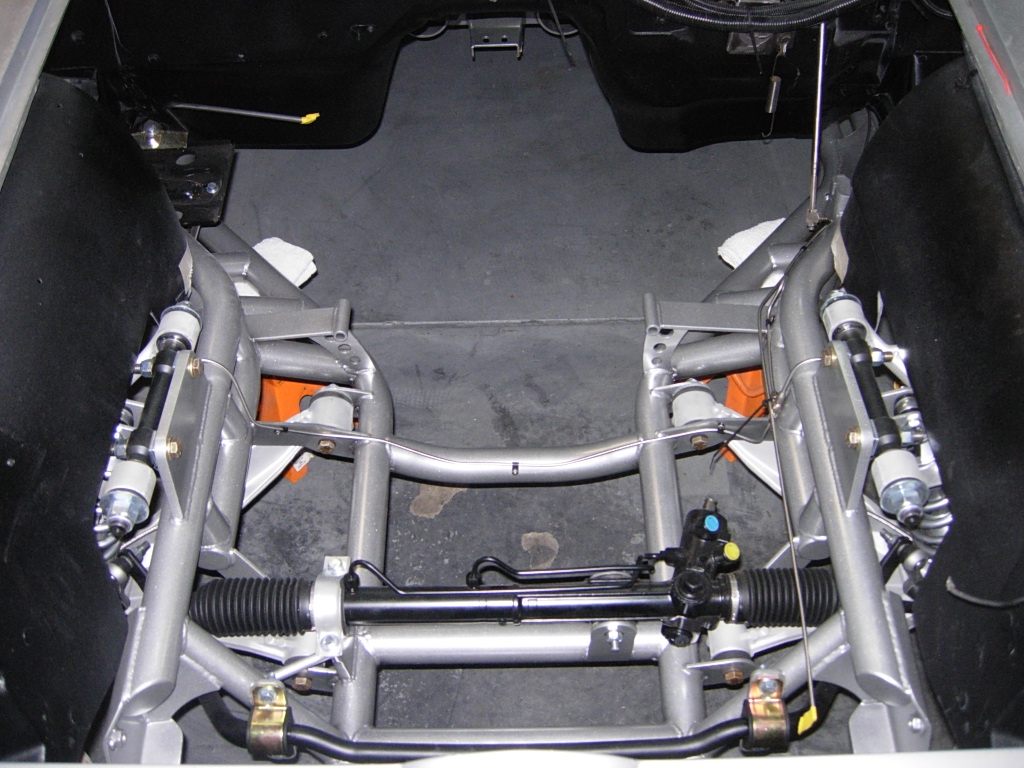
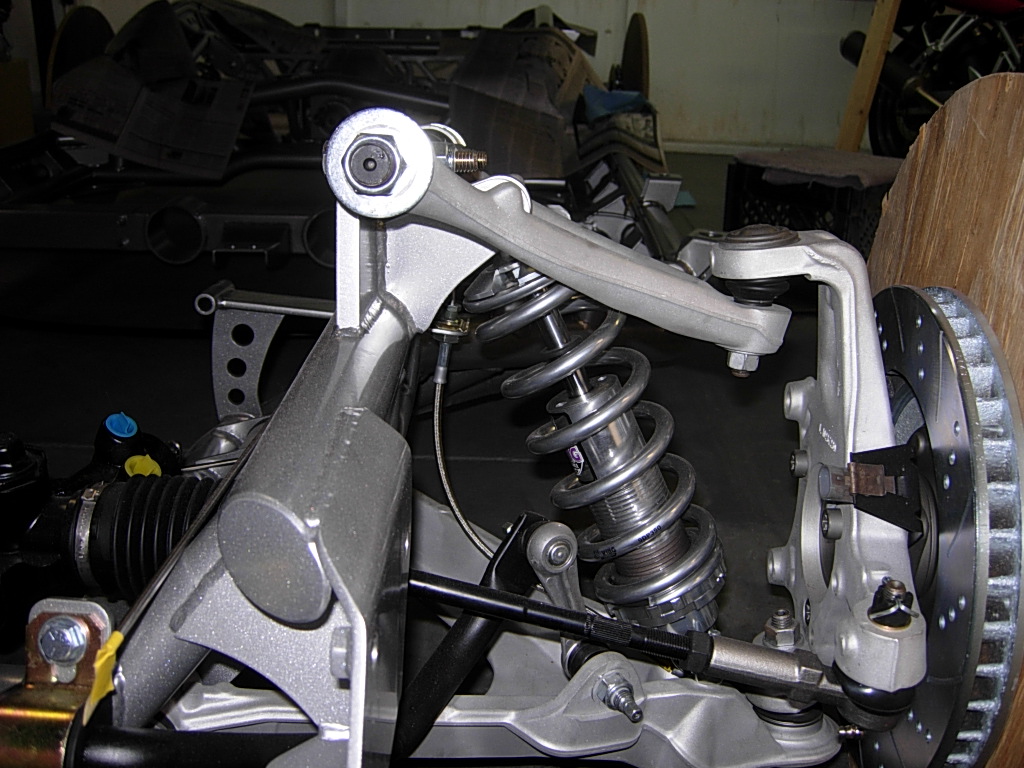
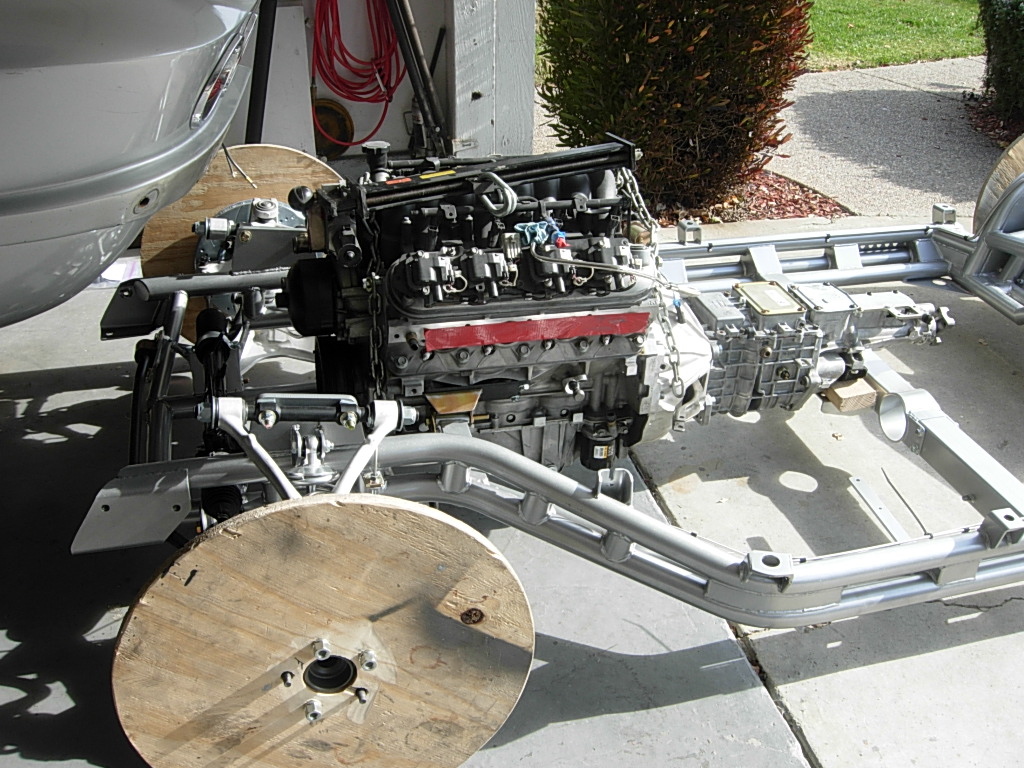
Late December 2014 update: Here's pictures of my chassis, less the gorgeous C5 brakes with cross-drilled rotors and powder coated calipers. It'll finally ship just before Christmas...
I kept making progress to be as ready as possible when the chassis shows up.
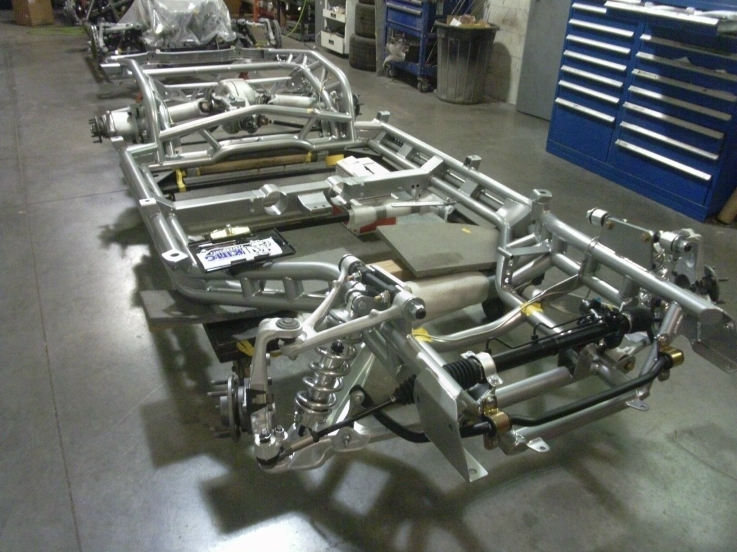
The chassis showed up safely at the house 2 days after Christmas. A VERY nice present!
The workmanship and parts on the chassis are all top notch. It really is eye-candy for gearheads.
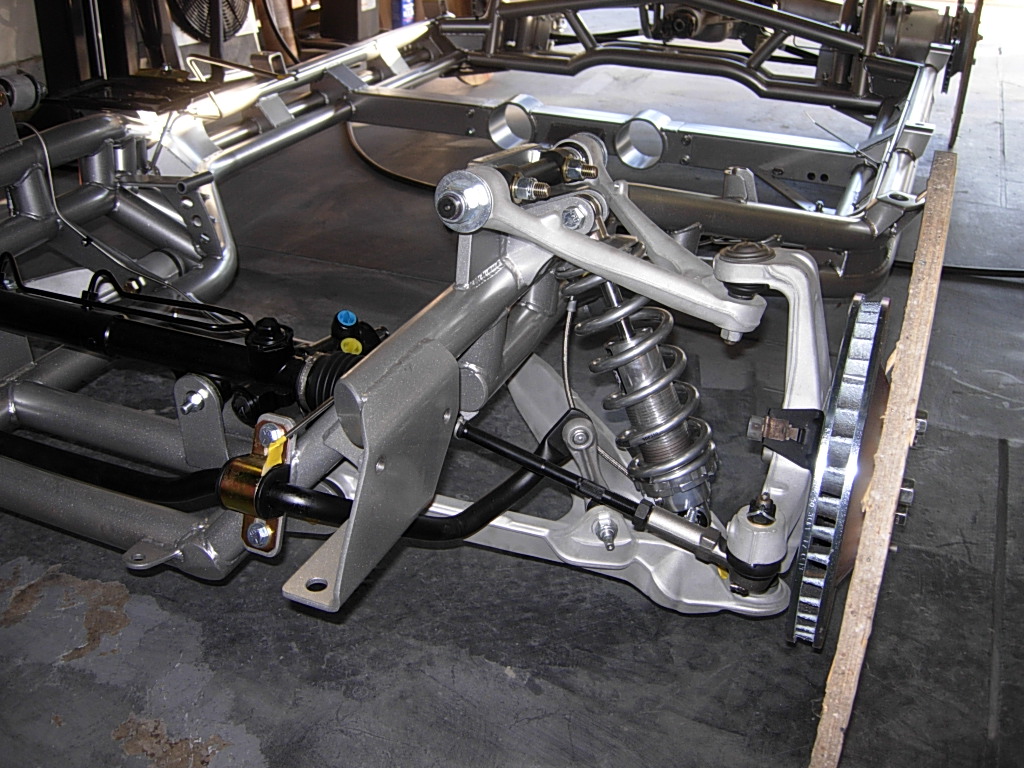
Mark Flanagan helped me and we started fit-checking the frame to the body, and shimming where required.
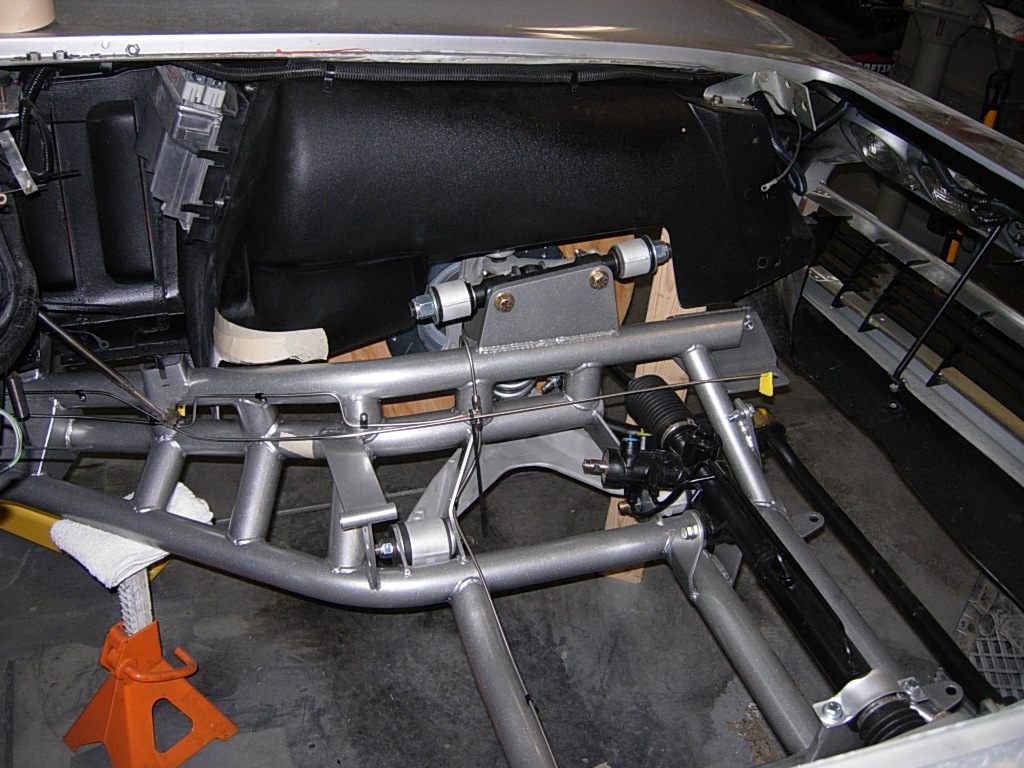
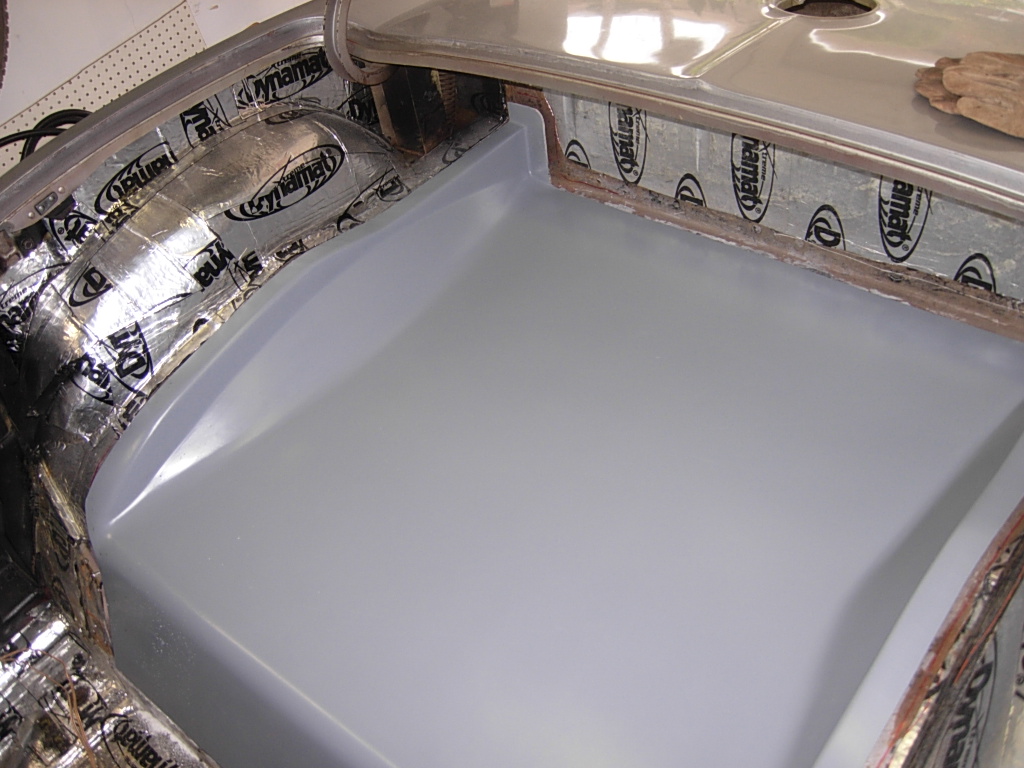
With the body on the chassis I could finally bond the floor pan in.
...and 'glass over the gaps...
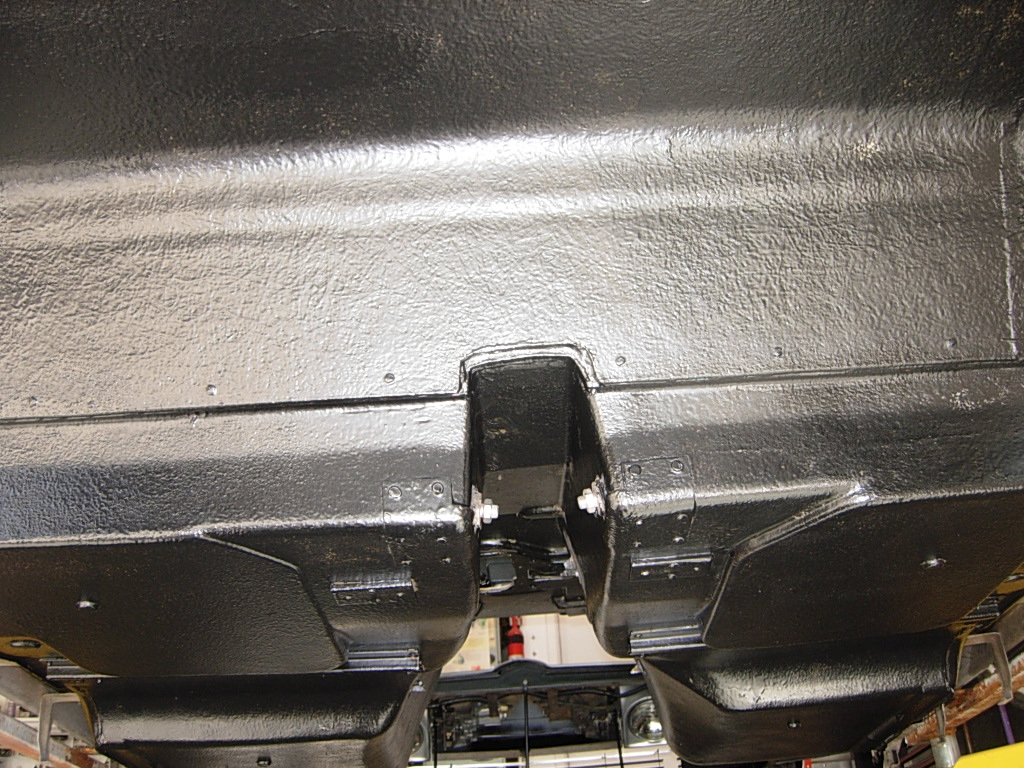
...and coat the bottom of the floor and the wheelwells with truck bedliner material.
There's a seam that's visible around the floor pan, I can live with that.
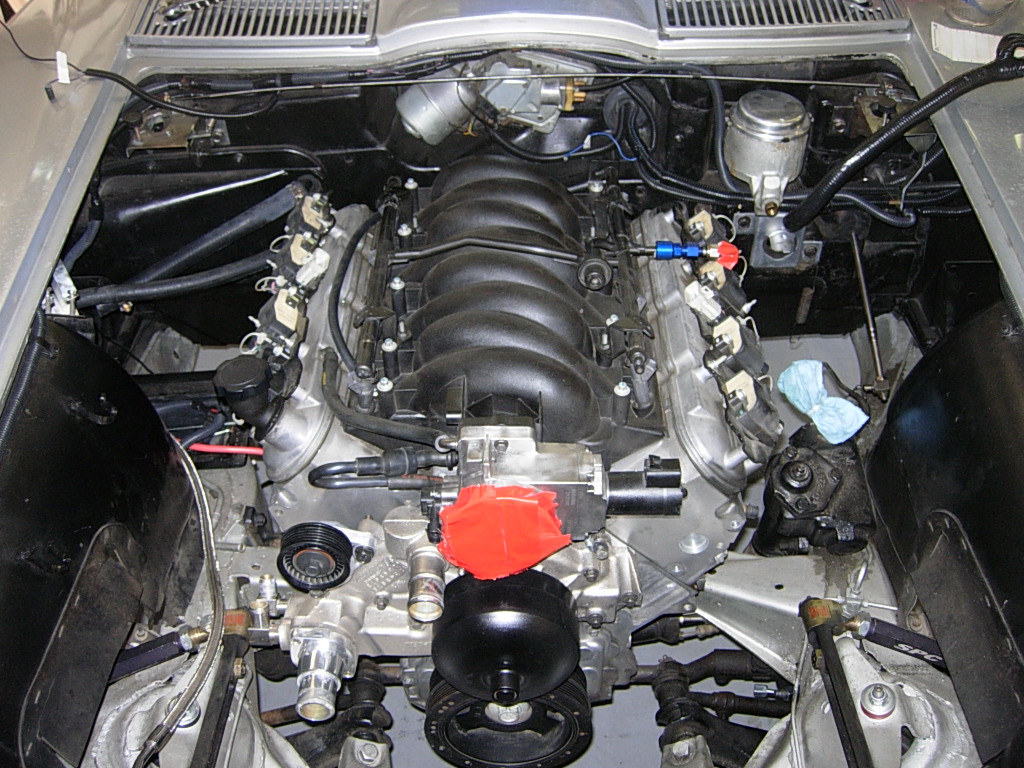
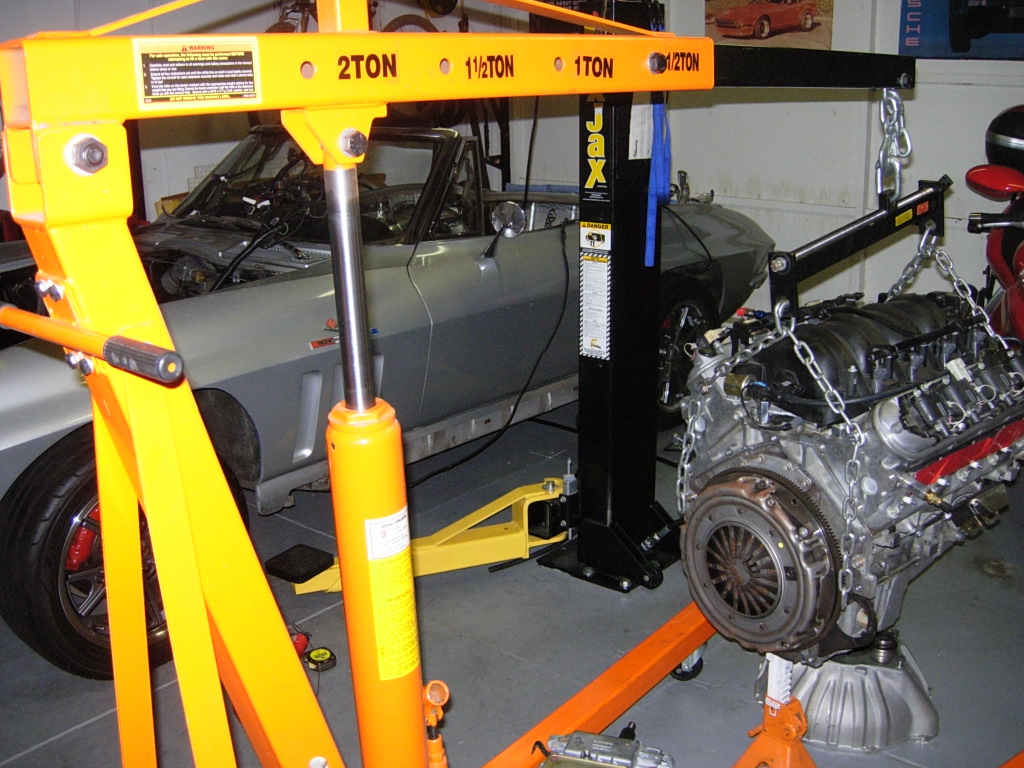
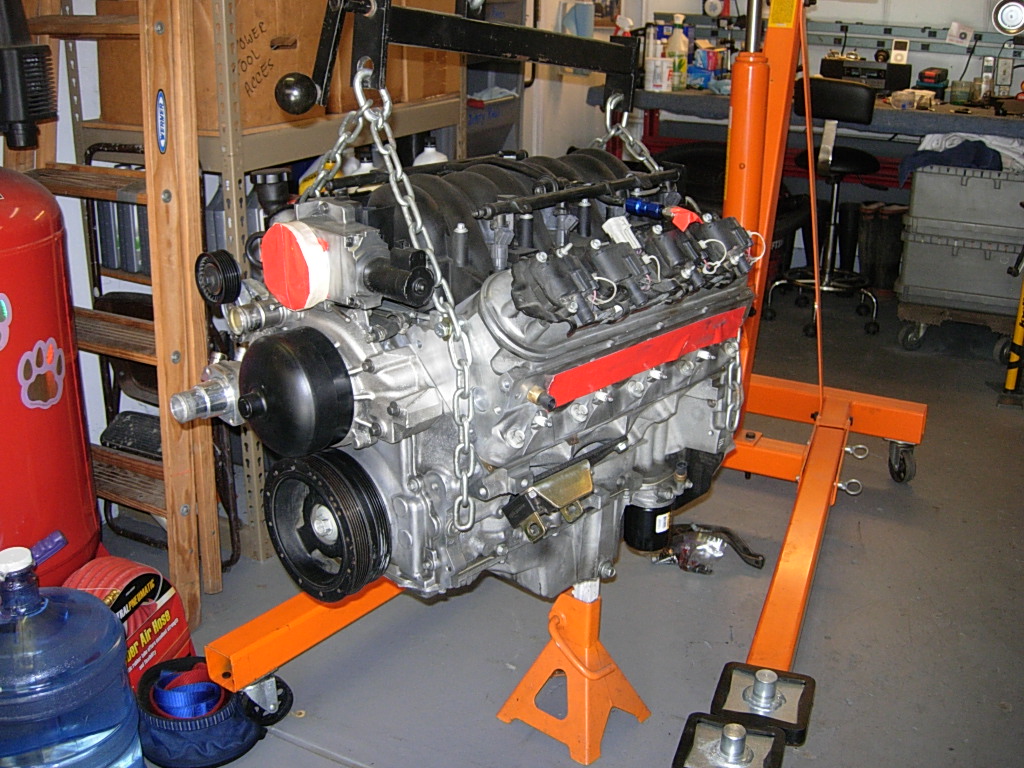
I fit-checked the drive train and found out I need different engine mount adaptor plates.

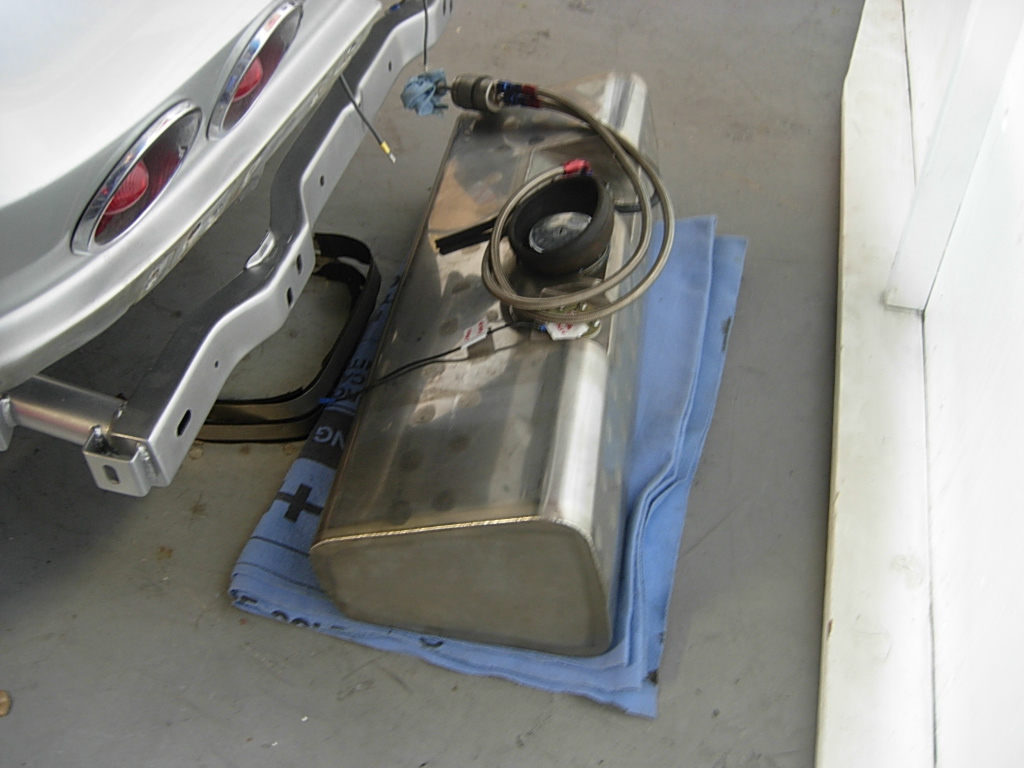
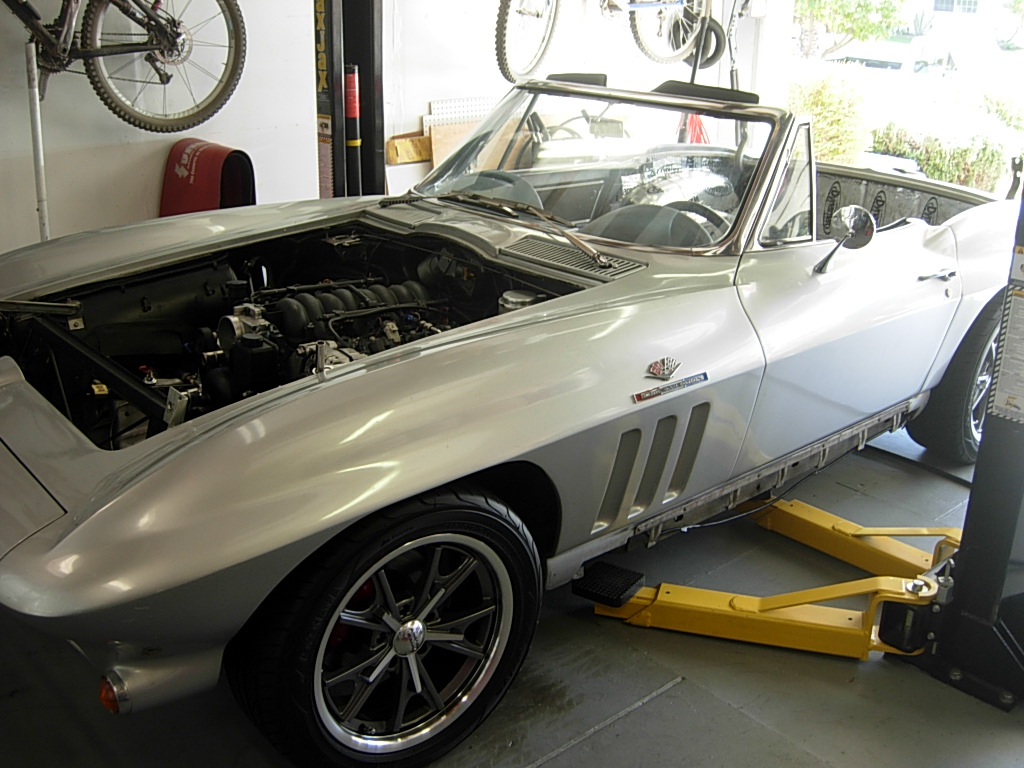
The plan is to have the drive train and fuel tank in place and drop the body over everything.
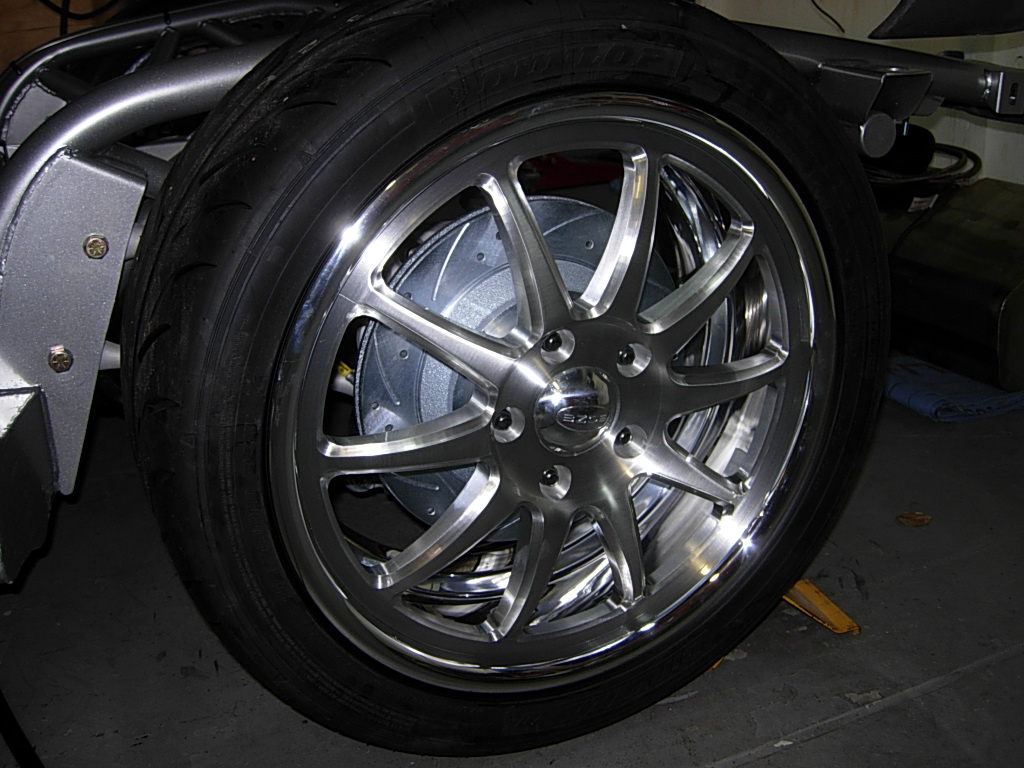
I got Dunlop DZ II Star Spec tires mounted onto the gorgeous Boze wheels. The tires are geared towards autocrossing, the compound feels really soft when you press a fingernail into 'em.